本文所介绍的内容基于树莓派瑞士军刀扩展板(SAKS),由于 SAKS 基于树莓派通用的 GPIO 设计,文中的原理和代码也适用于其他情况。
本文由树莓派实验室创作,遵循CC协议(署名-非商业性使用-禁止演绎-相同方式共享),欢迎树莓派爱好者们遵循协议内容转载传播。谢绝不遵守协议的转载和抄袭。

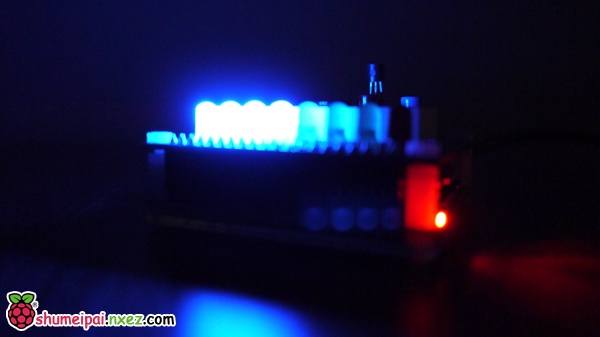
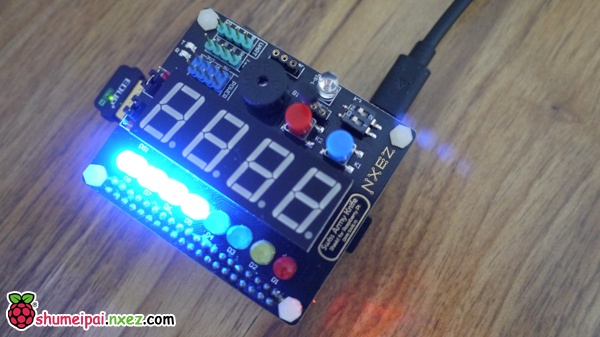
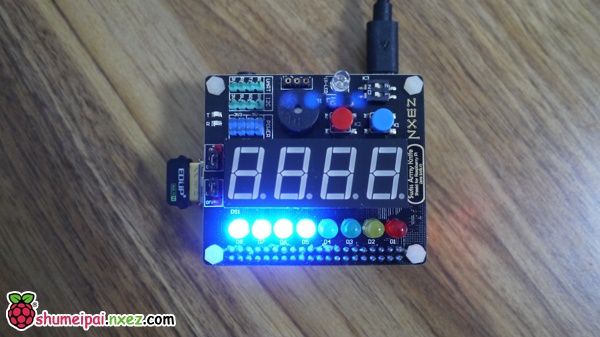
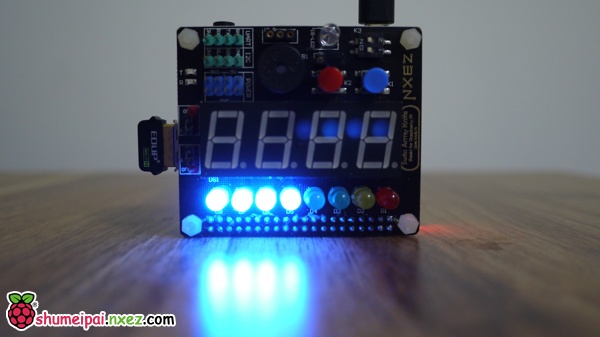
本节以 SAKS 扩展板为硬件基础,实现一个树莓派小夜灯。我们将要设计的小夜灯,将能通过一个触控开关来点亮或关闭。同时还能通过 SAKS 的2位拨码开关来调 节亮度。当拨码开关被置为双 OFF 时,第1、2个 LED 工作;当拨码开关第1位被置为 ON 时,第3个 LED 工作;当拨码开关第2位被置为 ON 时,第4个 LED 工作。以此改变小夜灯的亮度。
由于我们已经开始基于 SAKS SDK 开发(了解 SAKS SDK 发布的信息请阅读这里),本例程中涉及到的 SAKS 扩展板引脚编号我们根本不需要再关心。
首先要了解轻触开关和拨码开关的使用方法。在 SAKS SDK 中,已经对开关的触发做了封装,如下:
#在检测到拨码开关状态被修改时自动执行此函数
def dip_switch_status_changed_handler(status):
    pass

#在检测到轻触开关触发时自动执行此函数
def tact_event_handler(pin, status):
    pass

if __name__ == "__main__":
    #设定拨码开关回调函数
    SAKS.dip_switch_status_changed_handler = dip_switch_status_changed_handler
    #设定轻触开关回调函数
    SAKS.tact_event_handler = tact_event_handler
以上代码中,status 表示开关的状态。开关状态为ON时(轻触开关为按下状态,拨码开关为ON状态)返回True,OFF时返回False。当开关的状态发生变化时,SAKS SDK 自动调用以上的函数。那么我们只需要把自己的控制逻辑加入到以上函数即可。大部分时候你甚至不用弄清楚轻触开关和拨码开关的状态读取原理。
加入 LED 控制逻辑之后,程序代码如下:
from sakshat import SAKSHAT
from sakspins import SAKSPins as PINS
import time

#Declare the SAKS Board
SAKS = SAKSHAT()
#当前开关状态
__light_status = False

#在检测到拨码开关状态被修改时自动执行此函数
def dip_switch_status_changed_handler(status):
    '''
    called while the status of dip switch changed
    :param status: current status
    :return: void
    '''
    global __light_status
    #在小灯状态开着时执行
    if __light_status:
        #拨码开关第1位状态为ON
        if status[0]:
            #点亮第3个LED
            SAKS.ledrow.on_for_index(2)
        else:
            SAKS.ledrow.off_for_index(2)

        #拨码开关第2位状态为ON
        if status[1]:
            #点亮第4个LED
            SAKS.ledrow.on_for_index(3)
        else:
            SAKS.ledrow.off_for_index(3)

    #print(status)

#在检测到轻触开关触发时自动执行此函数
def tact_event_handler(pin, status):
    '''
    called while the status of tacts changed
    :param pin: pin number which stauts of tact is changed
    :param status: current status
    :return: void
    '''
    global __light_status
    #判断是否是右边的轻触开关被触发,并且是在被按下
    if pin == PINS.TACT_RIGHT and status == True:
        #在小灯当前状态关着时将它们点亮并修改小灯当前状态为开; 在小灯当前状态开着时将它们灭掉并修改小灯当前状态为关
        if not __light_status:
            SAKS.ledrow.on_for_index(0)
            SAKS.ledrow.on_for_index(1)
            #检测第1位拨码开关状态是否为ON
            if SAKS.dip_switch.is_on[0] == True:
                #点亮第3个LED
                SAKS.ledrow.on_for_index(2)
            #检测第2位拨码开关状态是否为ON
            if SAKS.dip_switch.is_on[1] == True:
                #点亮第4个LED
                SAKS.ledrow.on_for_index(3)
        else:
            SAKS.ledrow.off_for_index(0)
            SAKS.ledrow.off_for_index(1)
            SAKS.ledrow.off_for_index(2)
            SAKS.ledrow.off_for_index(3)

        __light_status = not __light_status

    #print("%d - %s" % (pin, status))


if __name__ == "__main__":
    #设定拨码开关回调函数
    SAKS.dip_switch_status_changed_handler = dip_switch_status_changed_handler
    #设定轻触开关回调函数
    SAKS.tact_event_handler = tact_event_handler
    input("Enter any keys to exit...")
将上面的程序源码保存为 main.py 接下来如果要运行,请注意程序开头的 from sakshat import SAKSHAT,需要导入 SAKS SDK 模块。为此我们需要将 SAKS SDK 模块的相关文件和 main.py 放在一起才能正确执行 main.py 程序。我们准备了一个包含 main.py 和 SAKS SDK 的包并在 Github 上提供下载:https://github.com/spoonysonny/SAKS-tutorials/tree/master/nightlight
在终端运行:
sudo git clone https://github.com/spoonysonny/SAKS-tutorials.git
cd SAKS-tutorials/nightlight
sudo python main.py
轻触第一个轻触开关,点亮、关闭小夜灯。再尝试拨动拨码开关,调节亮度。是不是很棒?


注意:SAKS SDK 对于开关的封装实际上是采用了多线程循环检测开关状态的方式实现。受限于树莓派CPU性能以及Python2.7对多线程支持上的局限性(Python 2.7的多个线程只能运行在一个CPU核心上),以上代码可能会因CPU占用过高而出现按键开关动作偶尔无法被正常监测。尤其是在树莓派2B多核版本上,树莓派单核版本反而效果更好。要对以上问题进行优化,比较可行的方法是用Python GPIO自行实现开关检测部分的代码并通过单线程方式来实现。
后面我们后面将开始介绍如何基于 SAKS 扩展板 DIY 各种有趣、实用的东西,欢迎持续关注!
本文属于《树莓派瑞士军刀扩展板(SAKS)DIY 教程》系列文章,查看系列文章目录,请访问:https://shumeipai.nxez.com/swiss-army-knife-shield-for-raspberry-pi-diy-tutorials
