Raspberry Pi Connect (Beta)
Introduction
Raspberry Pi Connect provides secure access to your Raspberry Pi from anywhere in the world.
To use Connect, install the Connect software and link your device with an account on your Raspberry Pi. Then visit connect.raspberrypi.com to access the desktop or a shell running on your Raspberry Pi in a browser window.
Connect uses a secure, encrypted connection. By default, Connect communicates directly between your Raspberry Pi and your browser. However, when Connect can’t establish a direct connection between your Raspberry Pi and your browser, we use a relay server. In such cases, Raspberry Pi only retains the metadata required to operate Connect.
Connect is currently in the Beta phase of development.
|
Note
|
To use Connect, your Raspberry Pi must run Raspberry Pi OS Bookworm or later. |
Install
If Connect isn’t already installed in your version of Raspberry Pi OS, open a Terminal window. Run the following command to update your system and packages:
$ sudo apt update
$ sudo apt full-upgrade
Run the following command on your Raspberry Pi to install Connect:
$ sudo apt install rpi-connectYou can also install Connect from the Recommended Software application.
After installation, use the rpi-connect command line interface to start Connect for your current user:
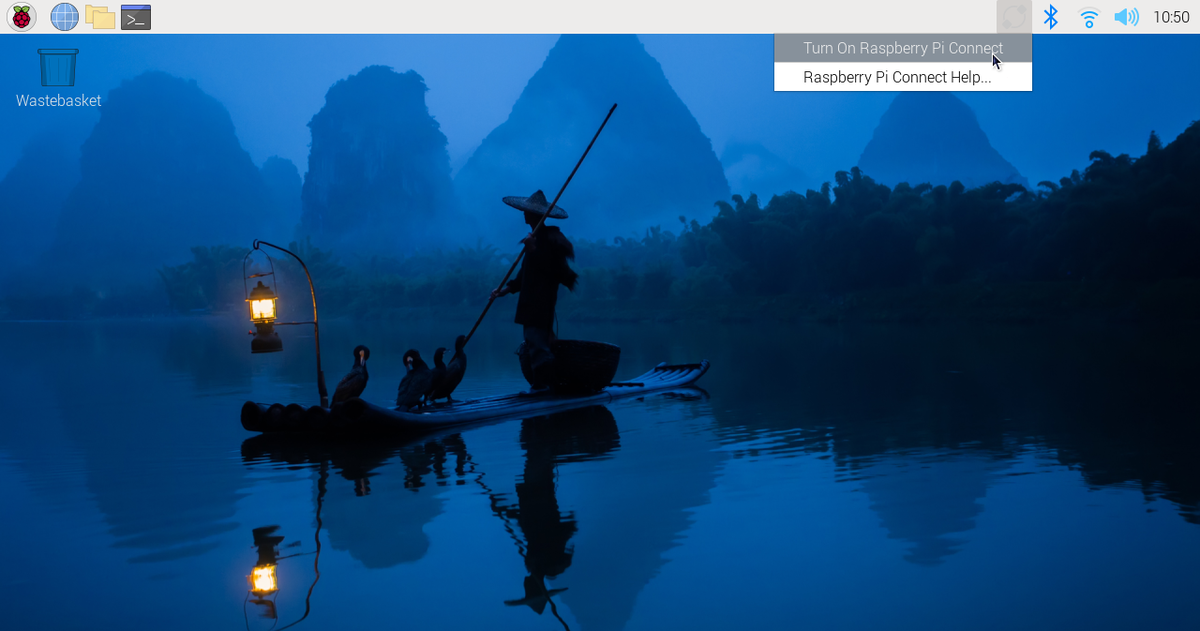
$ rpi-connect onAlternatively, click the Connect icon in the menu bar to open a dropdown menu and select Turn On Raspberry Pi Connect:
Connect Lite
We distribute an alternate Lite variant of Connect that only supports remote shell access, with no ability to screen share.
Run the following command on your Raspberry Pi to install Connect Lite:
$ sudo apt install rpi-connect-liteAfter installation, use the rpi-connect command line interface to start Connect for your current user:
$ rpi-connect onEnable user-lingering to make your device accessible even when your user account isn’t logged in.
|
Tip
|
Lite commands use the same rpi-connect name as the full version of Connect. rpi-connect-lite is just a package name.
|
Link a Raspberry Pi device with a Connect account
Now that you’ve installed and started Connect on your Raspberry Pi device, you must associate your device with your Connect account.
via the Raspberry Pi Desktop
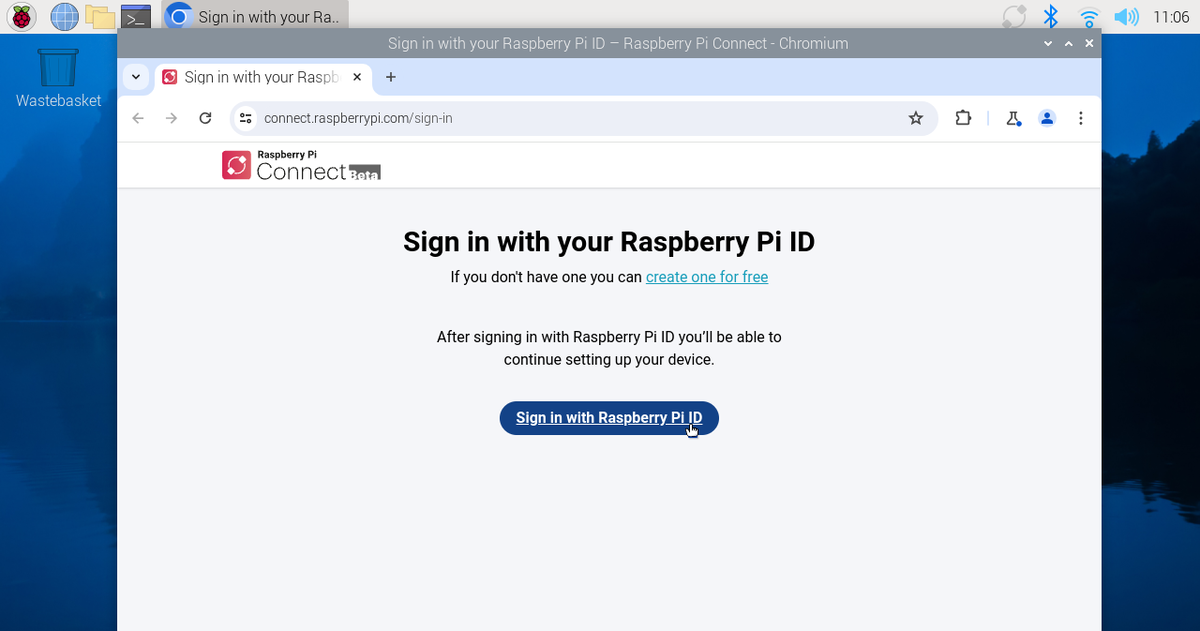
If you’re using the Connect plugin for the menu bar, clicking "Turn On Raspberry Pi Connect" for the first time will open your browser, prompting you to sign in with your Raspberry Pi ID:
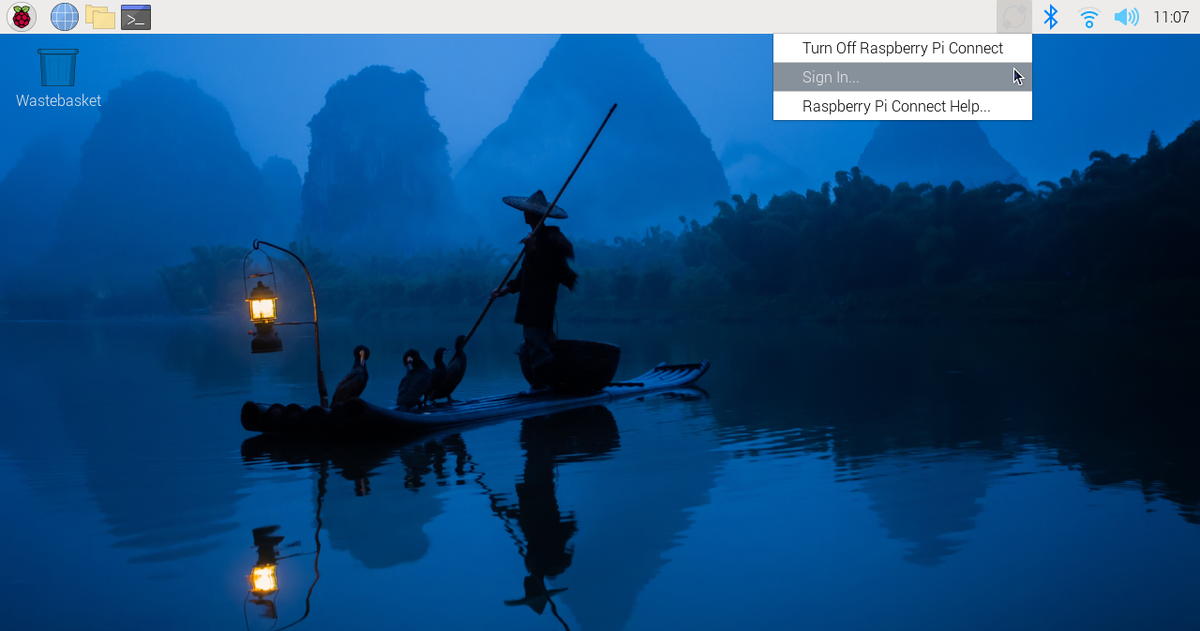
Alternatively, you can choose "Sign In…" from the dropdown menu:
If you don’t already have a Raspberry Pi ID, click create one for free to create one.
via the command line
Use the following command to generate a link that will connect your device with your Connect account:
$ rpi-connect signinThis command should output something like the following:
Complete sign in by visiting https://connect.raspberrypi.com/verify/XXXX-XXXX
Visit the verification URL on any device and sign in with your Raspberry Pi ID to link your device with your Connect account.
Finish linking your Raspberry Pi
After authenticating, assign a name to your device. Choose a name that uniquely identifies the device. Click the Create device and sign in button to continue.

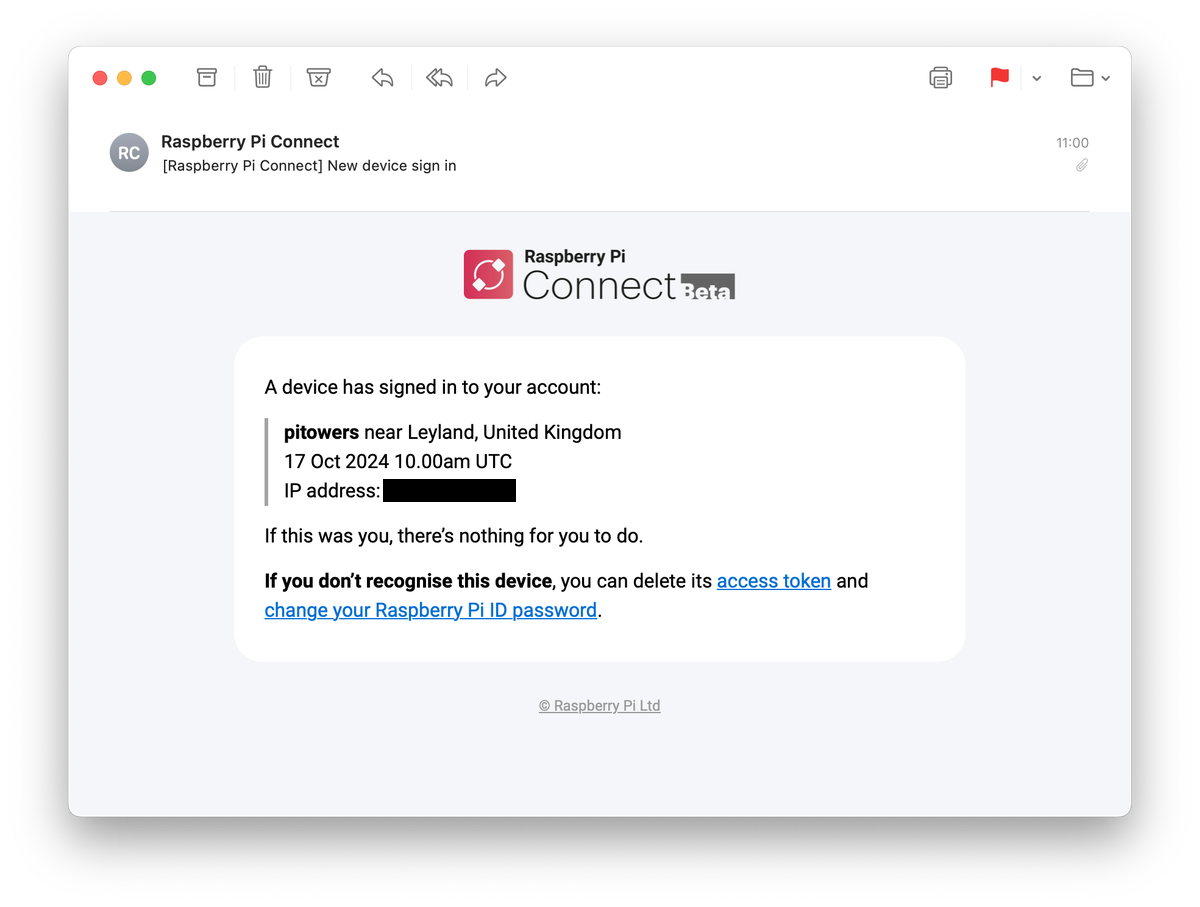
You can now remotely connect to your device. The Connect icon in your menu bar will turn blue to indicate that your device is now signed in to the Connect service. You should receive an email notification indicating that a new device is linked to your Connect account.
|
Warning
|
If you receive an email that says a device that you do not recognise has signed into Connect, change your Raspberry Pi ID password immediately. Remove the device from Connect to permanently disassociate it from your account. Consider enabling two-factor authentication to keep your account secure. |
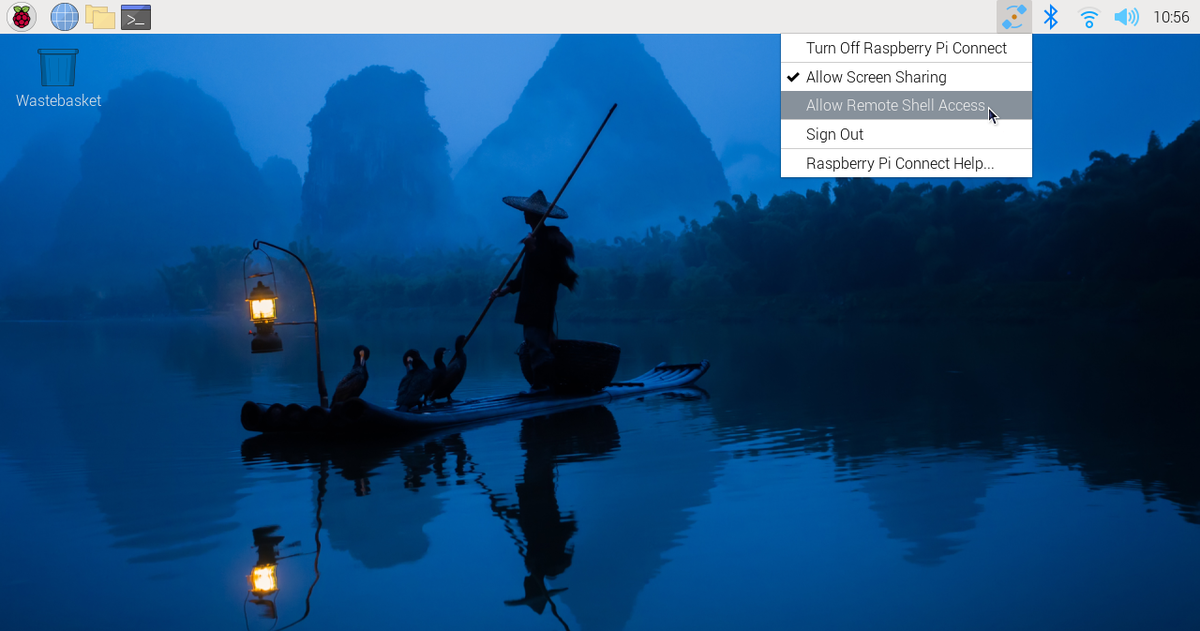
Click the Connect icon in your menu bar to open the Connect menu. This menu allows you to turn Connect on and off, sign in and out, and allow or disallow remote access methods.
|
Tip
|
Connect signs communication with your device serial number. Moving your SD card between devices will sign you out of Connect. |
Access your Raspberry Pi device
Now that your device appears on your Connect dashboard, you can access your device from anywhere using only a browser. Connect provides multiple ways to interact with your device remotely.
Screen sharing
Connect includes the ability to share your device’s screen in a browser. Use the following instructions to share your device’s screen.
|
Note
|
Screen sharing requires the Wayland window server. Raspberry Pi OS Bookworm and later use Wayland by default. Screen sharing is not compatible with Raspberry Pi OS Lite or systems that use the X window server. |
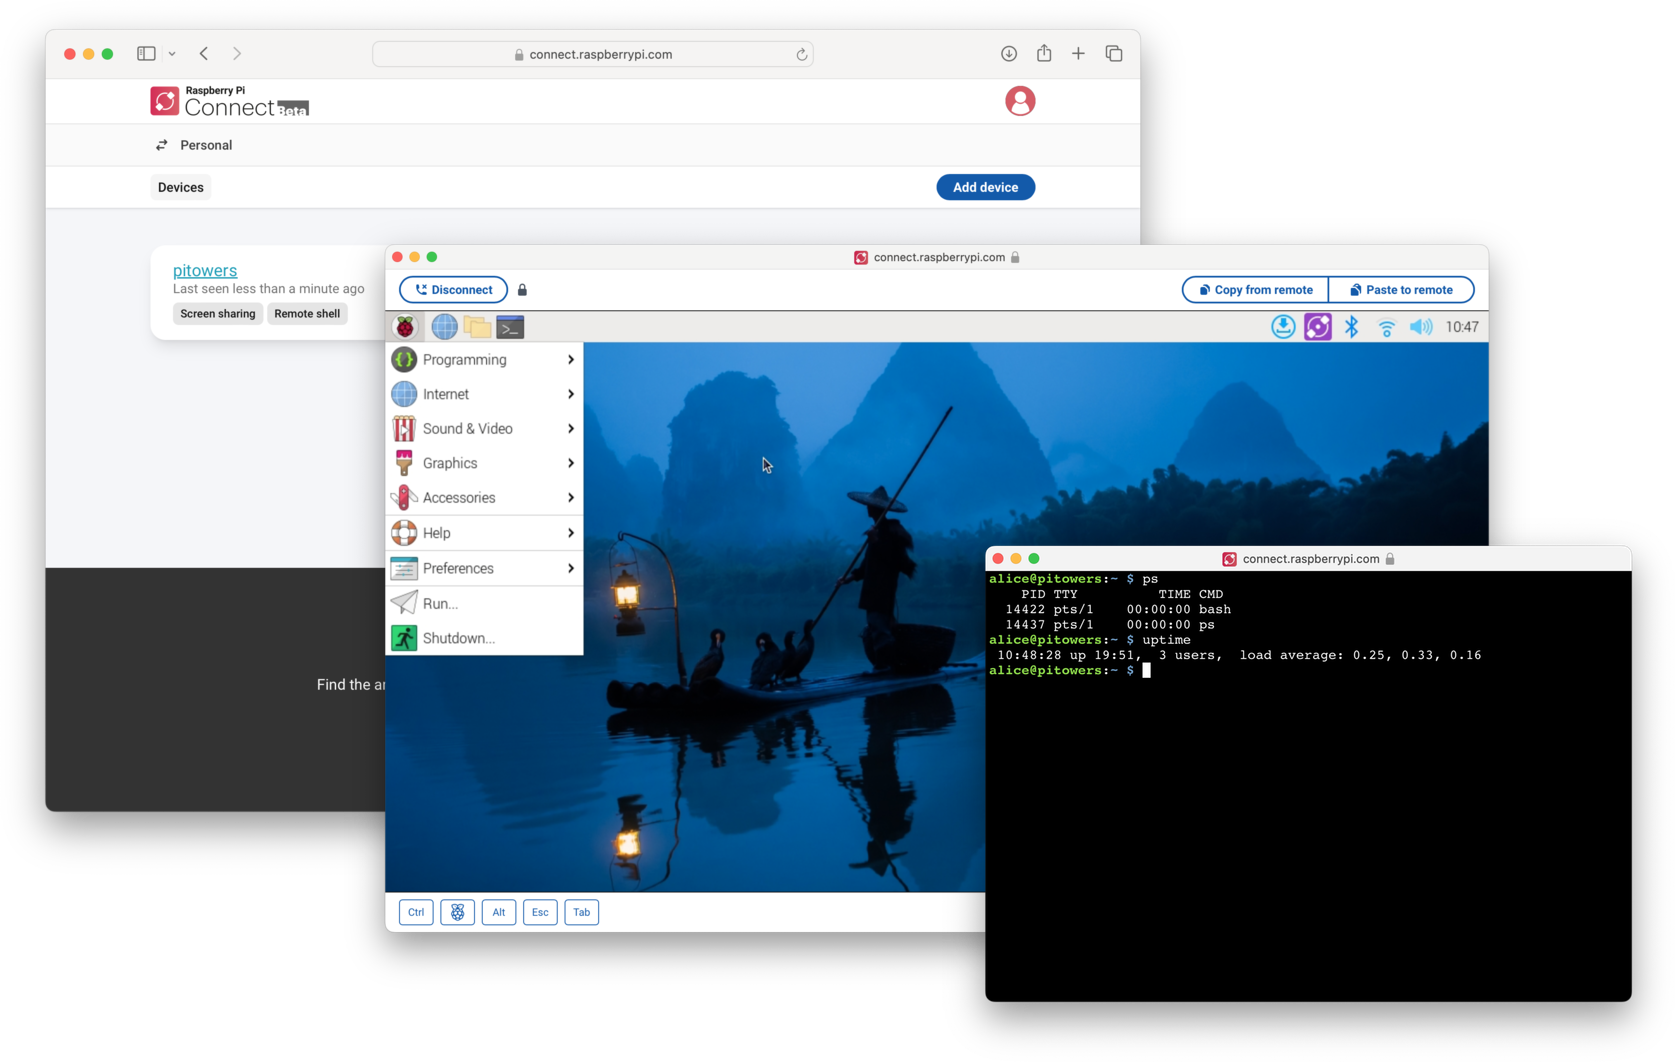
Visit connect.raspberrypi.com on any computer.
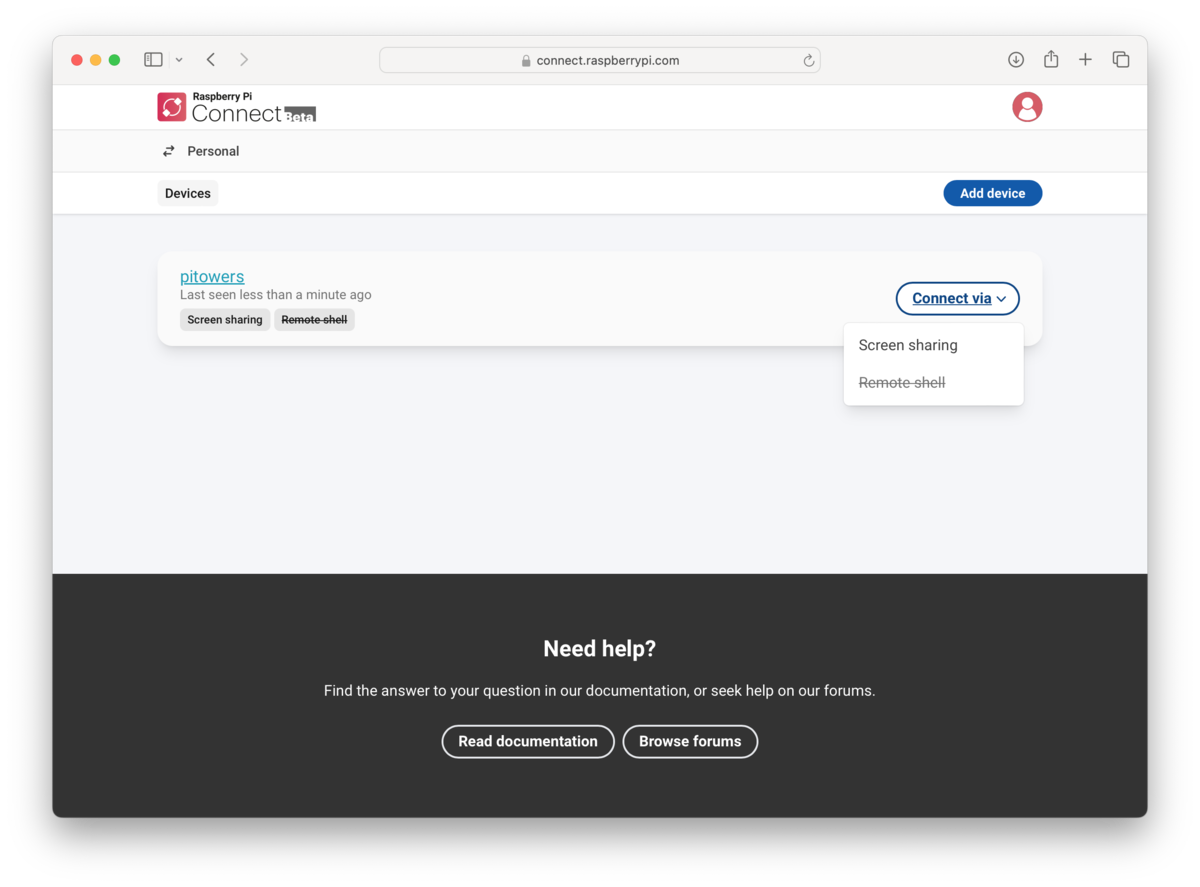
Connect redirects you to the Raspberry Pi ID service to sign in. After signing in, Connect displays a list of linked devices. Devices available for screen sharing show a grey Screen sharing badge below the name of the device.

Click the Connect via button to the right of the device you would like to access. Select the Screen sharing option from the menu. This opens a browser window that displays your device’s desktop.
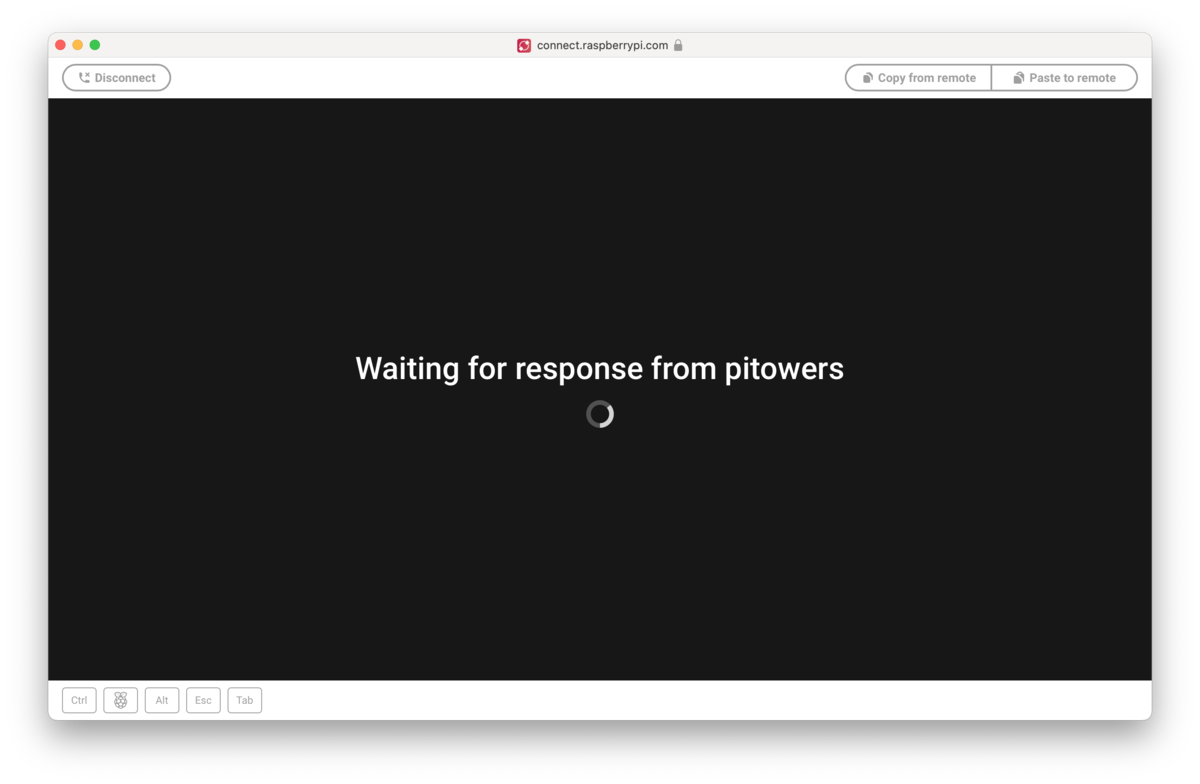
You can now use your device as you would locally. For more information about the connection, hover your mouse over the padlock icon immediately to the right of the Disconnect button.

|
Tip
|
Use the Copy from remote and Paste to remote buttons above your desktop to transfer text between your local and remote clipboards. |
Once connected, a green dot appears next to the Screen sharing badge in the Connect dashboard. This indicates an active screen sharing session. Hover to see the current number of screen sharing sessions.

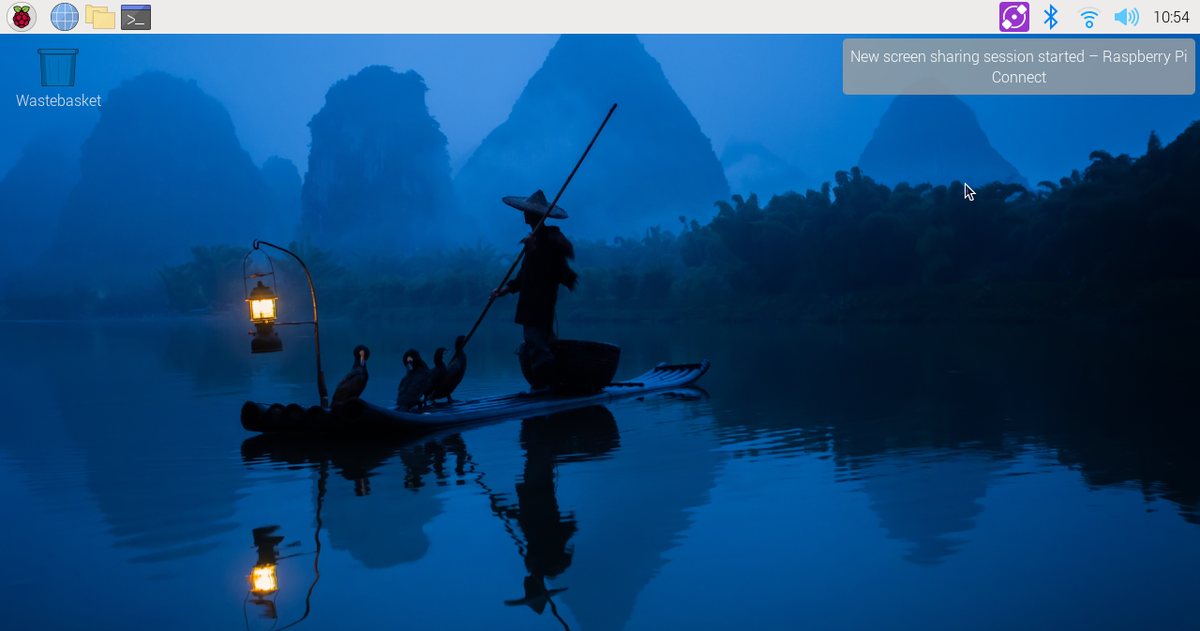
The Connect icon in the system tray turns purple and displays a closed circle when a screen sharing session is in progress. A desktop notification will appear whenever a screen sharing session starts.
Stop screen sharing
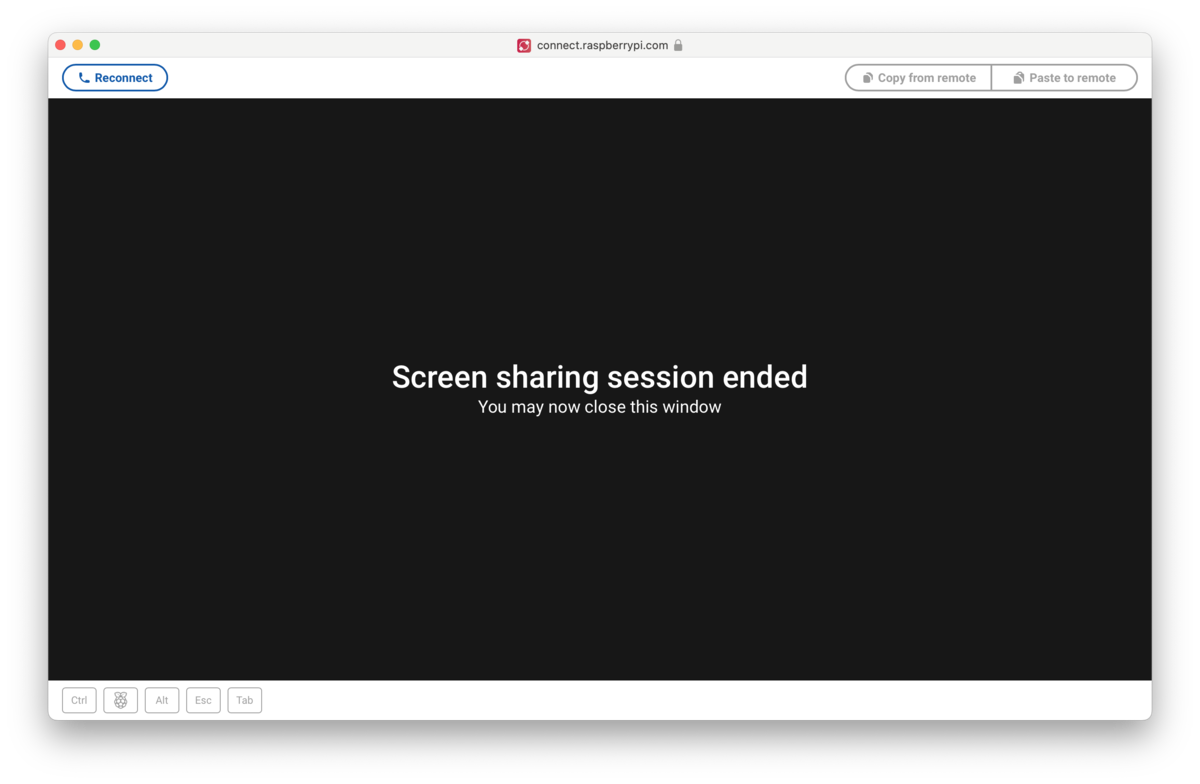
To close a screen sharing session, click the Disconnect button above your desktop.
Disallow screen sharing
To turn off screen sharing, click the Connect icon in the menu bar and unselect Allow Screen Sharing. Your device remains signed into Connect, but you won’t be able to create a screen sharing session from the Connect dashboard.

Alternatively, you can disallow screen sharing with the following command:
$ rpi-connect vnc offIn the Connect dashboard, the Screen sharing badge and the Screen sharing option in the Connect via menu will appear crossed-out.

To re-enable screen sharing, do one of the following:
-
click the Connect icon in the menu bar and select Allow Screen Sharing
-
run the following command:
$ rpi-connect vnc on
Remote shell
Connect includes the ability to start a shell running on your device from a browser. Use the following instructions to access the remote shell.
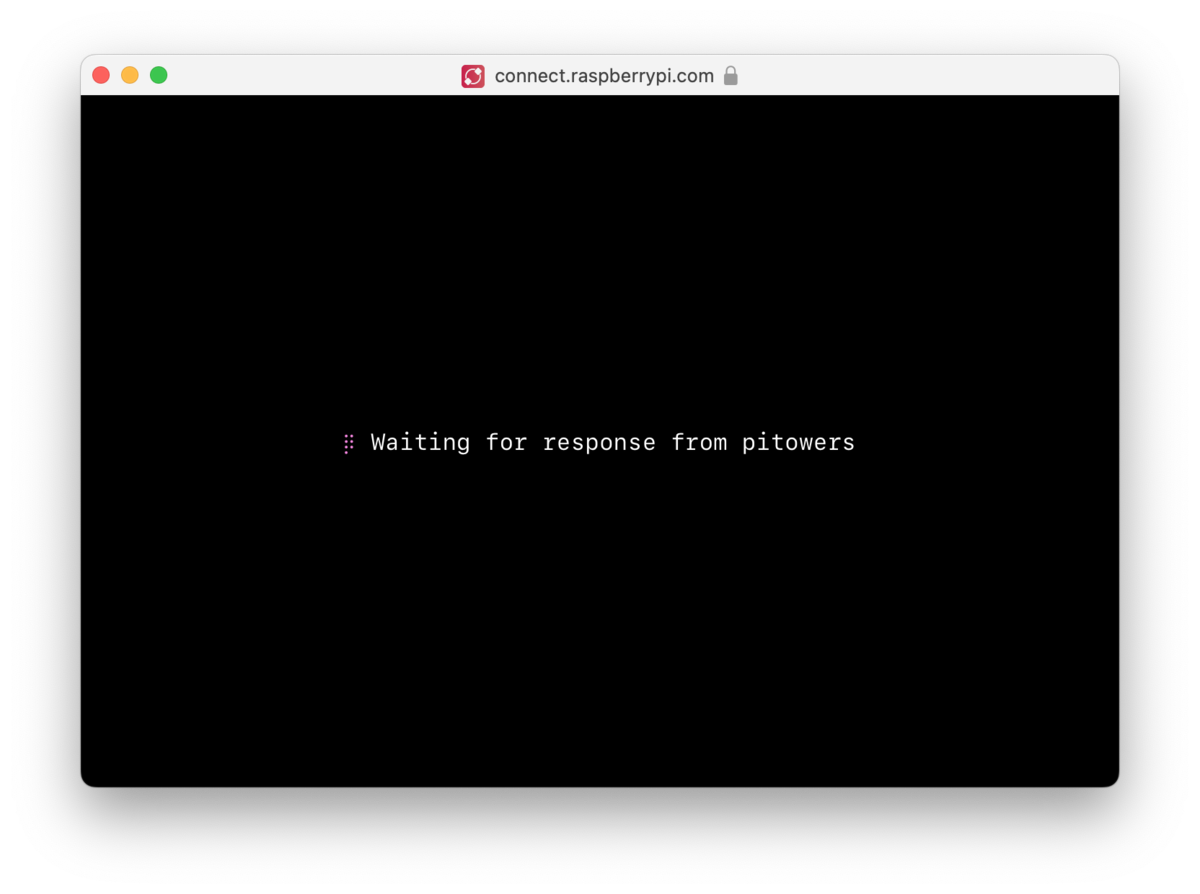
Visit connect.raspberrypi.com on any computer.
Connect redirects you to the Raspberry Pi ID service to sign in. After signing in, Connect displays a list of linked devices. Devices available for remote shell access show a grey Remote shell badge below the name of the device.
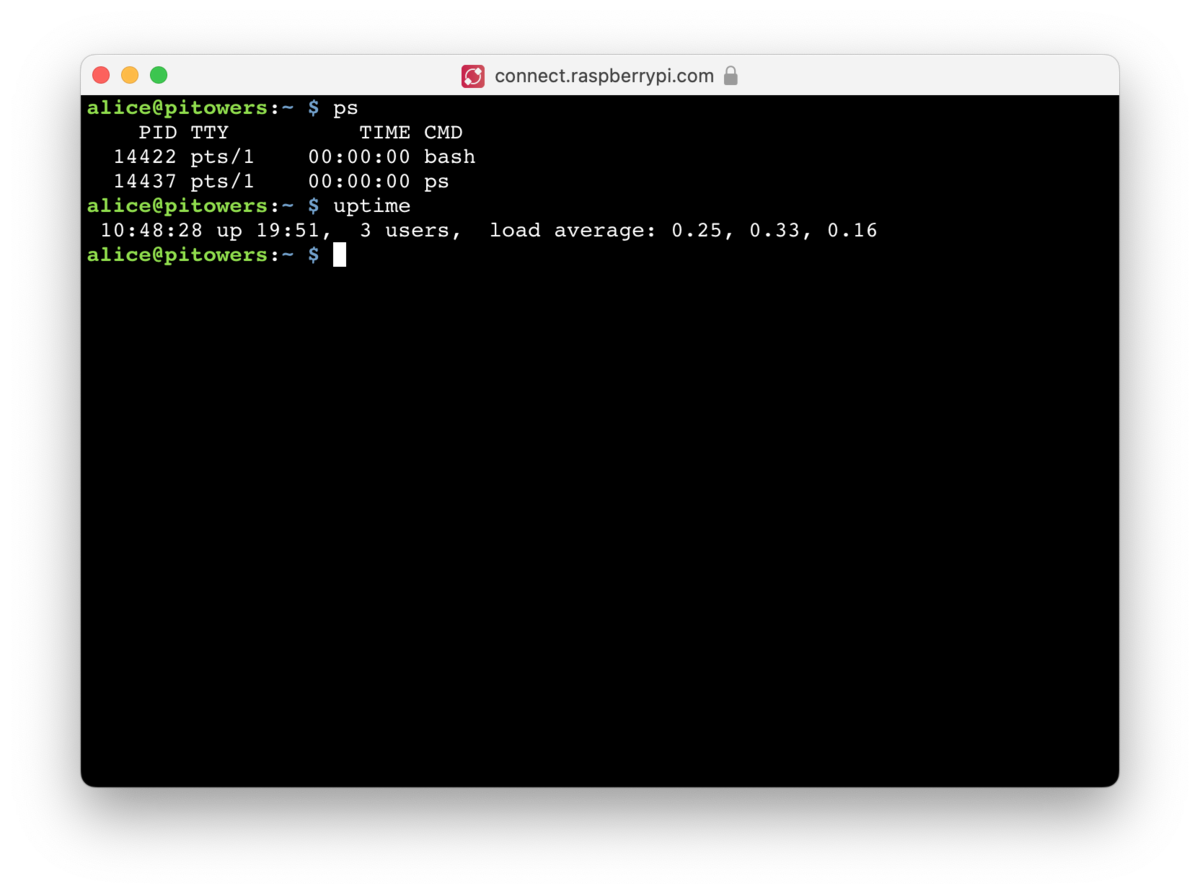
Click the Connect via button to the right of the device you would like to access. Select the Remote shell option from the menu. This opens a shell session on your device.
You can now use your device as you would locally.
|
Tip
|
On some operating systems, the browser intercepts key combinations like Ctrl+Shift+C and Ctrl+C. Instead, you can use the right click menu or Ctrl+Insert to copy and Shift+Insert to paste. |
Once connected, a green dot appears next to the Remote shell badge in the Connect dashboard. This indicates an active remote shell session. Hover to see the current number of remote shell sessions.

|
Tip
|
Every remote shell connection creates a brand new connection, just like SSH. To persist background commands and configuration across multiple sessions, use screen or tmux.
|
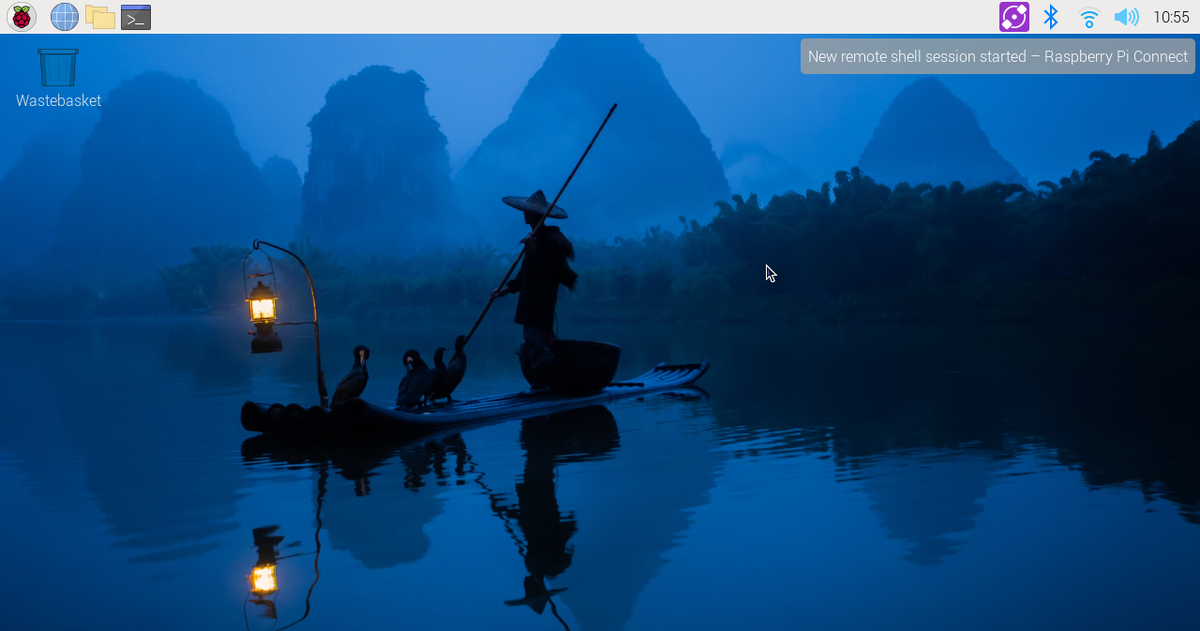
The Connect icon in the menu bar turns purple and displays a closed circle when a remote shell session is in progress. A desktop notification will appear whenever a remote shell session starts.
|
Tip
|
The CONNECT_TTY environment variable indicates that a session uses a remote shell provided by Connect.
|
End your remote shell session
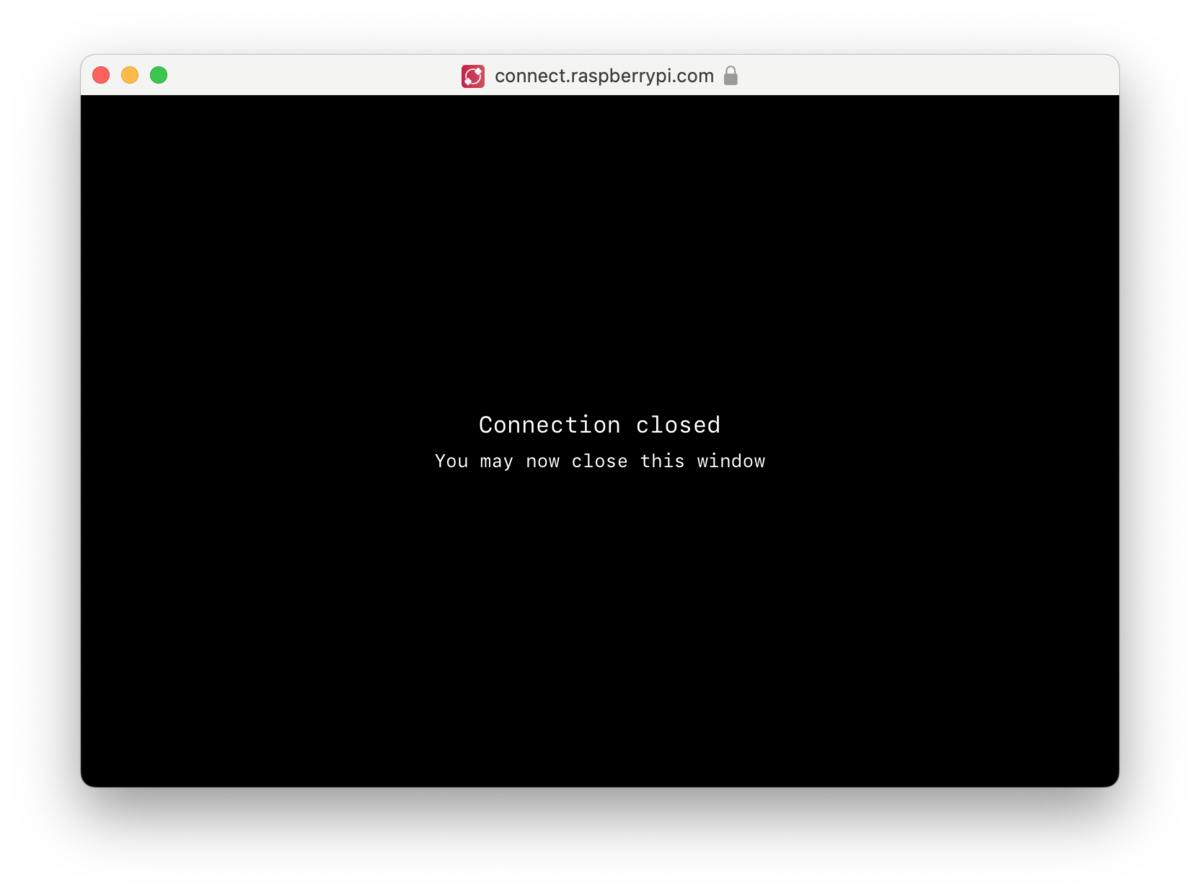
To close a remote shell session, run the exit command or close the window.
Disallow remote shell access
To turn off remote shell access, click the Connect icon in the menu bar and unselect Allow Remote Shell Access. Your device remains signed into Connect, but you won’t be able to create a remote shell session from the Connect dashboard.
Alternatively, you can disallow remote shell access with the following command:
$ rpi-connect shell offIn the Connect dashboard, the Remote shell badge and the Remote shell option in the Connect via menu will appear crossed-out.
To re-enable remote shell access, do one of the following:
-
click the Connect system tray icon and select Allow Remote Shell Access
-
run the following command:
$ rpi-connect shell on
Enable remote shell at all times
Connect runs as a user-level service, not as root. As a result, Connect only works when your user account is currently logged in on your device. This can make your device unreachable if you reboot with automatic login disabled. To continue running Connect even when you aren’t logged into your device, enable user-lingering. Run the following command from your user account to enable user-lingering:
$ loginctl enable-linger|
Tip
|
We recommend enabling user-lingering on all headless Raspberry Pi OS Lite setups to prevent your device from becoming unreachable after a remote reboot. |
Manage devices
The Connect dashboard lists all of the devices linked with your Connect account and shows you the various ways you can access them.
Click on a device name to open the device details page. This screen provides low-level information about your device. You can also edit the device name or remove the device from Connect.
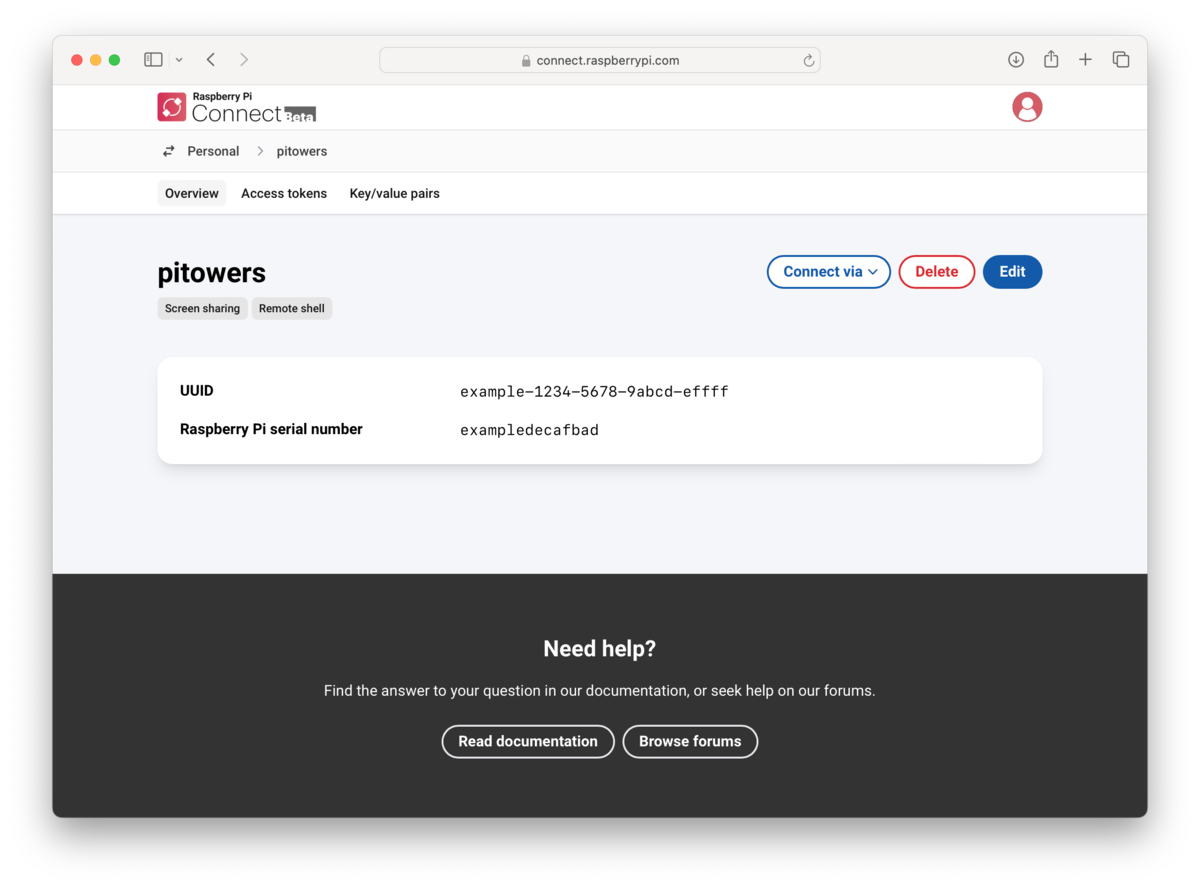
Deleting a device from Connect automatically signs you out of Connect on the device. The Connect icon in the menu bar turns grey and the menu only provides a Sign In… option.
Update
To update to the latest version of Connect, run the following command:
$ sudo apt update
$ sudo apt install --only-upgrade rpi-connect|
Tip
|
If you installed Connect Lite, replace rpi-connect with rpi-connect-lite in the above command.
|
Disconnect a device from Connect
Run the following command on your device to sign out of your Raspberry Pi ID, which will disable your device on the Connect screen:
$ rpi-connect signoutAlternatively, click the Connect icon in the menu bar and click "Sign Out".
|
Tip
|
To fully remove a device from your Connect account, remove it from the Connect dashboard. |
Uninstall
Run the following command to stop and remove Connect from a device:
$ sudo apt remove --purge rpi-connect|
Tip
|
If you installed Connect Lite, replace rpi-connect with rpi-connect-lite in the above command.
|
After uninstalling, the serial number of the device remains linked with your Connect account. The device still appears in the Connect dashboard, but can’t be used for remote access. If you install Connect again, even with a different SD card, on the same device, it will reuse the existing device name in the Connect dashboard.
To sever the link between a device and a Connect account, remove the device from the list of devices in the Connect dashboard.
Troubleshooting
Known issues
-
Screen sharing only supports sharing a single, primary display of your Raspberry Pi. When a Raspberry Pi is connected to multiple HDMI screens, Connect sometimes shares the contents of the secondary screen. You can work around this by right-clicking the desktop and changing the location of the taskbar in Desktop Preferences….
-
Connect does not support on-screen keyboards. For full functionality, use a physical keyboard.
-
Connect requires a browser that implements ECMAScript 2020 (ES11) as it makes use of features unavailable in older browsers.
-
Browsers intercept certain keys and key combinations. As a result, you can’t type these keys into your Connect window. Screen sharing includes a toolbar to simulate some of the most popular intercepted keys.
-
To upgrade from version 1 to version 2, you must first upgrade the package you currently have installed before switching between
rpi-connectandrpi-connect-lite. This ensures that Connect’s services properly migrate to the version 2 format. If you currently haverpi-connectinstalled, run the following command:$ sudo apt install --only-upgrade rpi-connectAlternatively, if you currently have
rpi-connect-liteinstalled, run the following command:$ sudo apt install --only-upgrade rpi-connect-liteYou should see output similar to the following during the upgrade, indicating that Connect’s services have migrated to the version 2 format:
Replacing globally-enabled rpi-connect services with user-enabled ones...
Common issues
Screen sharing not available
If Connect states that screen sharing is unavailable, it cannot connect to the dedicated Connect WayVNC service.
To find out more about the cause of the issue, run the following commands to check the status of the Connect WayVNC service:
$ systemctl --user status rpi-connect-wayvnc
$ journalctl --user --follow --unit rpi-connect-wayvnc
If the service fails to start or doesn’t exist, ensure that your environment meets the following criteria:
-
You use
rpi-connectversion 1.1.0 or later. -
You do not use
rpi-connect-lite, which lacks screen sharing support. -
You use a Wayland compositor such as wayfire or labwc, not X. You can control this setting via
raspi-config's Advanced Options. -
You use a desktop environment supported by WayVNC, e.g. Raspberry Pi Desktop. For instance, using KDE switches your Wayland compositor to kwin, which is unsupported.
-
You have an active graphical desktop session running as the same user as the one you signed into. For most, this means enabling "Desktop Autologin" via
raspi-config's System Options.
Can’t connect after restarting or ending SSH session
Connect runs as a user-level service and is therefore only available if there is an active session for the user signed into the service. If you want remote shell access without also running another login session, enable user-lingering for your user, which will keep Connect running at all times.
For screen sharing, Connect can only share an existing graphical desktop session: it does not create entirely new sessions. There must already be a desktop session in progress. To start such a session automatically on boot, enable Desktop Autologin via raspi-config's System Options.
Networking and firewall issues
Connect usually communicates between devices without requiring changes to your network or firewall. However, especially restrictive networks can sometimes block Connect communication. To help debug problems with such networks, rpi-connect and rpi-connect-lite include the rpi-connect doctor command. rpi-connect doctor runs a series of tests to check that Connect communication functions properly on your network.
To run these tests on your device, run the following command:
$ rpi-connect doctorIf Connect can communicate properly on your network, you should see output similar to the following:
✓ Communication with Raspberry Pi Connect API
✓ Authentication with Raspberry Pi Connect API
✓ Peer-to-peer connection candidate via STUN
✓ Peer-to-peer connection candidate via TURN
If Connect can’t communicate properly on your network, you’ll see an "x" instead of a check next to the failing test case. Ask your network administrator to enable the following connections on your network:
-
unauthenticated HTTPS requests to the Raspberry Pi Connect API on port 443 of
api.connect.raspberrypi.com -
authenticated requests to the Raspberry Pi Connect API on port 443 of
api.connect.raspberrypi.com -
requests to Raspberry Pi Connect STUN or TURN servers on UDP port 3478 of all of the following:
-
stun.raspberrypi.com -
turn1.raspberrypi.com -
turn2.raspberrypi.com -
turn3.raspberrypi.com
-
-
requests to Raspberry Pi Connect TURN servers on TCP ports 3478 or 443 of all of the following:
-
turn1.raspberrypi.com -
turn2.raspberrypi.com -
turn3.raspberrypi.com
-
-
requests to Raspberry Pi Connect TURN servers on UDP ports 3478, 443, or 49152 → 65535 of all of the following:
-
turn1.raspberrypi.com -
turn2.raspberrypi.com -
turn3.raspberrypi.com
-
View Connect status
To view the current status of the Connect service, run the following command:
$ rpi-connect statusYou should see output similar to the following:
Signed in: yes
Screen sharing: allowed (0 sessions active)
Remote shell: allowed (0 sessions active)
The output of this command indicates whether or not you are currently signed in to Connect, as well as the remote services enabled on your Raspberry Pi.
If you see output including "Raspberry Pi Connect is not running, run rpi-connect on", run rpi-connect on to start Connect.
Enable enhanced logging
You can enable debug logging for both rpi-connect and its dedicated WayVNC server for a detailed account of local operations on your Raspberry Pi.
Enable enhanced logging in rpi-connect
Override the rpi-connect service definition with the following command:
$ systemctl --user edit rpi-connectEnter the following lines of configuration between the comments:
[Service]
ExecStart=
ExecStart=/usr/bin/rpi-connectd -socket %t/rpi-connect-wayvnc.sock -v|
Note
|
You need both lines that begin with ExecStart=.
|
Finally, restart Connect with the following command:
$ rpi-connect restart
Enable enhanced logging in the dedicated wayvnc server
Override the rpi-connect-wayvnc service definition with the following command:
$ systemctl --user edit rpi-connect-wayvncEnter the following lines of configuration between the comments (including the -Ldebug flag):
[Service]
ExecStart=
ExecStart=/usr/bin/rpi-connect-env /usr/bin/wayvnc --config /etc/rpi-connect/wayvnc.config --render-cursor --unix-socket --socket=%t/rpi-connect-wayvnc-ctl.sock -Ldebug %t/rpi-connect-wayvnc.sock|
Note
|
You need both lines that begin with ExecStart=.
|
Finally, restart Connect with the following command:
$ rpi-connect restart