MoodeAudio is a high-quality audio playback system that runs on development boards such as Raspberry Pi. It’s similar to Volumio, but it’s a little different. The sound performance is basically the same, with little difference in configuration options, with MoodeAudio offering slightly more options and more responsive playback and key switches than Volumio. However, there is no Chinese interface support of Volumio, which is relatively more suitable for users who have already experienced Volumio or more professional users.
Install moodeaudio
If you are a first-time user, it is recommended to download the latest version of the system image file for Raspberry Pi in moodeaudio.org and extract it to obtain the image file in IMG format. Use the tool to flash into the system and start enjoying immediately! Image Download:
http://www.moodeaudio.org/#download
1. Insert the SD card to the PC
2. Run Win32DiskImager and select the drive letter corresponding to the decompressed system image file and SD card.
4. Click Write to start burning, exit the SD card and load the Raspberry Pi when finished, and power it on to start.
Configure moodeaudio
We strongly recommend that you use a Raspberry Pi with a wireless card, MoodeAudio pre-configures the Raspberry Pi’s wireless card as a Wi-Fi hotspot, after the system boots up, you can use your phone or laptop to search for the wireless network, find the wireless network named moode, and use the password moodeaudio to connect.
Once connected, use your browser to access http://moodeaudio.local.
Menu -Configure, -Audio to set DAC options, select HiFiBerry DAC+ in I2S audio device, and then click SET as shown in the image.

Reboot.
Menu -Configure, -Audio set MPD options, EDIT OPTIONS. Make sure that “I2S audio device” is selected for audio device and “Software” for volume control. Click the APPLY button to save the configuration.

If it goes well, you can already output audio through the HiFi DAC at this point.
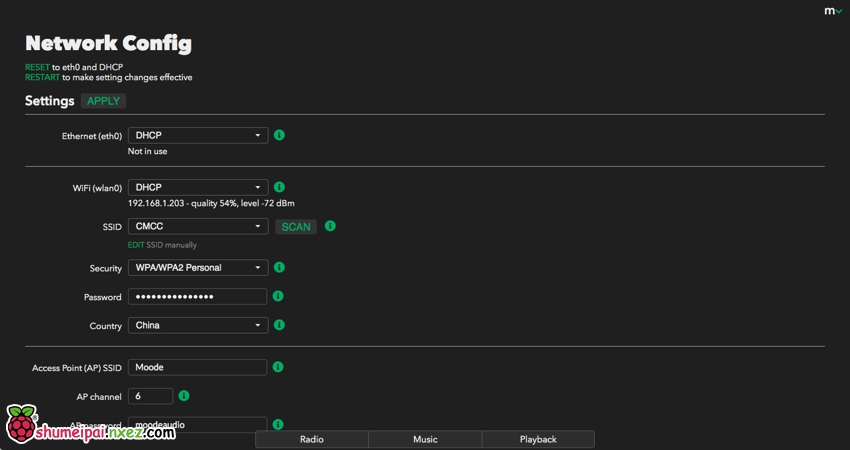
In the menu Network, you can configure the network to connect MoodeAudio to the local area network. Note that the settings must be correct once this is done, because the default hotspot will be revoked after the setting, and the only way to find the connection address of MoodeAudio will be through the router.
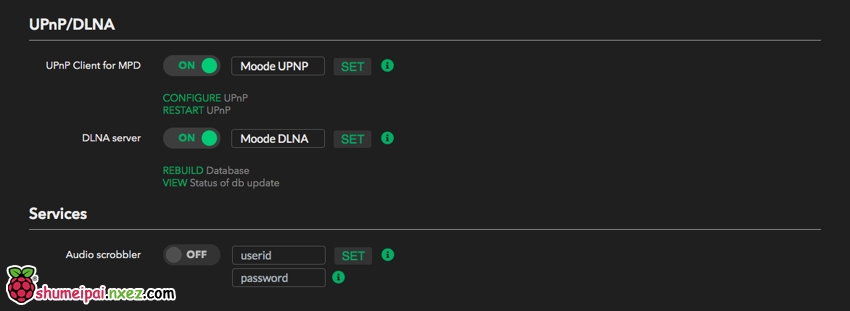
After connecting to the local area network, you can also enable the DLNA server function to share the music on the Raspberry Pi with other DLNA client devices.
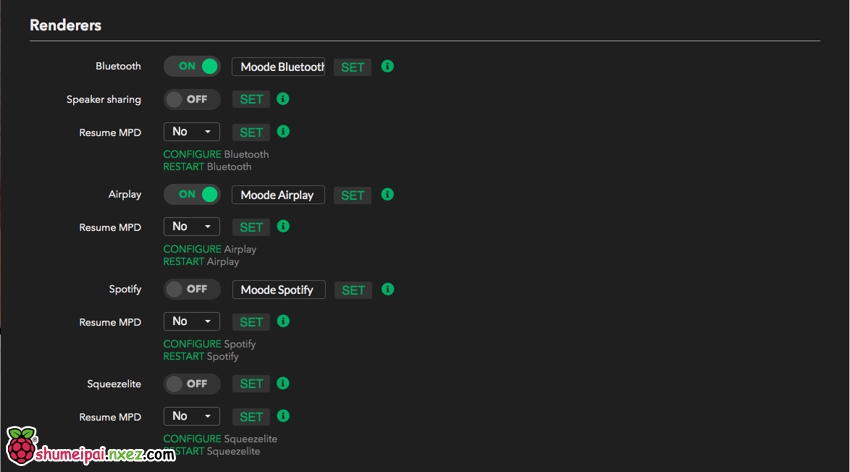
Use Airplay and Bluetooth
MoodeAudio’s Airplay and Bluetooth features require a manual turn on, and configuration is easy. In addition, Bluetooth can also be turned on at the same time.
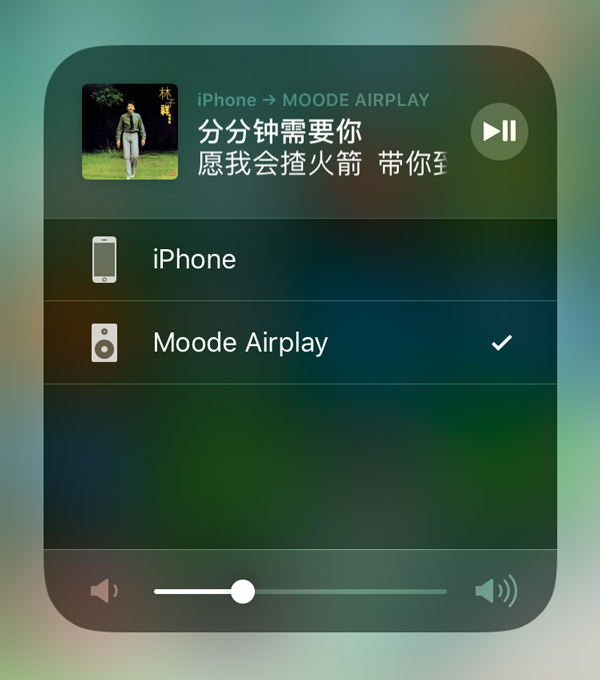
In the case of an iPhone, when the phone and the Raspberry Pi are in the same LAN segment, the available playback devices are automatically discovered in the context menu. Select to output your phone’s sound to the Raspberry Pi and decode it via the HiFi DAC.
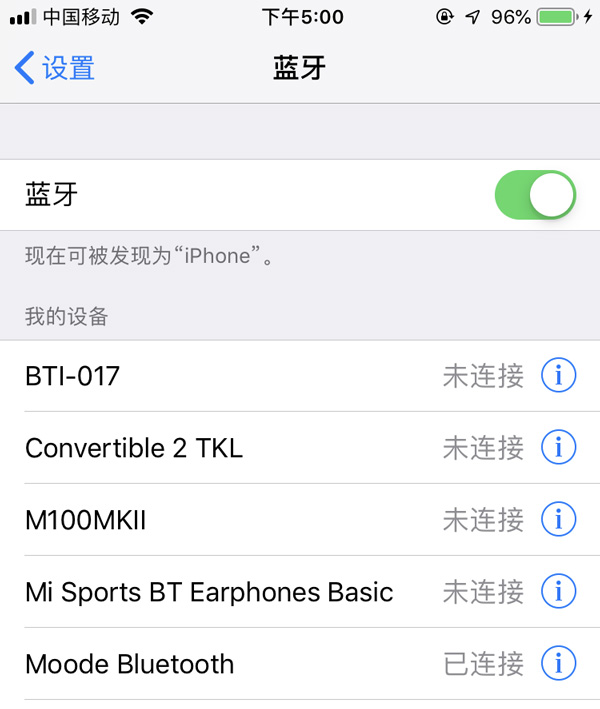
Similarly, the phone can also find an extra Bluetooth device. After clicking Connect, pair in the WebUI.
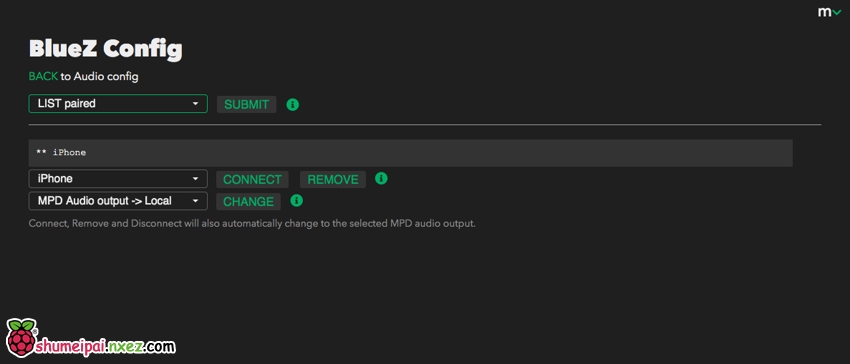
It’s time to connect.
In this way, you can use the Raspberry Pi as the receiver of the Bluetooth speaker.