Install Volumio
If you are a first-time user, it is recommended to download the latest version of the system image file for Raspberry Pi in volumio.org and extract it to obtain the image file in IMG format. Use the tool to flash into the system and start enjoying immediately! Image Download:
https://volumio.org/
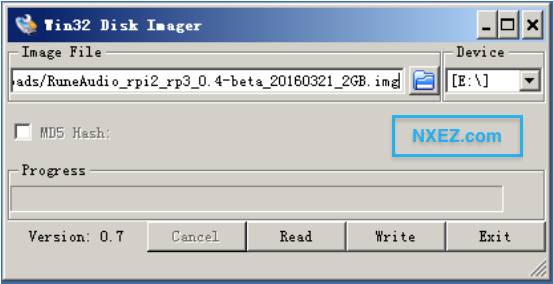
1. Download the image burning tool Win32DiskImager and the image file
2. Insert the SD card into the PC
3. Run Win32DiskImager and select the drive letter corresponding to the decompressed system image file and SD card
4. Click Write to start burning, exit the SD card and load the Raspberry Pi when finished, and power it on to start
Configure Volumio
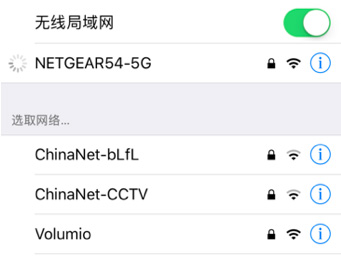
We strongly recommend that you use a Raspberry Pi with a wireless card, MoodeAudio pre-configures the Raspberry Pi’s wireless card as a Wi-Fi hotspot, after the system boots up, you can use your phone or laptop to search for the wireless network, find the wireless network named moode, and use the password moodeaudio to connect.
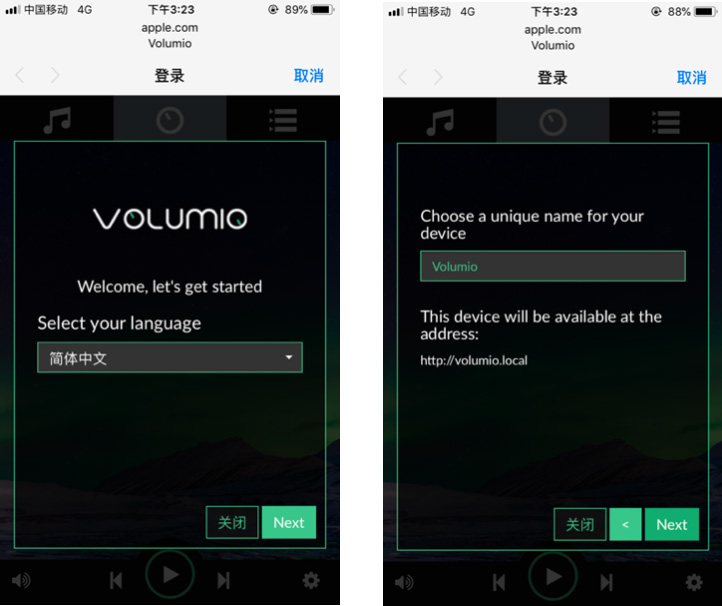
Once connected, use your browser to access http://volumio.local.
Once connected, the system will automatically pop up the initialization configuration wizard, configuring the system language and hostname (this name is not recommended unless multiple Volumio systems are used in the same environment).
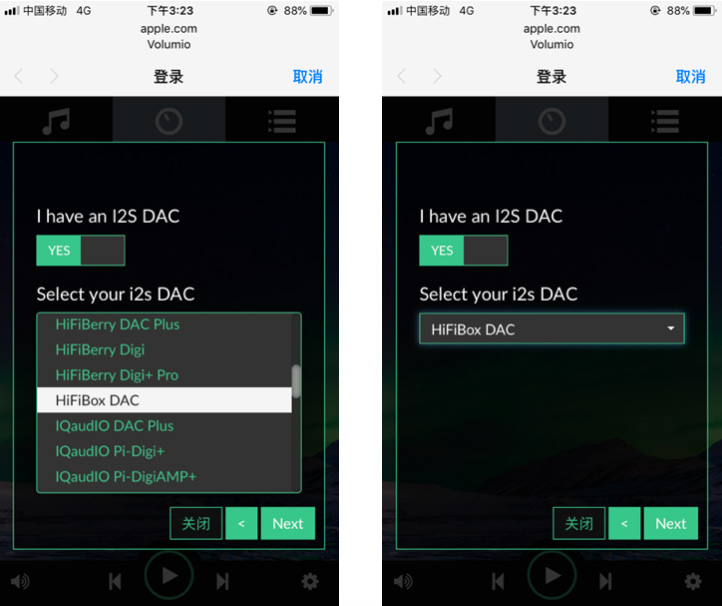
Set the DAC options, turn on the I2S DAC option, and select the HiFiBox DAC (or HiFiBerry DAC Plus) as shown in the figure.
Set up a wireless network configuration to connect the Raspberry Pi to your own Wi-Fi network. Once the Wi-Fi network is enabled, the original Wi-Fi hotspot will no longer work. Because the same wireless network card can only be used for one purpose.
If the Raspberry Pi is successfully connected to your own Wi-Fi network, you can access the Volumio Control Panel via http://volumio.local after restarting the Raspberry Pi.
Add a USB drive, skip it if you don’t have it yet.
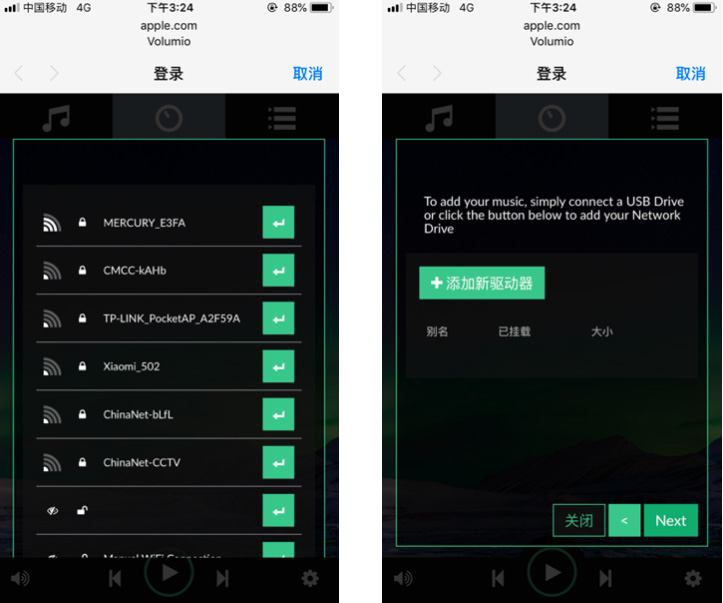
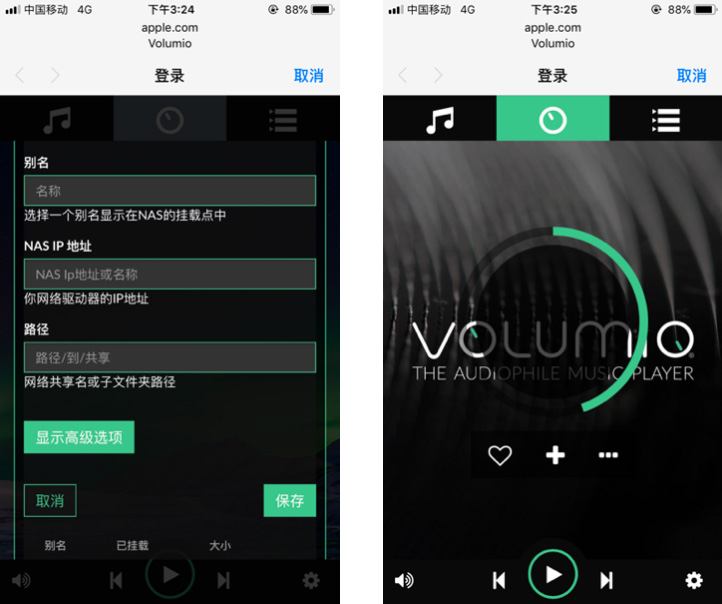
Add a shared directory in your LAN and skip it if you don’t have it yet.
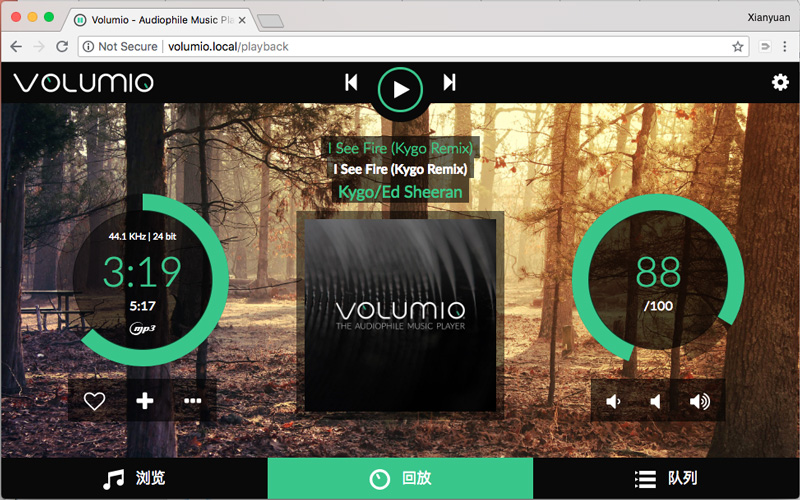
This completes the entire initial configuration and automatically takes you to the player panel.
The player panel can also be accessed via http://volumio.local on your phone or computer browser.
If you’re using a Raspberry Pi that doesn’t have a wireless card, you’ll need to connect to your LAN via wired connection to make sure it’s on the same LAN as your terminal (phone or computer). First you need to find the IP address of your Raspberry Pi, and there are several ways to do this:
Volumio system, which can be easily accessed by typing http://volumio.local into your browser.
Log in to the router’s client list and look for the IP address corresponding to the raspberrypi or volumio device name.
Use an external monitor to view the IP address assigned by DHCP in the system boot information.
The mobile phone access interface is similar. Next, configure the audio output device in Playback Options, enable the I2S DAC option, and select the HiFiBox DAC (or HiFiBerry DAC Plus), as shown in the figure.

After the configuration is complete, it is recommended to restart the Raspberry Pi.
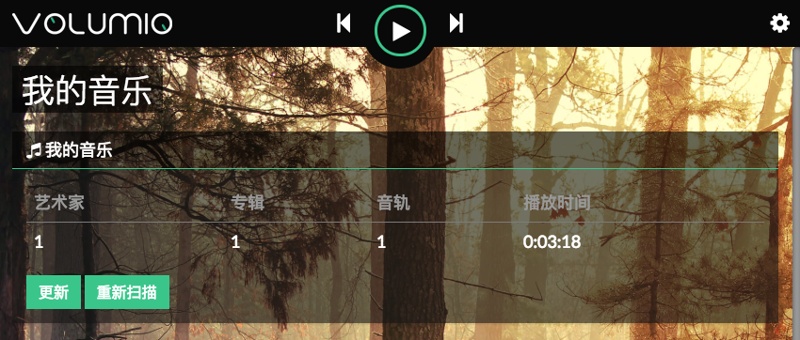
Once you are in the player interface again, click “Browse” to see that there are various audio sources here.
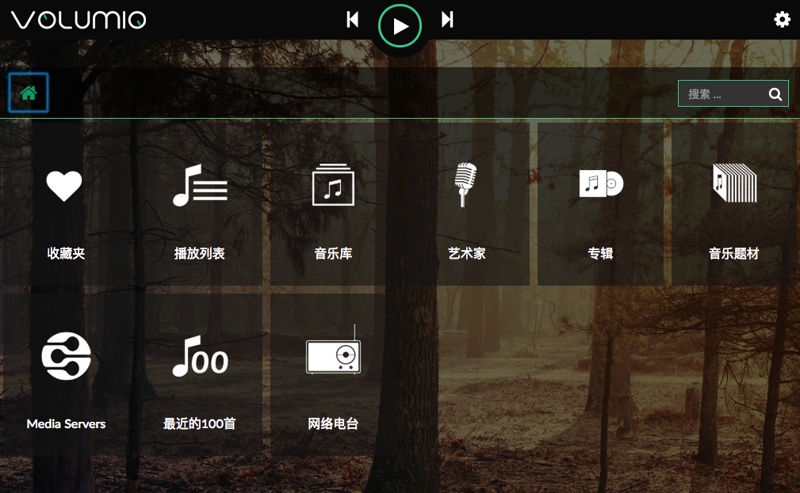
USB disks, NAS, and internal system storage (i.e. SD cards, which can be used to transfer audio files over the network via Volumio’s built-in Samba).

After the audio source changes (such as a new disk or NAS path attached), you can use the scan function to automatically update the music list, which is very convenient.
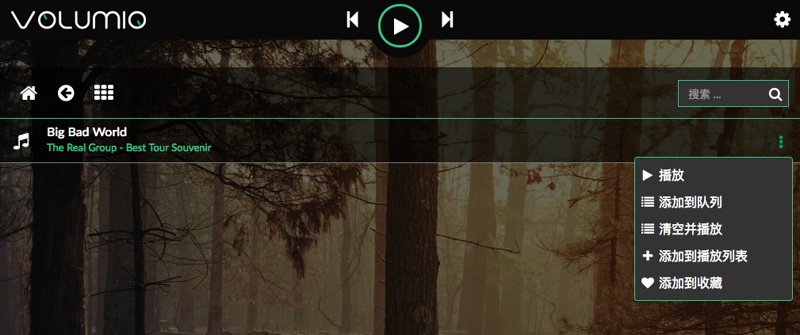
To play, select the music file to play directly. Or add to the playback queue.
Airplay
In the case of an iPhone, when the phone and the Raspberry Pi are in the same LAN segment, the available playback devices are automatically discovered in the context menu. Select to output your phone’s sound to the Raspberry Pi and decode it via the HiFiDAC.
