入门
Getting started with your Raspberry Pi
To get started with your Raspberry Pi, you’ll need the following:
-
boot media (e.g. a microSD card with ample storage and speed)
You can set up your Raspberry Pi as an interactive computer with a desktop, or as a headless computer accessible only over the network. To set your Raspberry Pi up headless, you don’t need any additional peripherals: you can preconfigure a hostname, user account, network connection, and SSH when you install an operating system. If you want to use your Raspberry Pi directly, you’ll need the following additional accessories:
-
a display
-
a cable to connect your Raspberry Pi to your display
-
a keyboard
-
a mouse
Power supply
The following table shows the USB-PD power mode required to power various Raspberry Pi models. You can use any high-quality power supply that provides the correct power mode.
| Model | Recommended power supply (voltage/current) | Raspberry Pi power supply |
|---|---|---|
Raspberry Pi 5 |
5V/5A, 5V/3A limits peripherals to 600mA |
|
Raspberry Pi 4 Model B |
5V/3A |
|
Raspberry Pi 3 (all models) |
5V/2.5A |
|
Raspberry Pi 2 (all models) |
5V/2.5A |
|
Raspberry Pi 1 (all models) |
5V/2.5A |
|
Raspberry Pi Zero (all models) |
5V/2.5A |
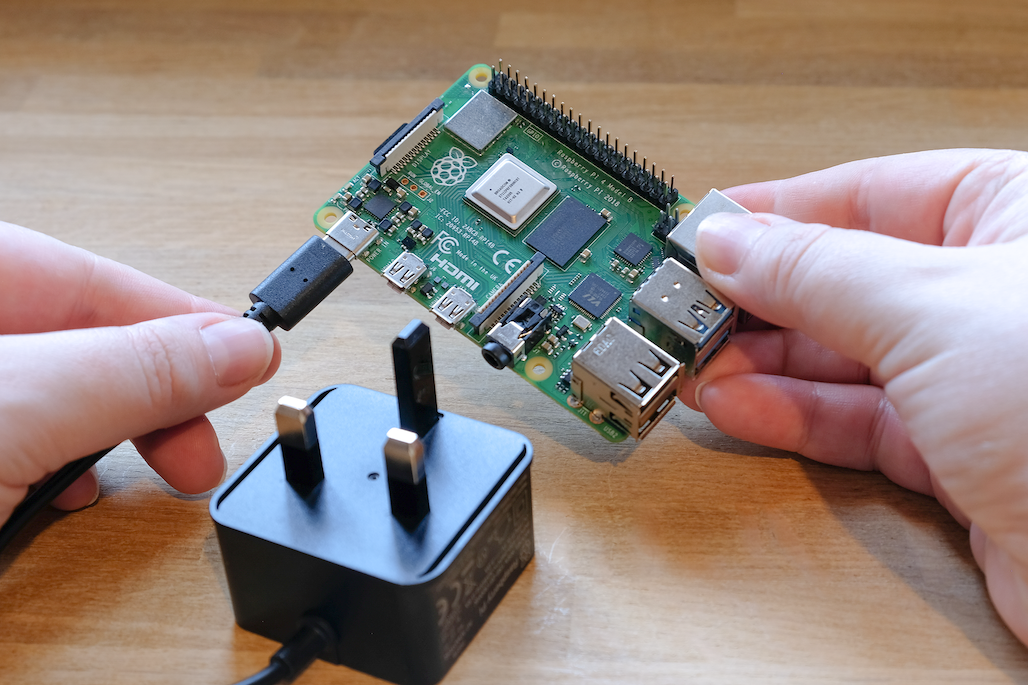
Plug your power supply into the port marked "POWER IN", "PWR IN", or "PWR". Some Raspberry Pi models, such as the Zero series, have output USB ports with the same form factor as the power port. Be sure to use the correct port on your Raspberry Pi!
Boot media
Raspberry Pi models lack onboard storage, so you have to supply it. You can boot your Raspberry Pi from an operating system image installed on any supported media: microSD cards are used commonly, but USB storage, network storage, and storage connected via a PCIe HAT are also available. However, only recent Raspberry Pi models support all of these media types.
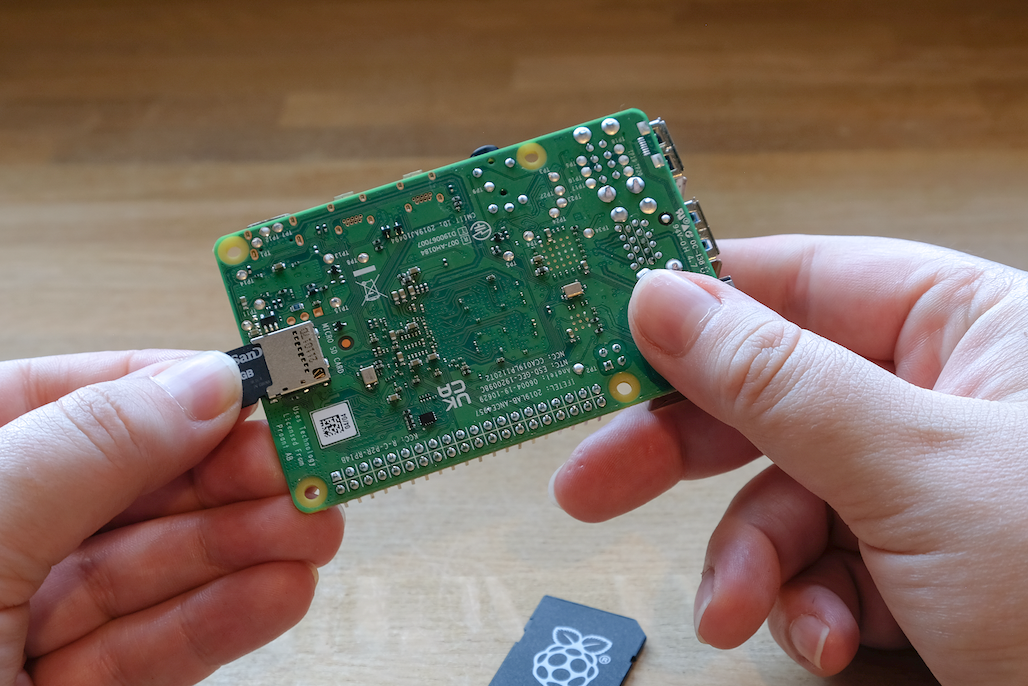
All Raspberry Pi consumer models since the Raspberry Pi 1 Model A+ feature a microSD slot. Your Raspberry Pi automatically boots from the microSD slot when the slot contains a card.
Recommended SD cards
We recommend using an SD card with at least 32GB of storage for Raspberry Pi OS installations. For Raspberry Pi OS Lite, we recommend at least 16GB. You can use any SD card with a capacity of less than 2TB. Capacities above 2TB are currently not supported due to limitations in the MBR. As with any other boot media, you’ll see improved performance on SD cards with faster read and write speeds.
If you’re unsure which SD card to buy, consider Raspberry Pi’s official SD cards.
Because of a hardware limitation, the following devices will only boot from a boot partition of 256GB or less:
-
Raspberry Pi Zero
-
Raspberry Pi 1
-
early Raspberry Pi 2 models with the BCM2836 SoC
Other operating systems have different requirements. Check the documentation for your operating system for capacity requirements.
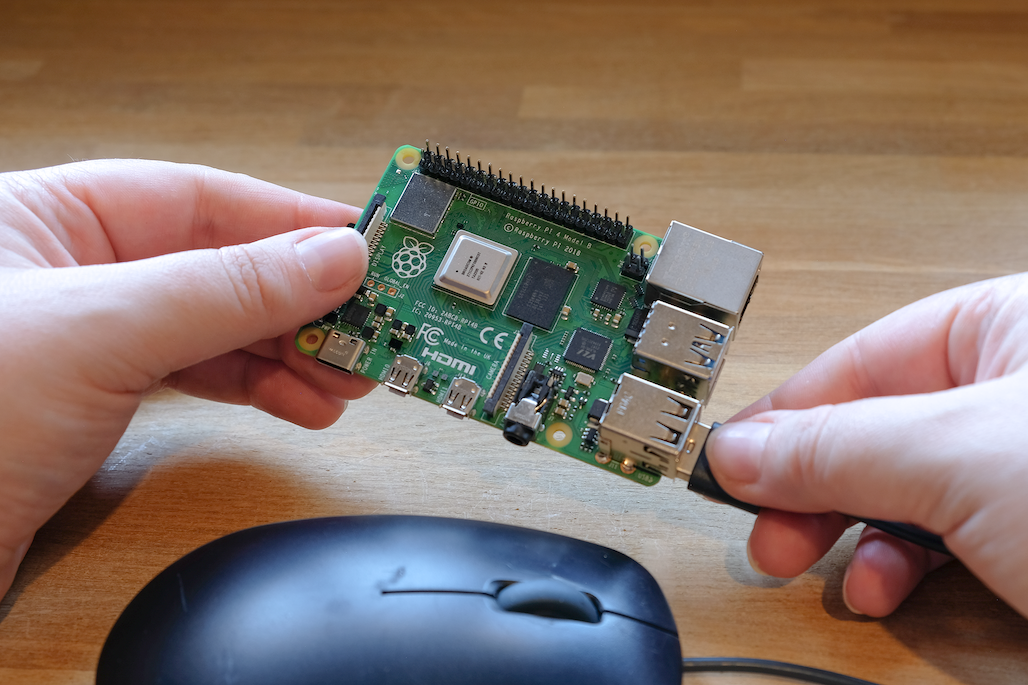
Keyboard
You can use any of the USB ports on your Raspberry Pi to connect a wired keyboard or USB Bluetooth receiver.

Mouse
You can use any of the USB ports on your Raspberry Pi to connect a wired mouse or USB Bluetooth receiver.
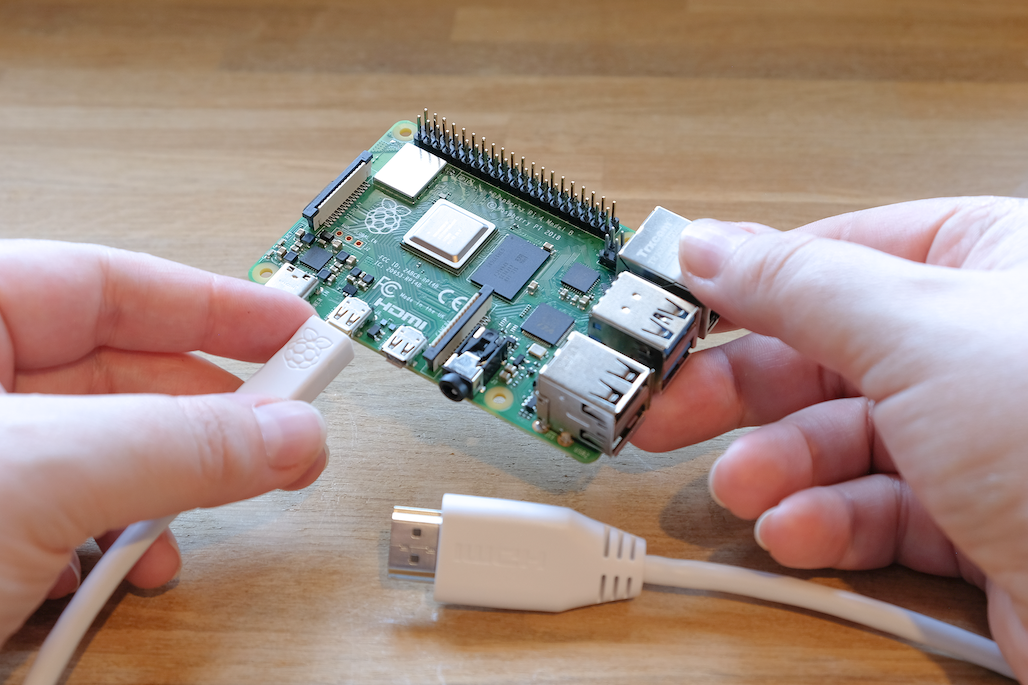
Display
Raspberry Pi models have the following display connectivity:
| Model | Display outputs |
|---|---|
Raspberry Pi 5 |
2× micro HDMI |
Raspberry Pi 4 (all models) |
2× micro HDMI, audio and composite out via 3.5mm TRRS jack |
Raspberry Pi 3 (all models) |
HDMI, audio and composite out via 3.5mm TRRS jack |
Raspberry Pi 2 (all models) |
HDMI, audio and composite out via 3.5mm TRRS jack |
Raspberry Pi 1 Model B+ |
HDMI, audio and composite out via 3.5mm TRRS jack |
Raspberry Pi 1 Model A+ |
HDMI, audio and composite out via 3.5mm TRRS jack |
Raspberry Pi Zero (all models) |
mini HDMI |
|
Note
|
No Raspberry Pi models support video over USB-C (DisplayPort alt mode). |
If your Raspberry Pi has more than one HDMI port, plug your primary monitor into the port marked HDMI0.
Most displays don’t have micro or mini HDMI ports. However, you can use a micro-HDMI-to-HDMI cable or mini-HDMI-to-HDMI cable to connect those ports on your Raspberry Pi to any HDMI display. For displays that don’t support HDMI, consider an adapter that translates display output from HDMI to a port supported by your display.
Audio
All Raspberry Pi models with HDMI, micro HDMI, or mini HDMI support audio output over HDMI. All Raspberry Pi models support audio over USB. All Raspberry Pi models equipped with Bluetooth support Bluetooth audio. All variants of the Raspberry Pi 1, 2, 3, and 4 include a 3.5mm auxiliary TRRS jack, which may require amplification for sufficient output volume.
Networking
The following Raspberry Pi models come with Wi-Fi and Bluetooth connectivity:
-
Raspberry Pi 5
-
Raspberry Pi 4
-
Raspberry Pi 3B+
-
Raspberry Pi 3
-
Raspberry Pi Zero W
-
Rsapberry Pi Zero 2 W
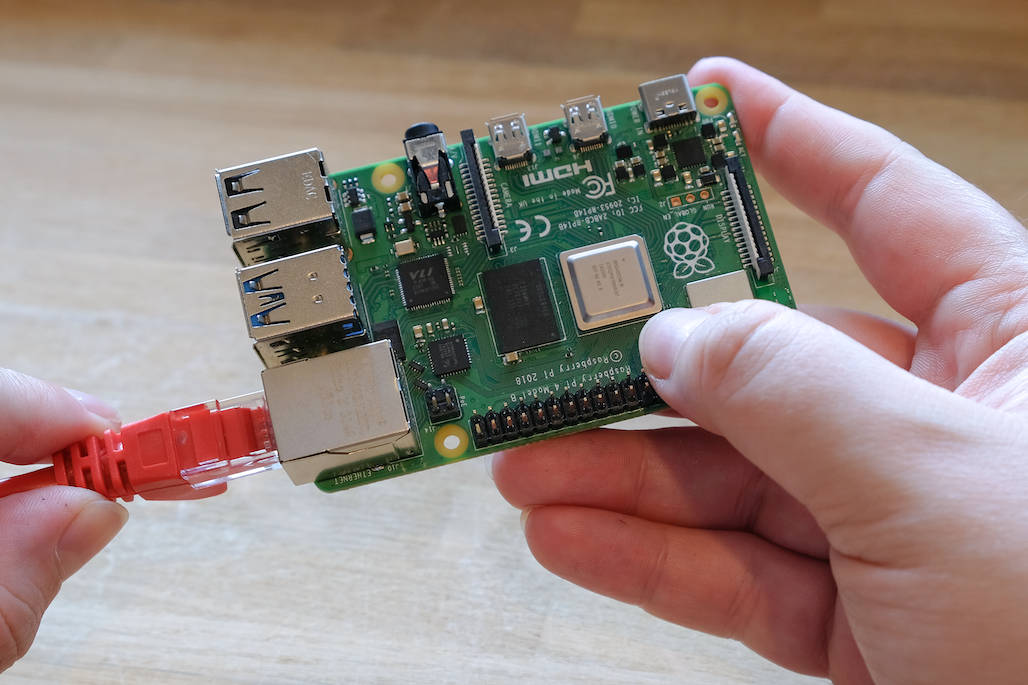
The "Model B" suffix indicates variants with an Ethernet port; "Model A" indicates no Ethernet port. If your Raspberry Pi doesn’t have an Ethernet port, you can still connect to a wired internet connection using a USB-to-Ethernet adapter.
Install an operating system
To use your Raspberry Pi, you’ll need an operating system. By default, Raspberry Pis check for an operating system on any SD card inserted in the SD card slot.
Depending on your Raspberry Pi model, you can also boot an operating system from other storage devices, including USB drives, storage connected via a HAT, and network storage.
To install an operating system on a storage device for your Raspberry Pi, you’ll need:
-
a computer you can use to image the storage device into a boot device
-
a way to plug your storage device into that computer
Most Raspberry Pi users choose microSD cards as their boot device.
We recommend installing an operating system using Raspberry Pi Imager.
Raspberry Pi Imager is a tool that helps you download and write images on macOS, Windows, and Linux. Imager includes many popular operating system images for Raspberry Pi. Imager also supports loading images downloaded directly from Raspberry Pi or third-party vendors such as Ubuntu. You can use Imager to preconfigure credentials and remote access settings for your Raspberry Pi.
Imager supports images packaged in the .img format as well as container formats like .zip.
If you have no other computer to write an image to a boot device, you may be able to install an operating system directly on your Raspberry Pi from the internet.
Install using Imager
You can install Imager in the following ways:
-
Download the latest version from raspberrypi.com/software and run the installer.
-
Install it from a terminal using your package manager, e.g.
sudo apt install rpi-imager.
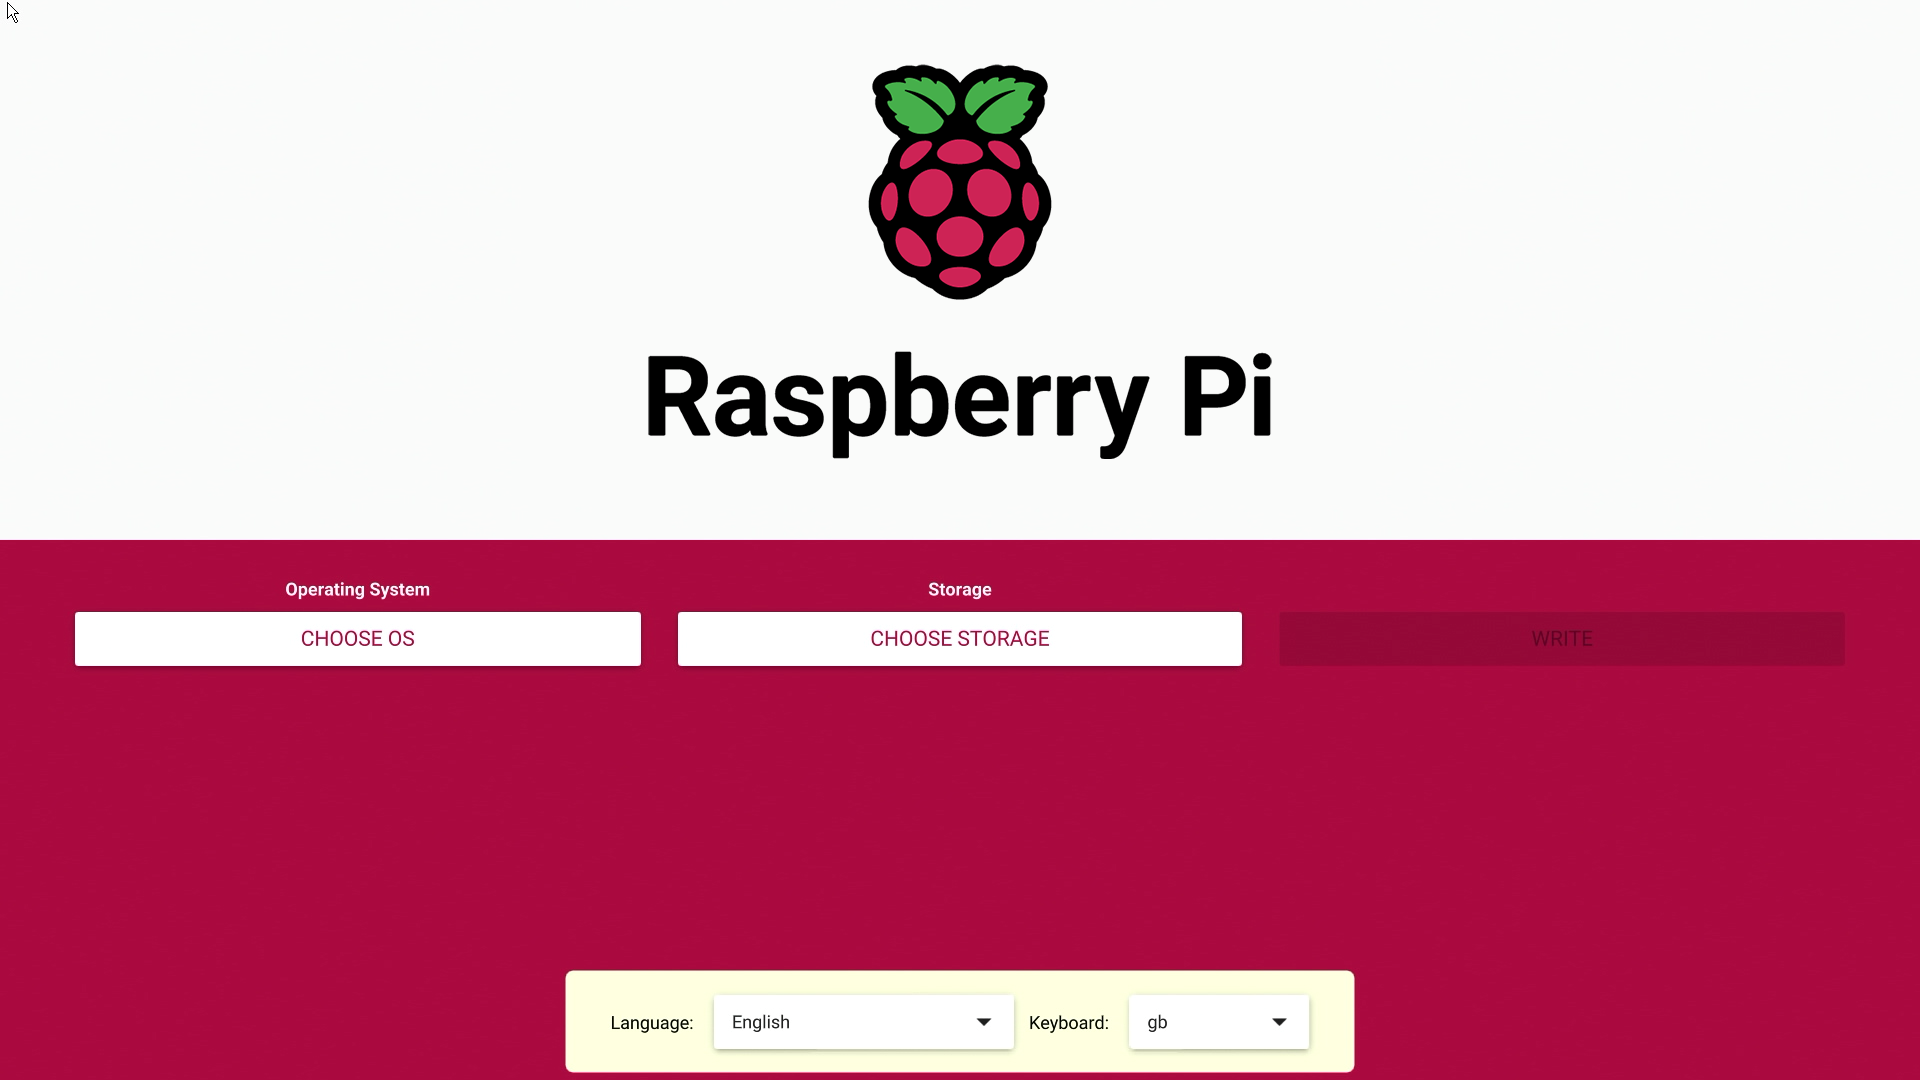
Once you’ve installed Imager, launch the application by clicking the Raspberry Pi Imager icon or running rpi-imager.
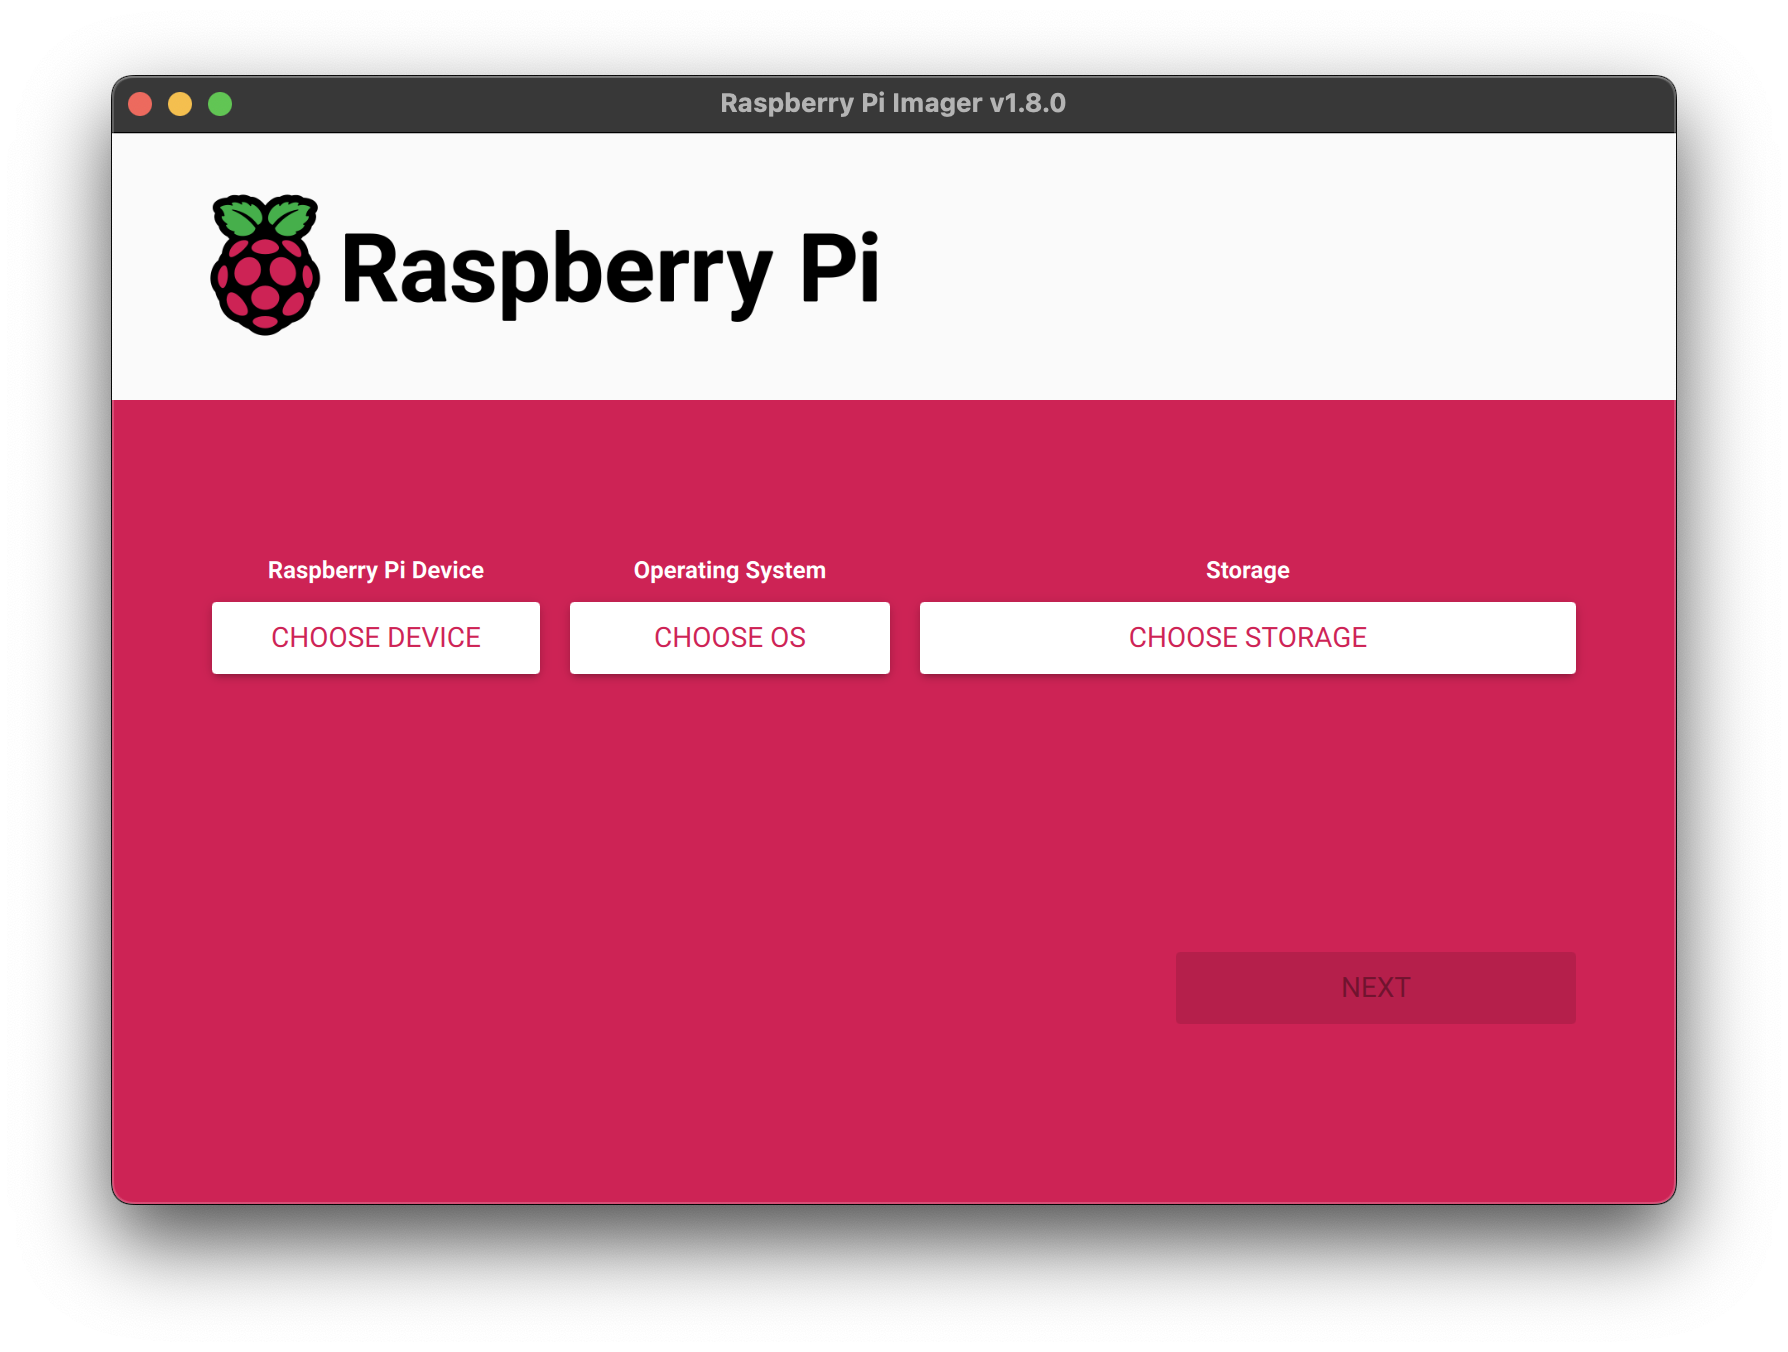
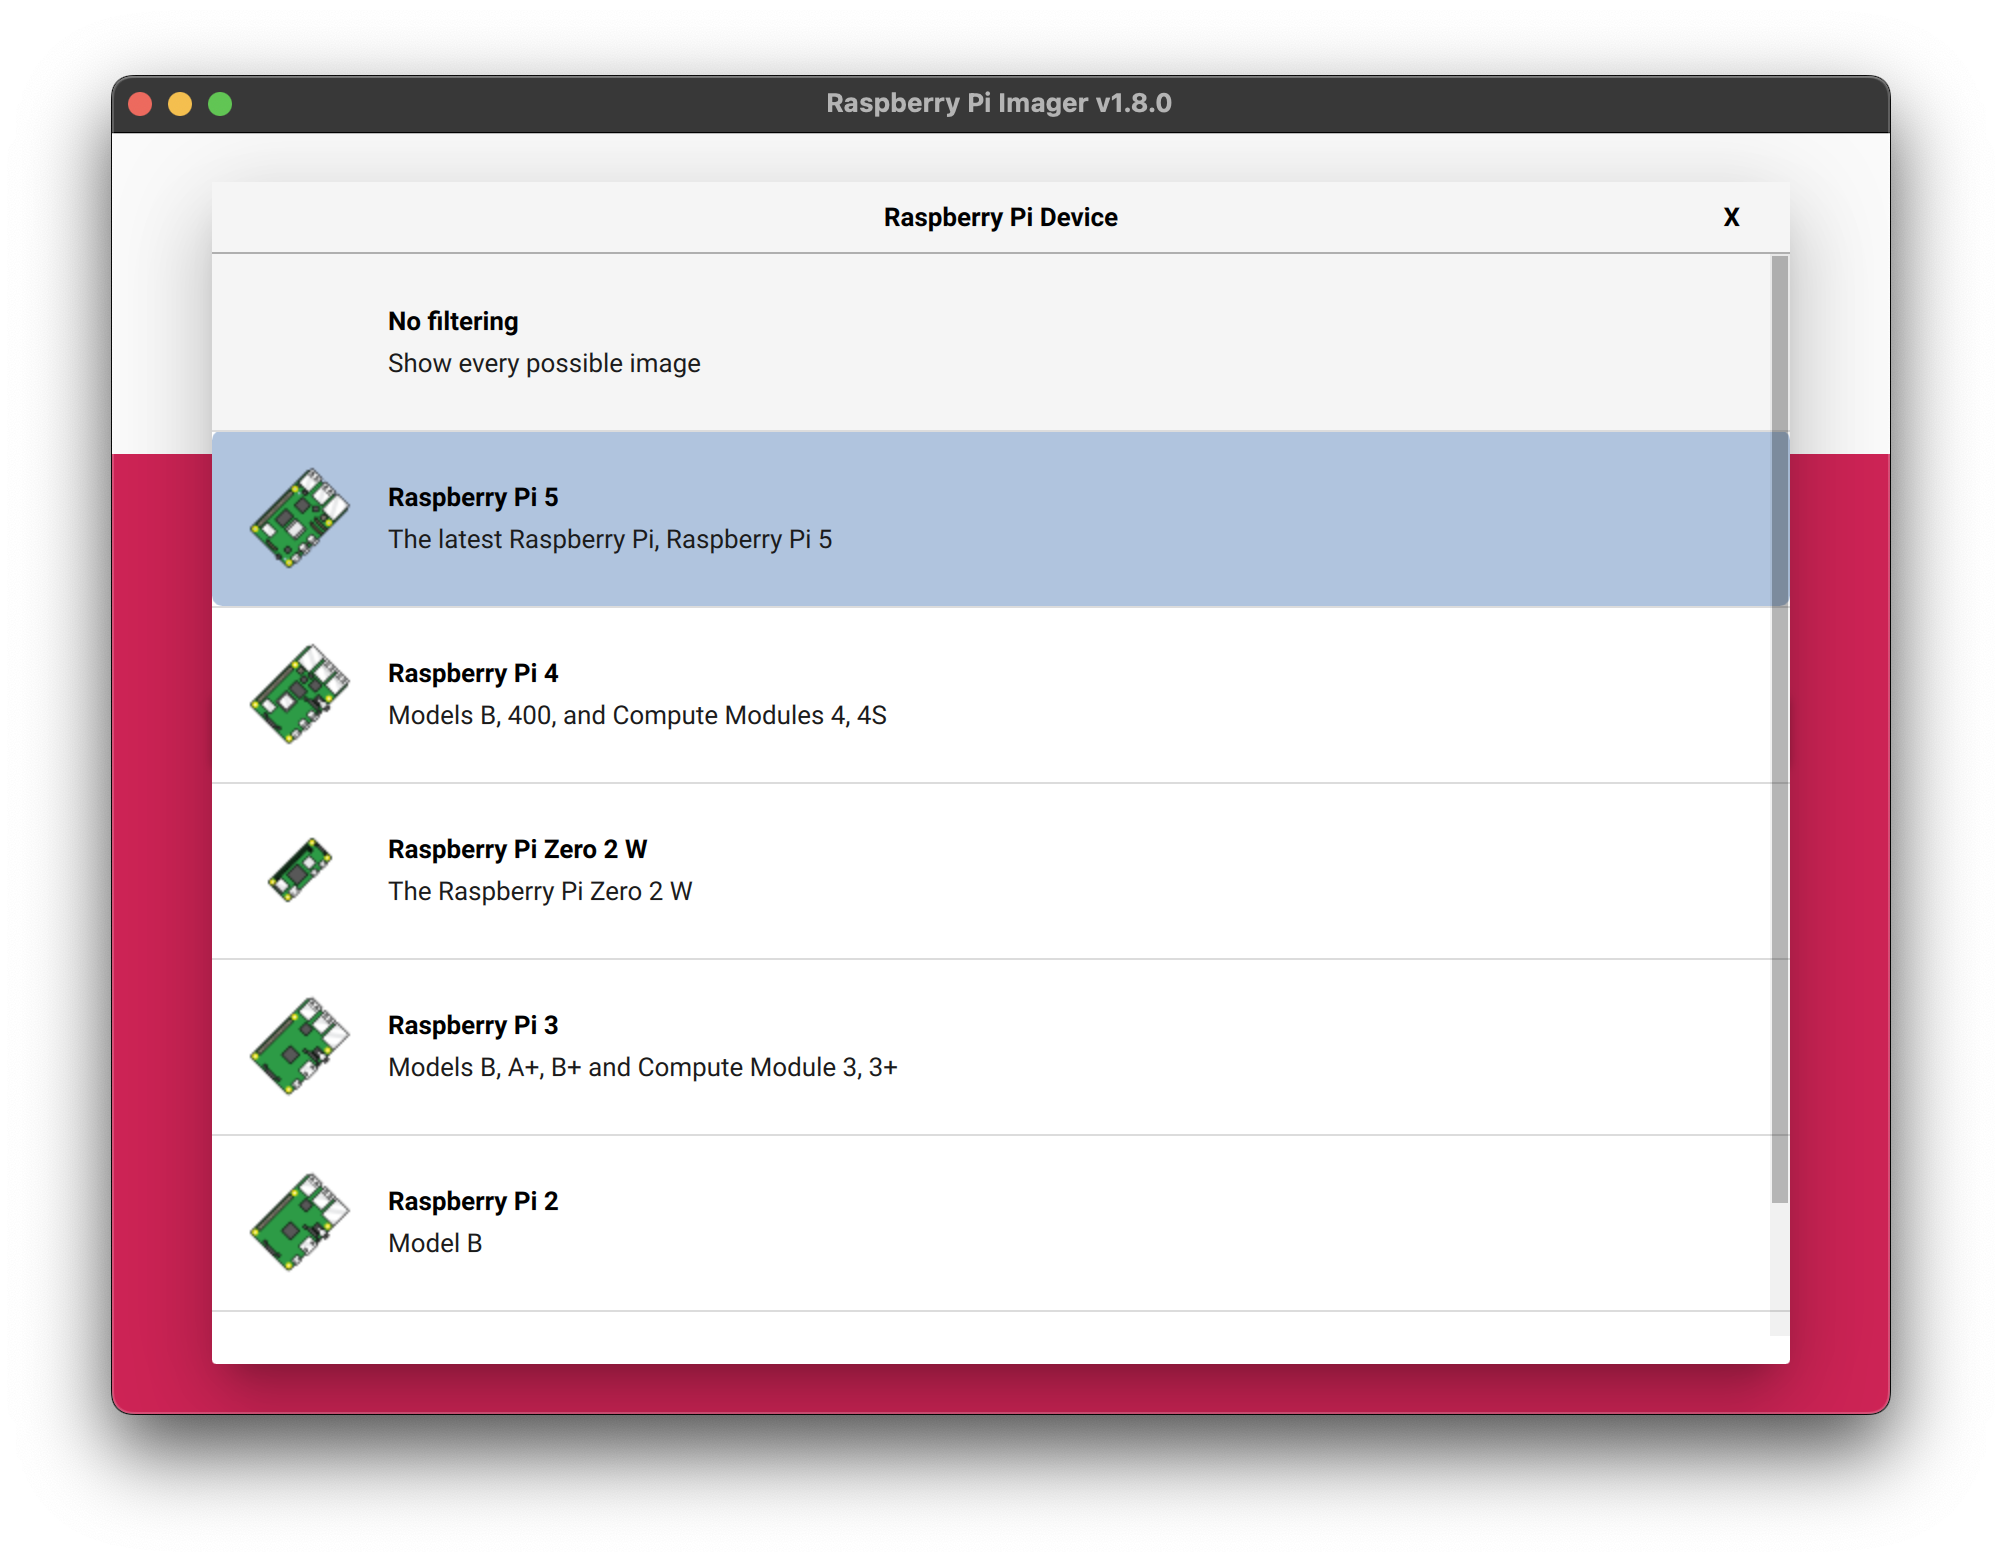
Click Choose device and select your Raspberry Pi model from the list.
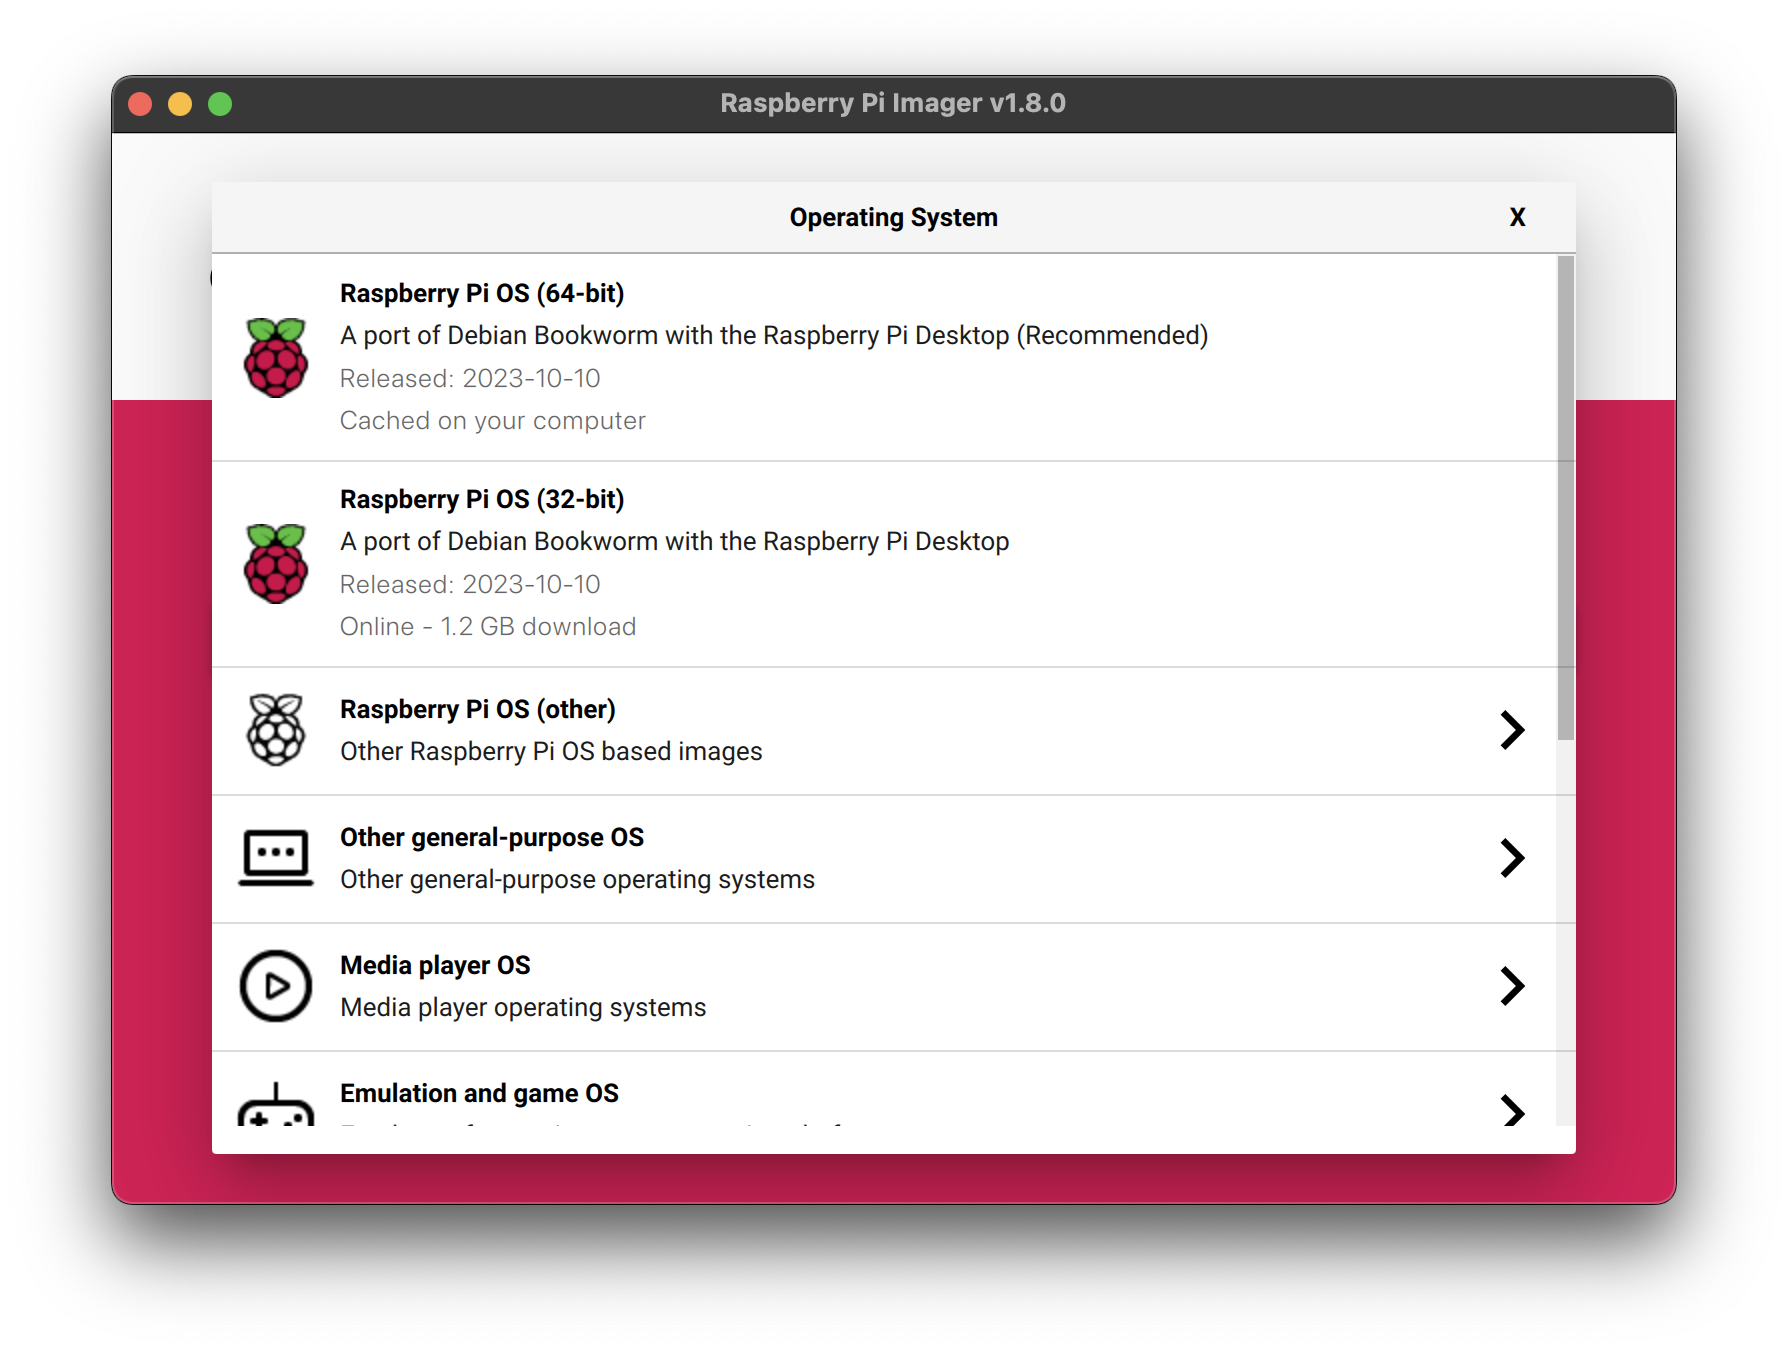
Next, click Choose OS and select an operating system to install. Imager always shows the recommended version of Raspberry Pi OS for your model at the top of the list.
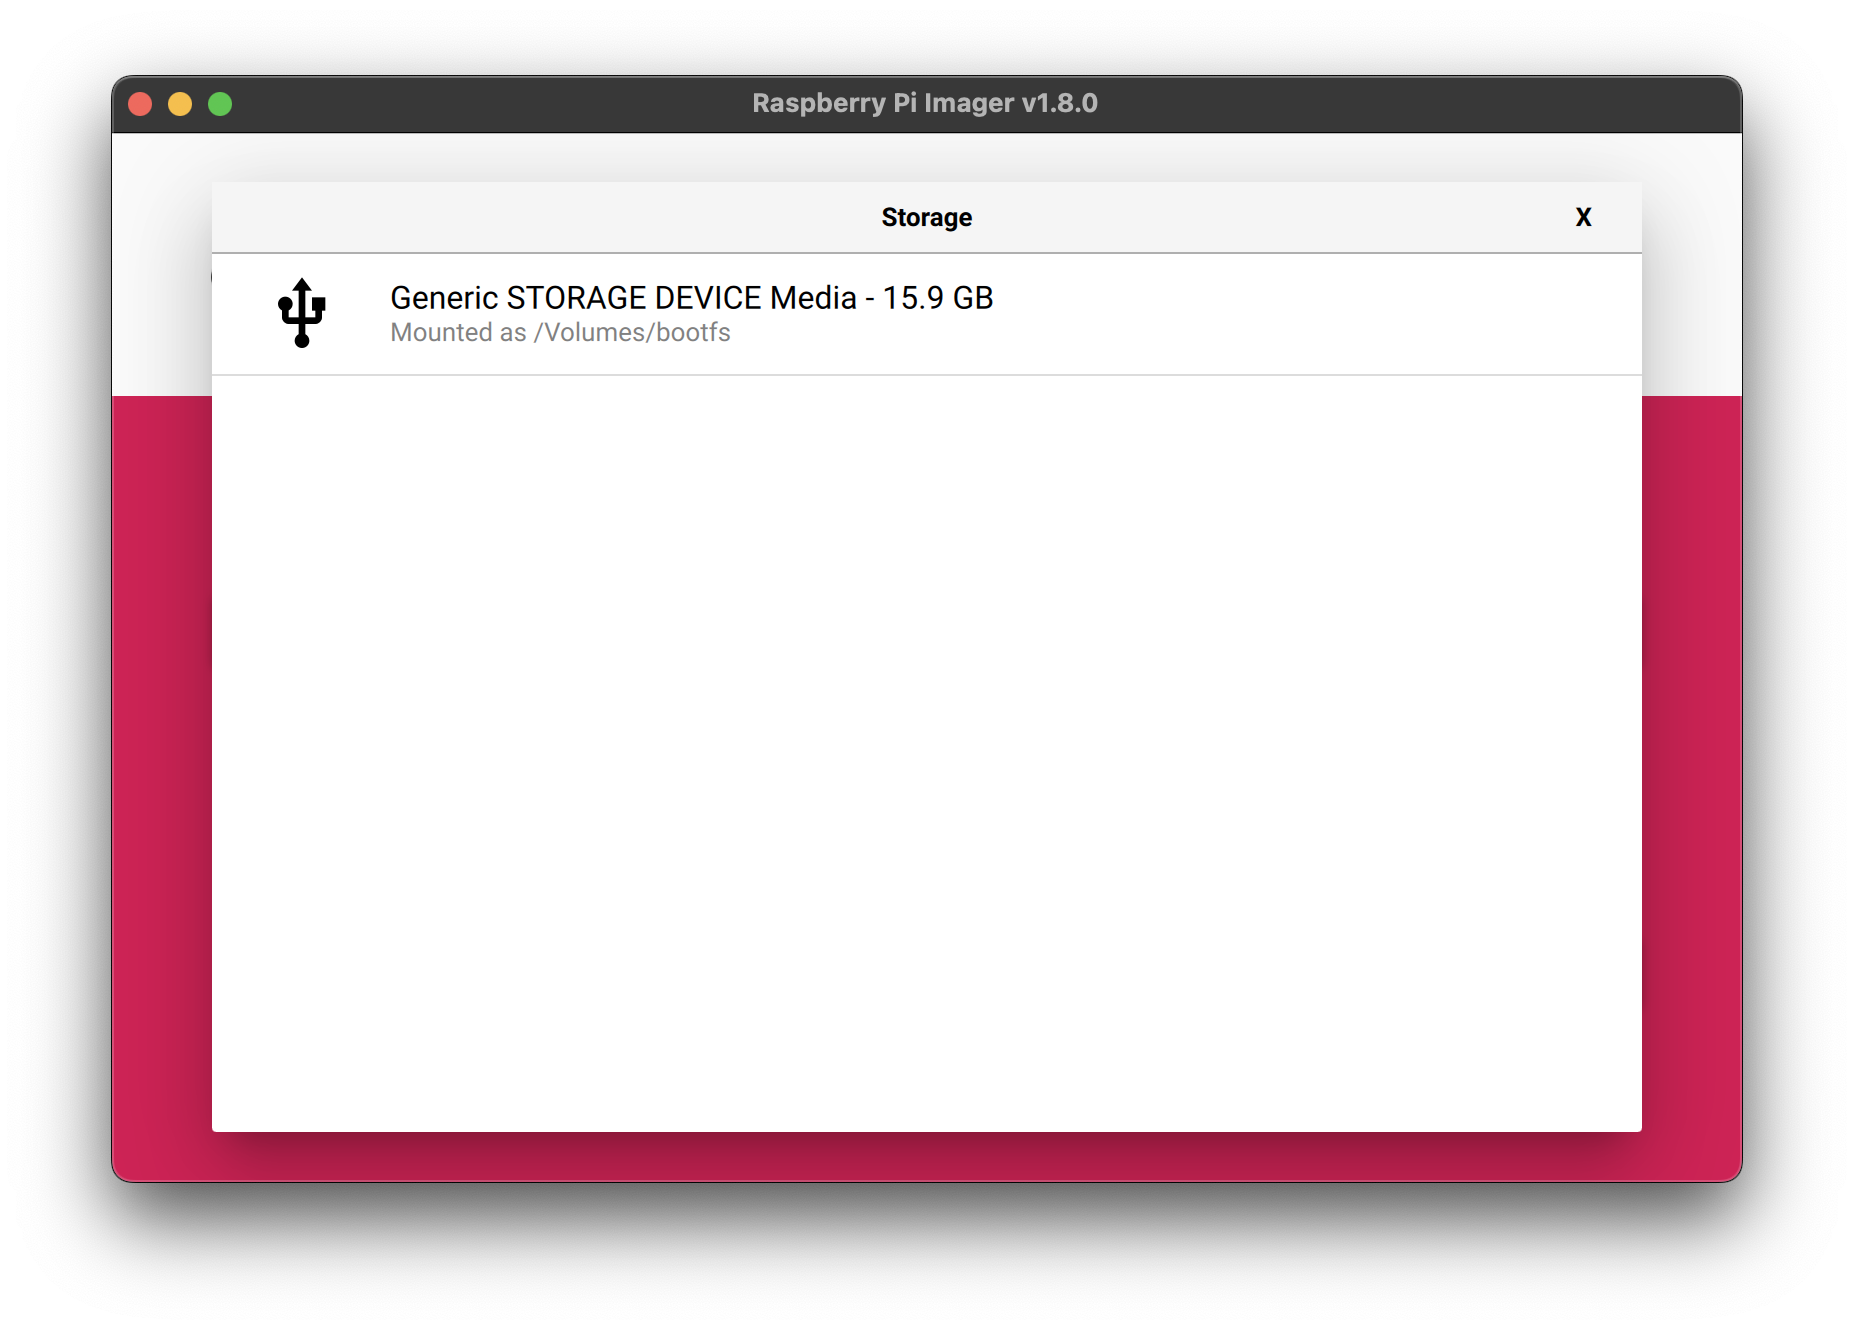
Connect your preferred storage device to your computer. For example, plug a microSD card in using an external or built-in SD card reader. Then, click Choose storage and select your storage device.
|
Warning
|
If you have more than one storage device connected to your computer, be sure to choose the correct device! You can often identify storage devices by size. If you’re unsure, disconnect other devices until you’ve identified the device you want to image. |
Next, click Next.
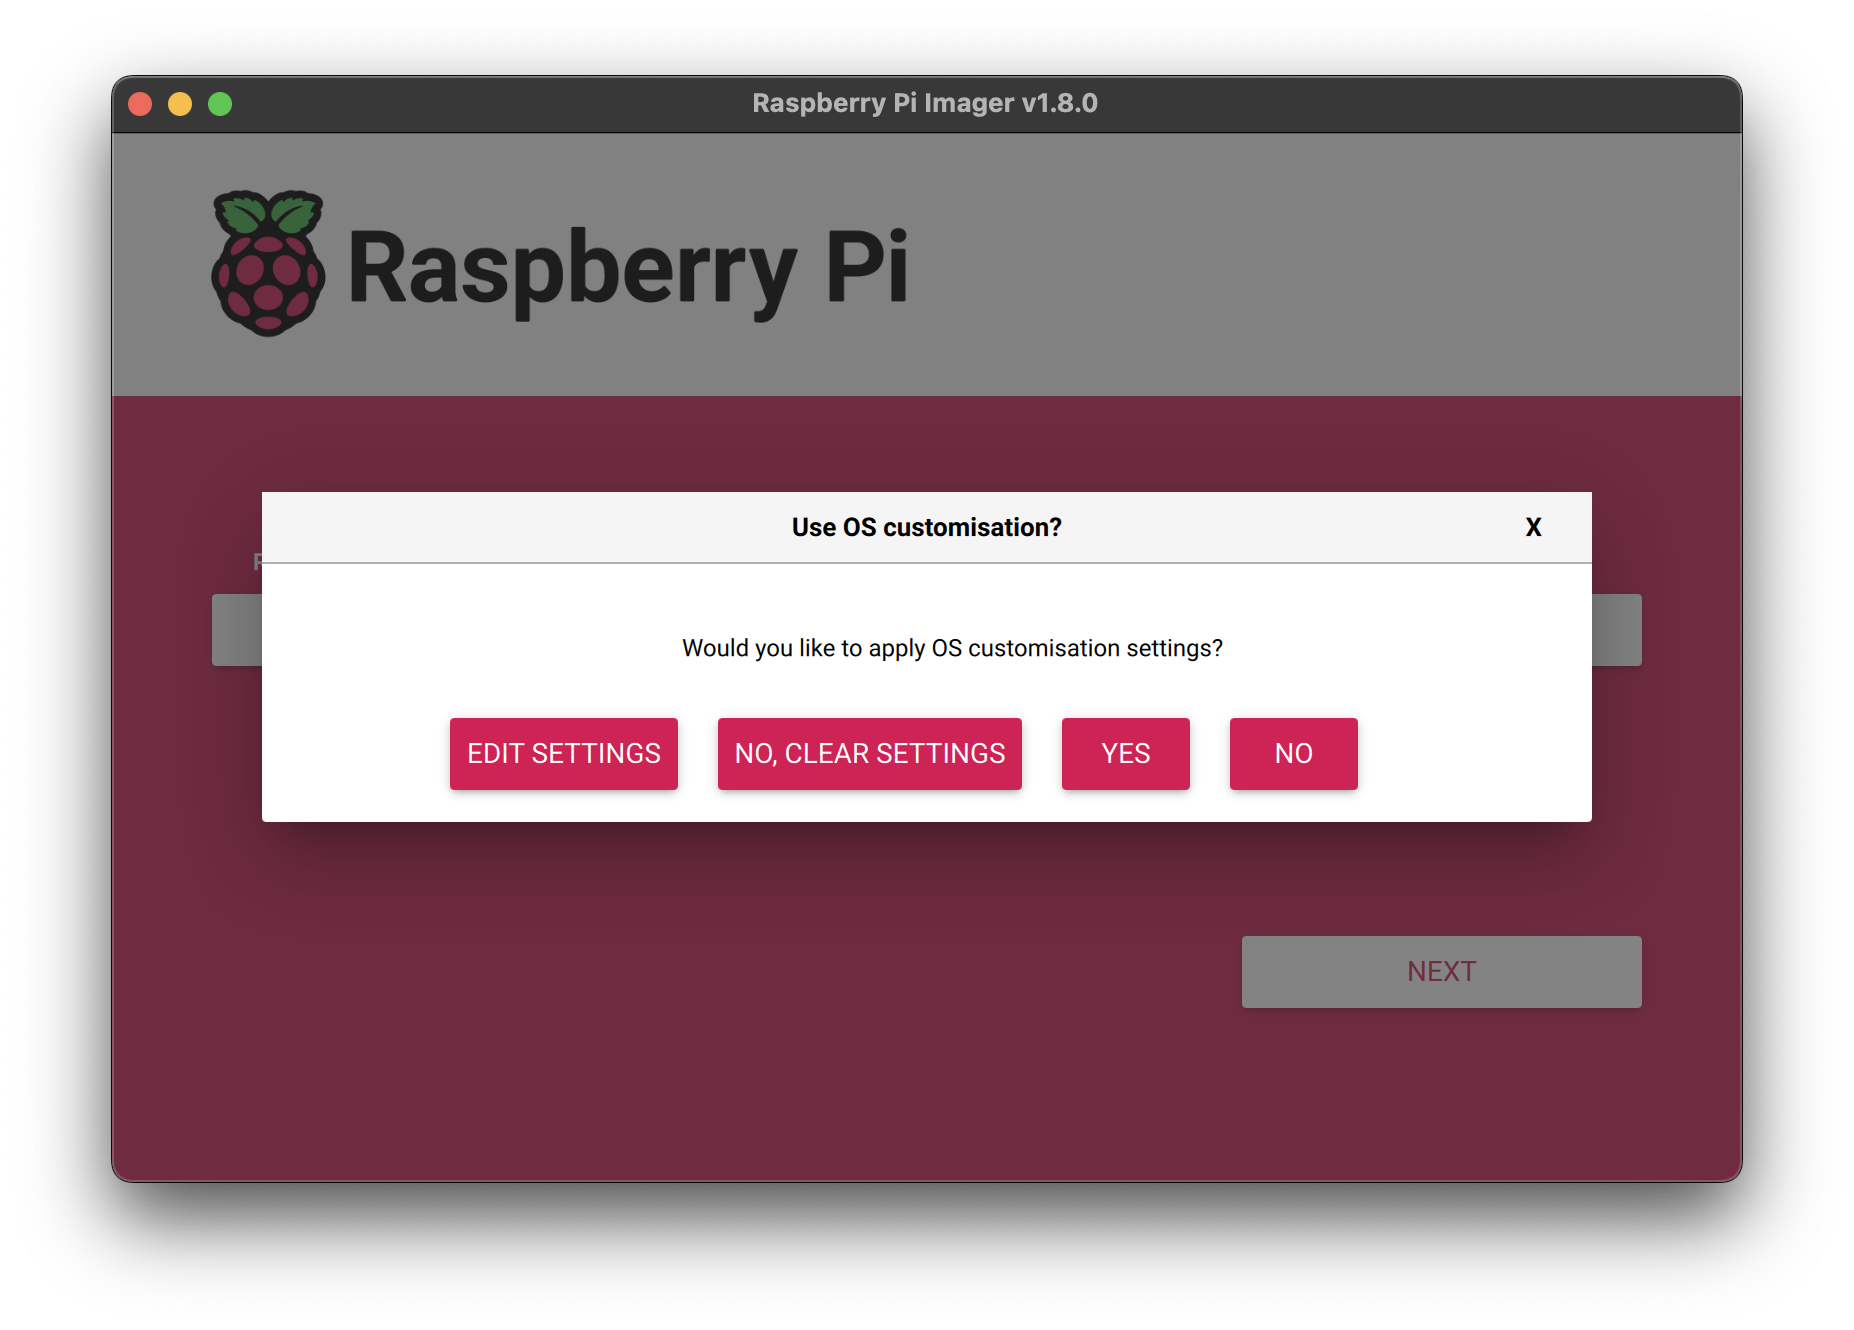
In a popup, Imager will ask you to apply OS customisation. We strongly recommend configuring your Raspberry Pi via the OS customisation settings. Click the Edit Settings button to open OS customisation.
If you don’t configure your Raspberry Pi via OS customisation settings, Raspberry Pi OS will ask you for the same information at first boot during the configuration wizard. You can click the No button to skip OS customisation.
OS customisation
The OS customisation menu lets you set up your Raspberry Pi before first boot. You can preconfigure:
-
a username and password
-
Wi-Fi credentials
-
the device hostname
-
the time zone
-
your keyboard layout
-
remote connectivity
When you first open the OS customisation menu, you might see a prompt asking for permission to load Wi-Fi credentials from your host computer. If you respond "yes", Imager will prefill Wi-Fi credentials from the network you’re currently connected to. If you respond "no", you can enter Wi-Fi credentials manually.
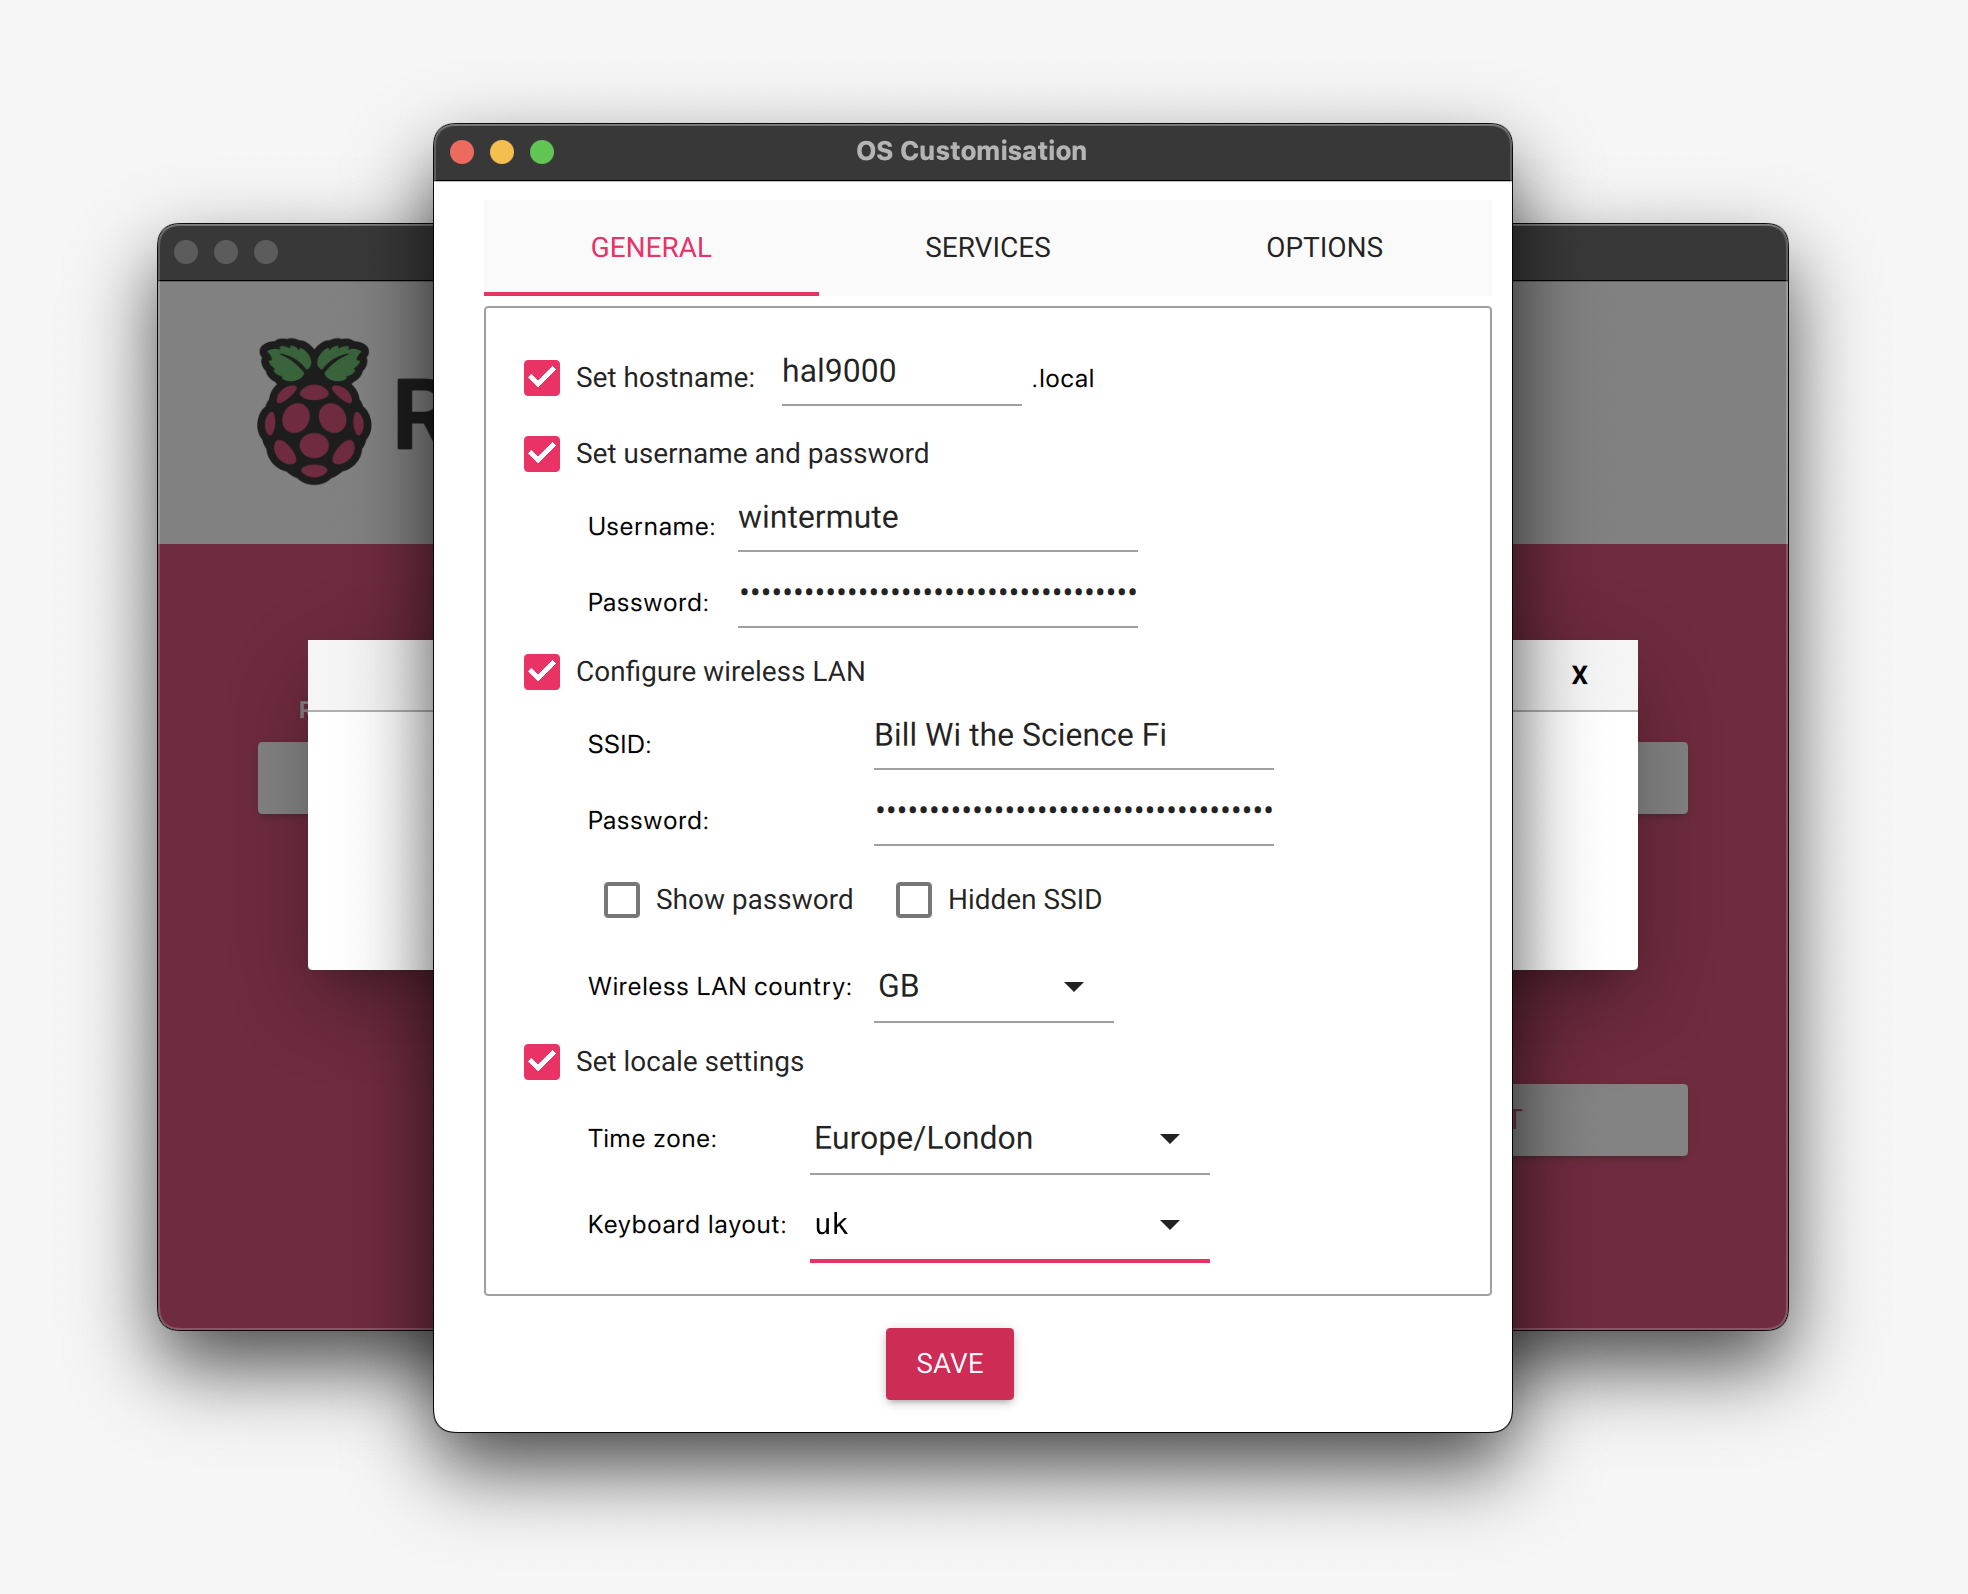
The hostname option defines the hostname your Raspberry Pi broadcasts to the network using mDNS. When you connect your Raspberry Pi to your network, other devices on the network can communicate with your computer using <hostname>.local or <hostname>.lan.
The username and password option defines the username and password of the admin user account on your Raspberry Pi.
The wireless LAN option allows you to enter an SSID (name) and password for your wireless network. If your network does not broadcast an SSID publicly, you should enable the "Hidden SSID" setting. By default, Imager uses the country you’re currently in as the "Wireless LAN country". This setting controls the Wi-Fi broadcast frequencies used by your Raspberry Pi. Enter credentials for the wireless LAN option if you plan to run a headless Raspberry Pi.
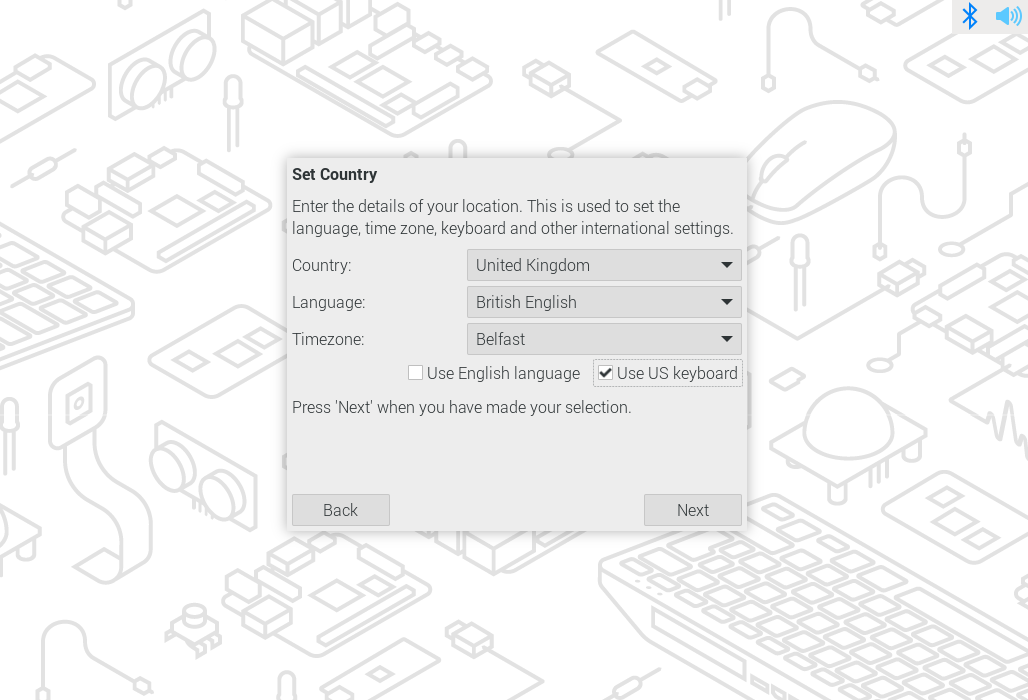
The locale settings option allows you to define the time zone and default keyboard layout for your Pi.
The Services tab includes settings to help you connect to your Raspberry Pi remotely.
If you plan to use your Raspberry Pi remotely over your network, check the box next to Enable SSH. You should enable this option if you plan to run a headless Raspberry Pi.
-
Choose the password authentication option to SSH into your Raspberry Pi over the network using the username and password you provided in the general tab of OS customisation.
-
Choose Allow public-key authentication only to preconfigure your Raspberry Pi for passwordless public-key SSH authentication using a private key from the computer you’re currently using. If already have an RSA key in your SSH configuration, Imager uses that public key. If you don’t, you can click Run SSH-keygen to generate a public/private key pair. Imager will use the newly-generated public key.

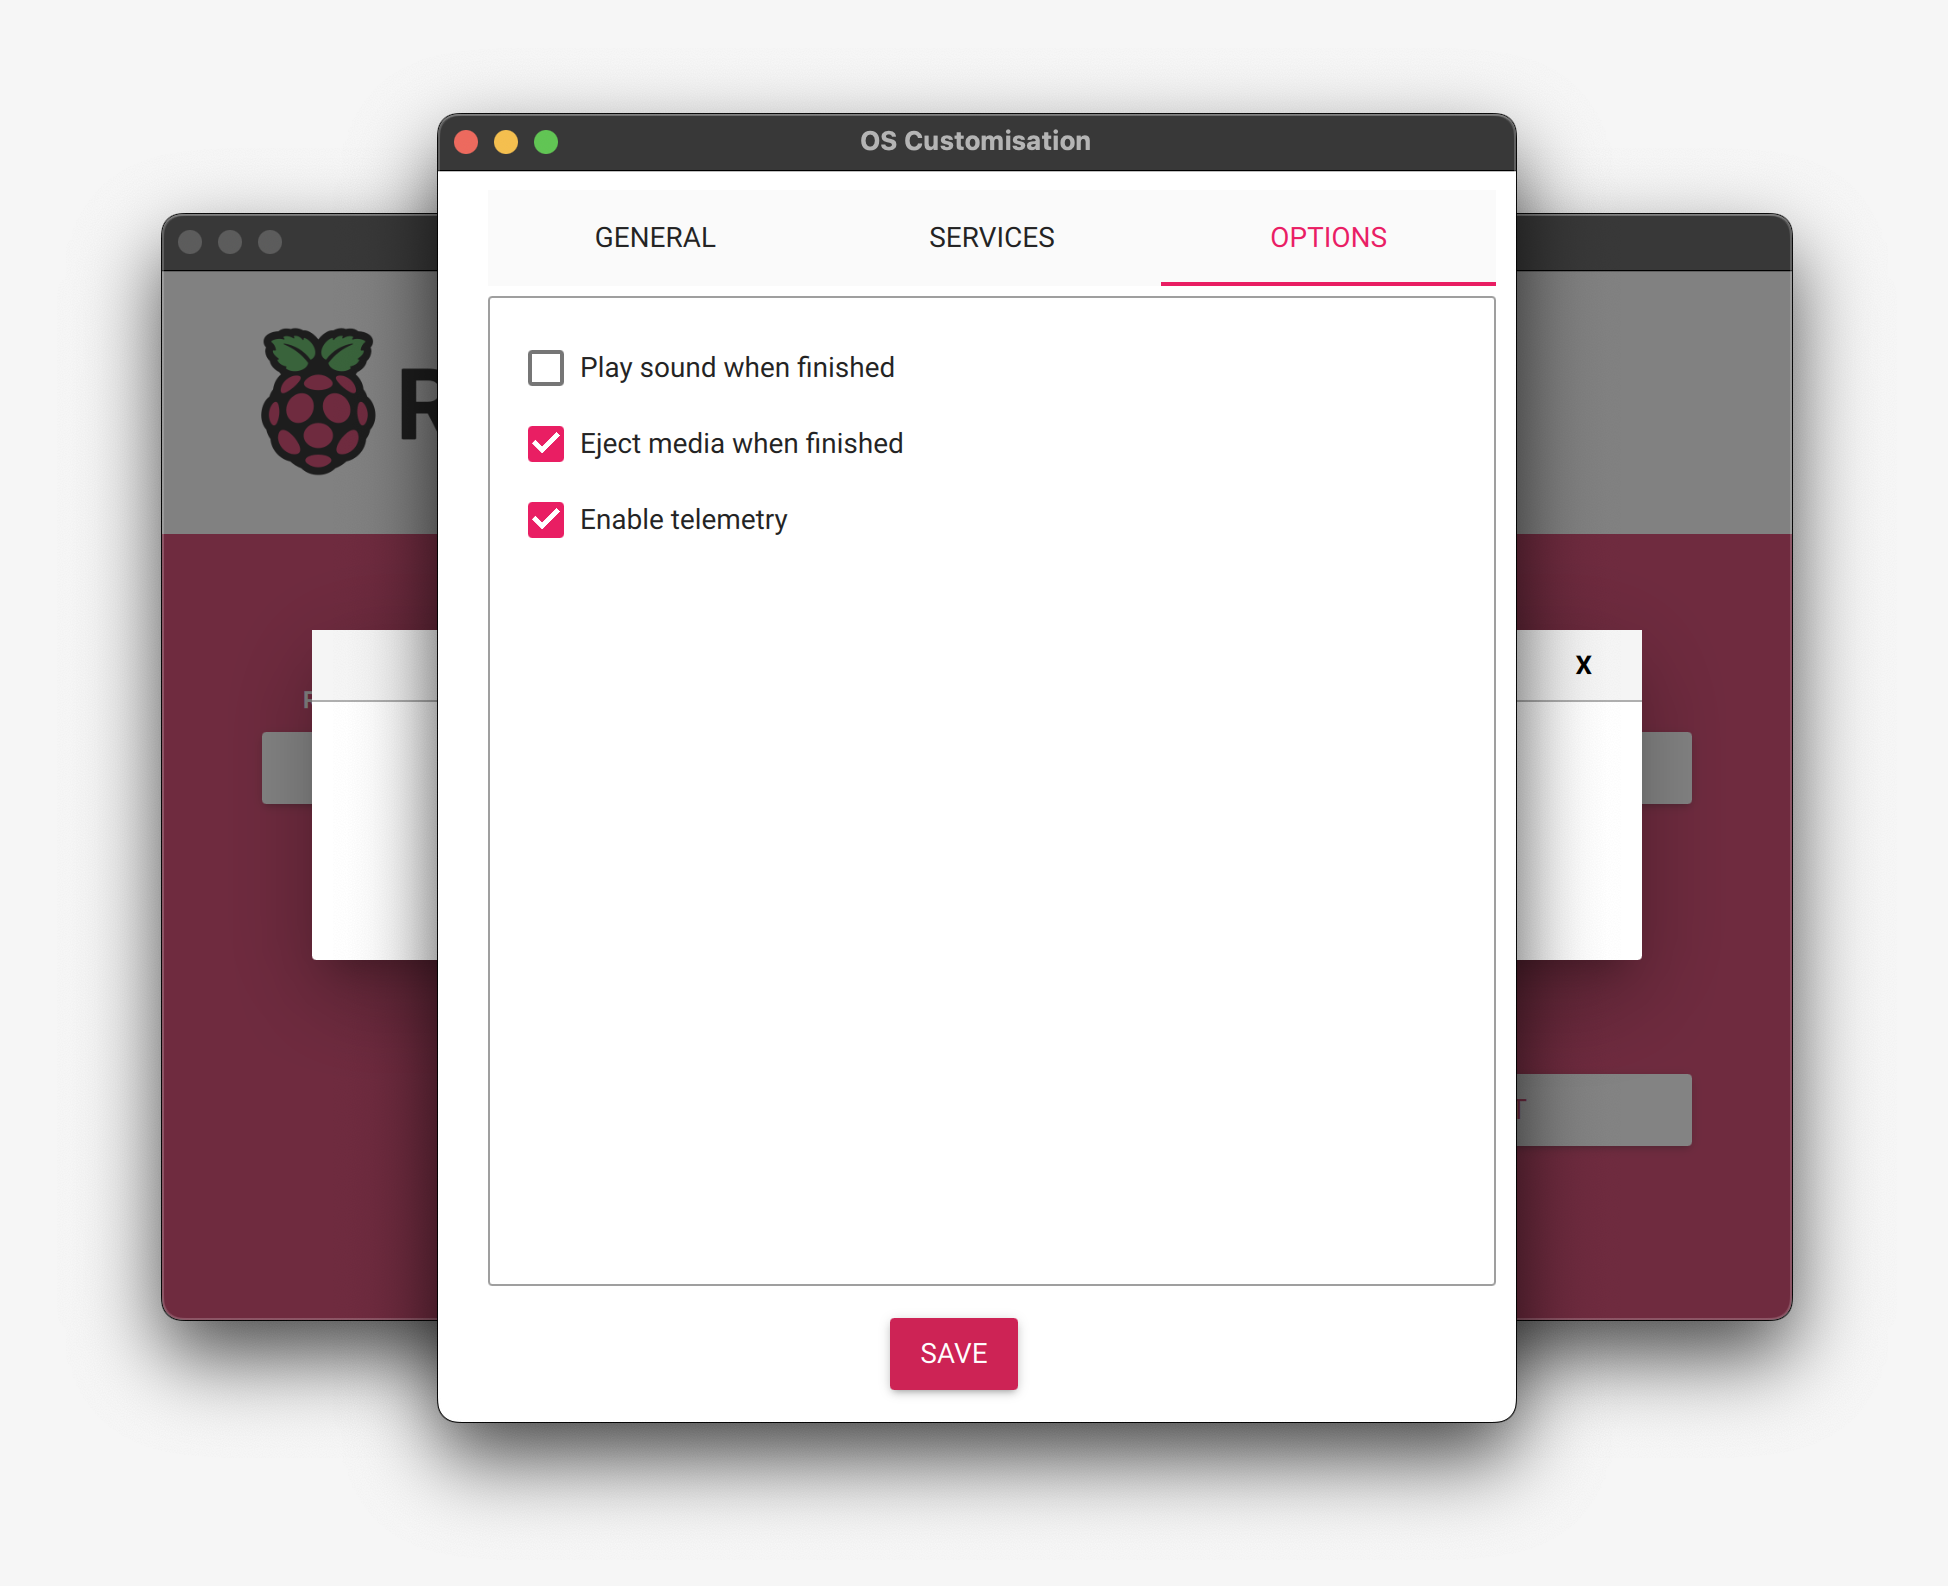
OS customisation also includes an Options menu that allows you to configure the behaviour of Imager during a write. These options allow you to play a noise when Imager finishes verifying an image, to automatically unmount storage media after verification, and to disable telemetry.
Write
When you’ve finished entering OS customisation settings, click Save to save your customisation.
Then, click Yes to apply OS customisation settings when you write the image to the storage device.
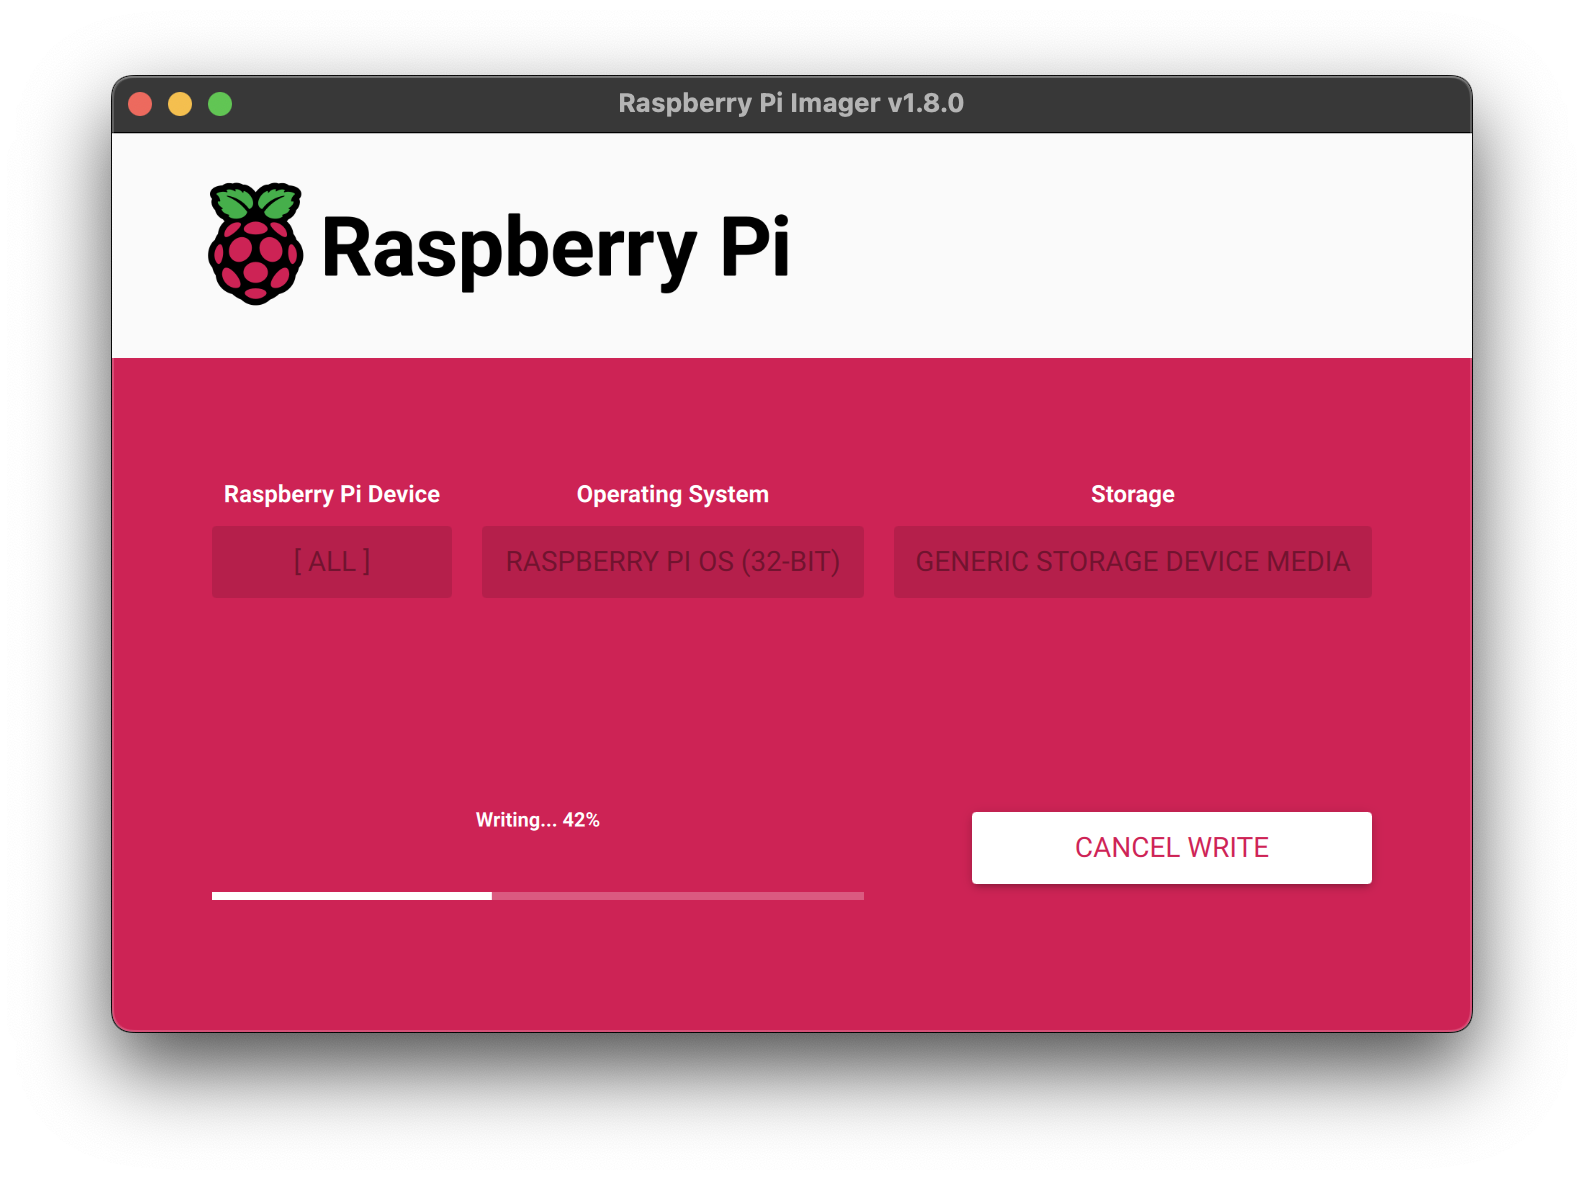
Finally, respond Yes to the "Are you sure you want to continue?" popup to begin writing data to the storage device.
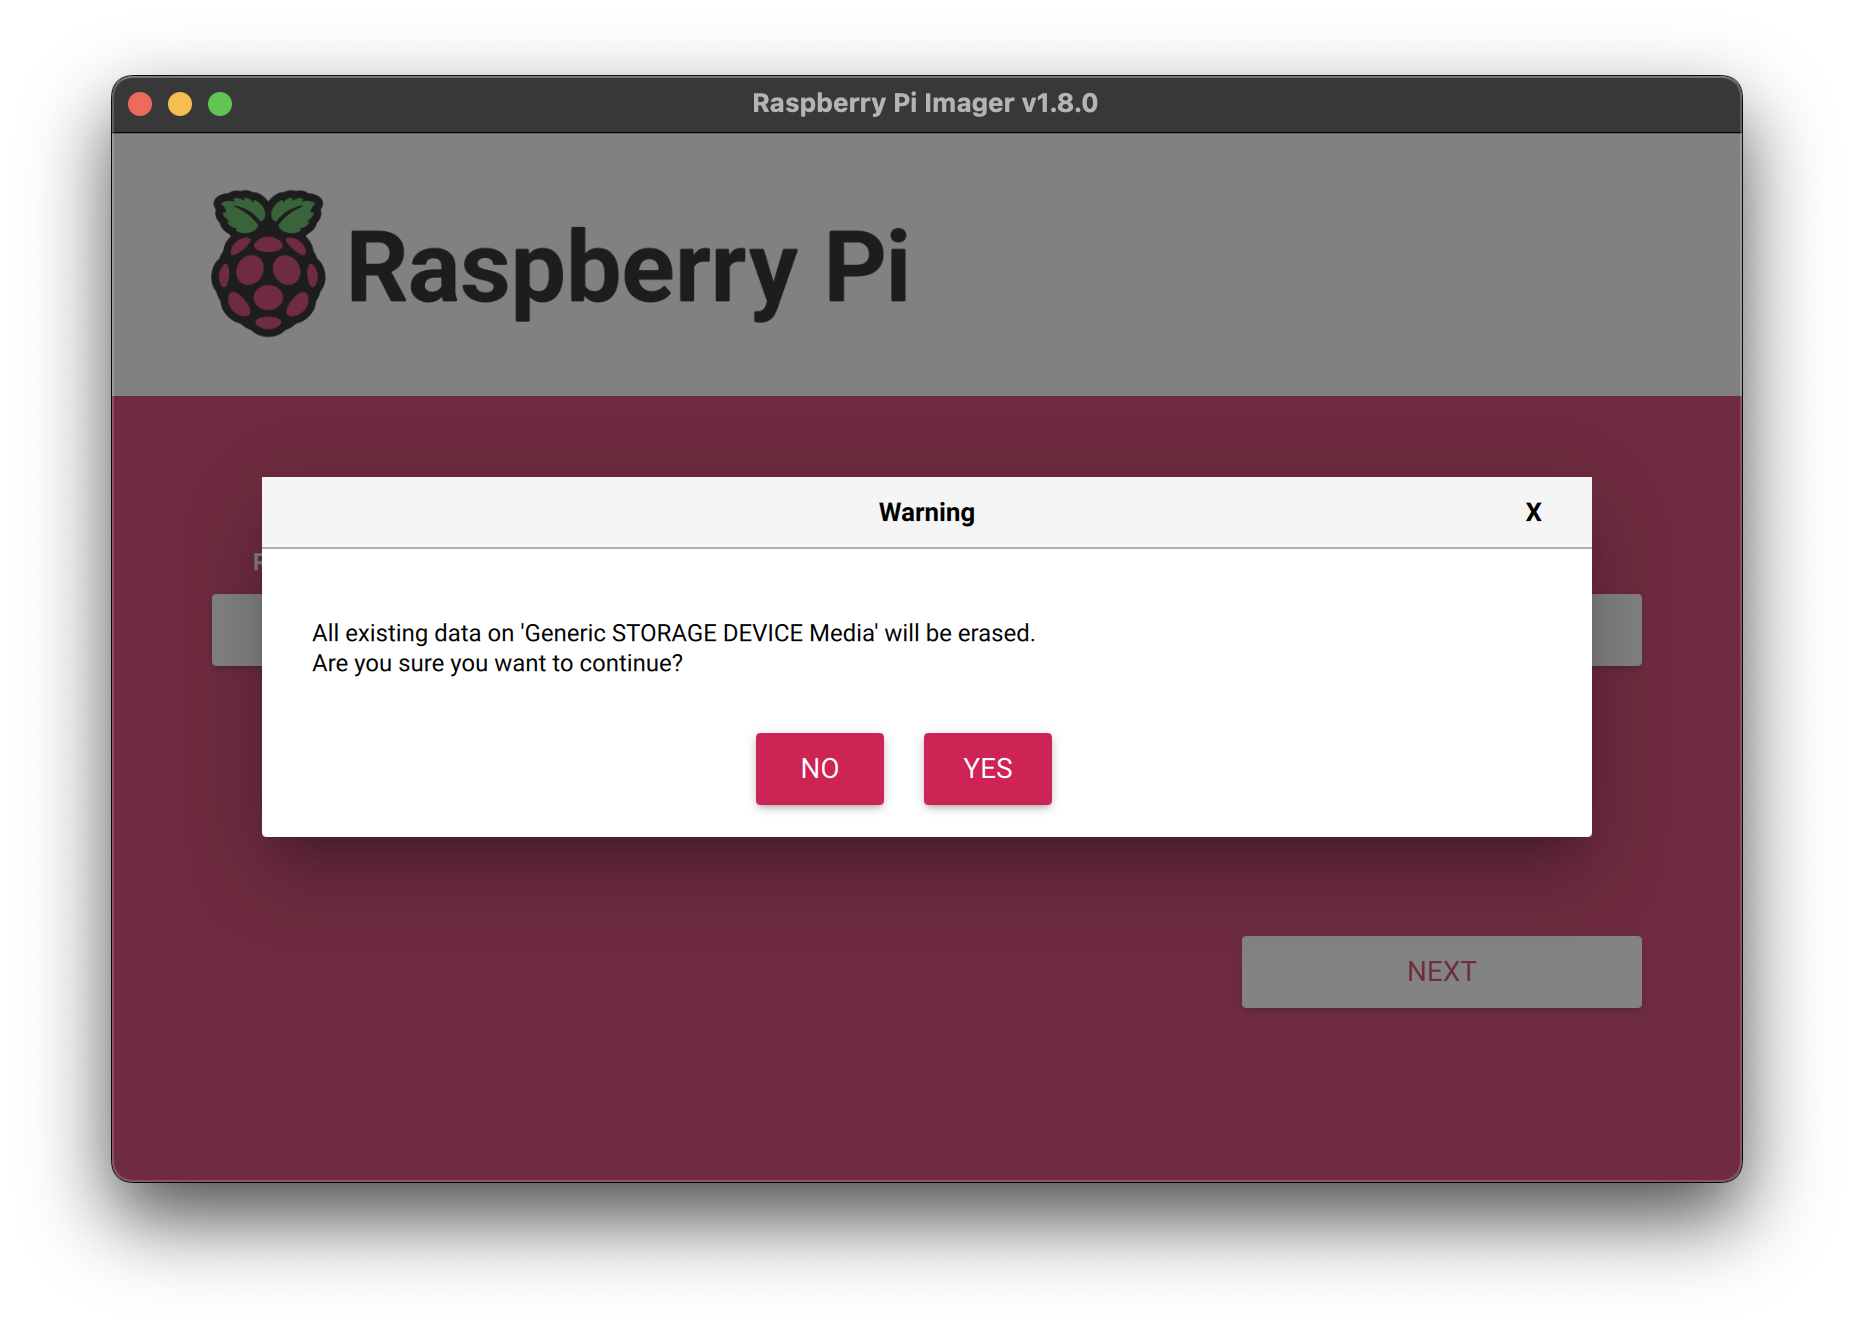
If you see an admin prompt asking for permissions to read and write to your storage medium, grant Imager the permissions to proceed.
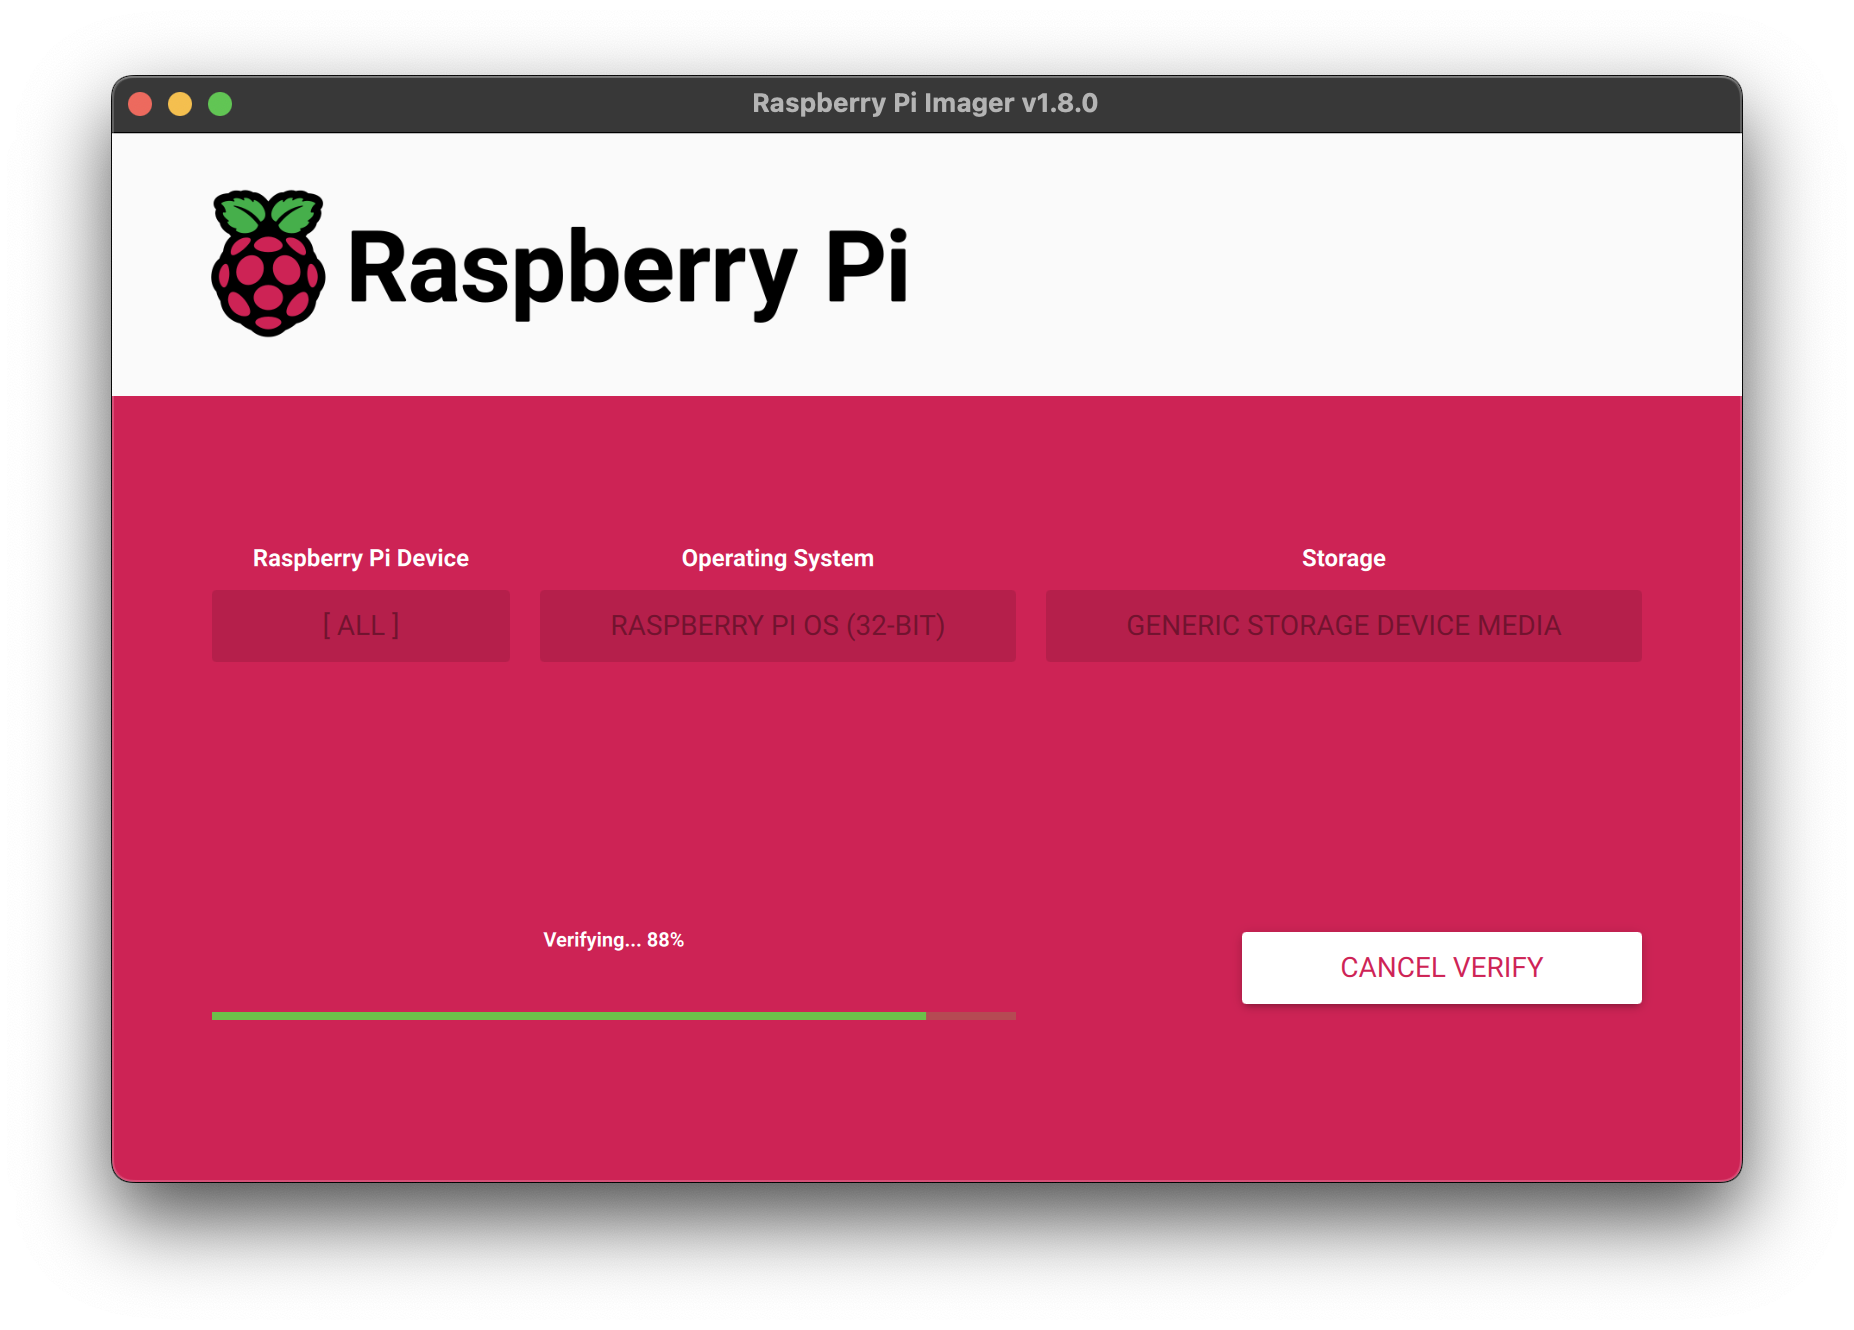
When you see the "Write Successful" popup, your image has been completely written and verified. You’re now ready to boot a Raspberry Pi from the storage device!
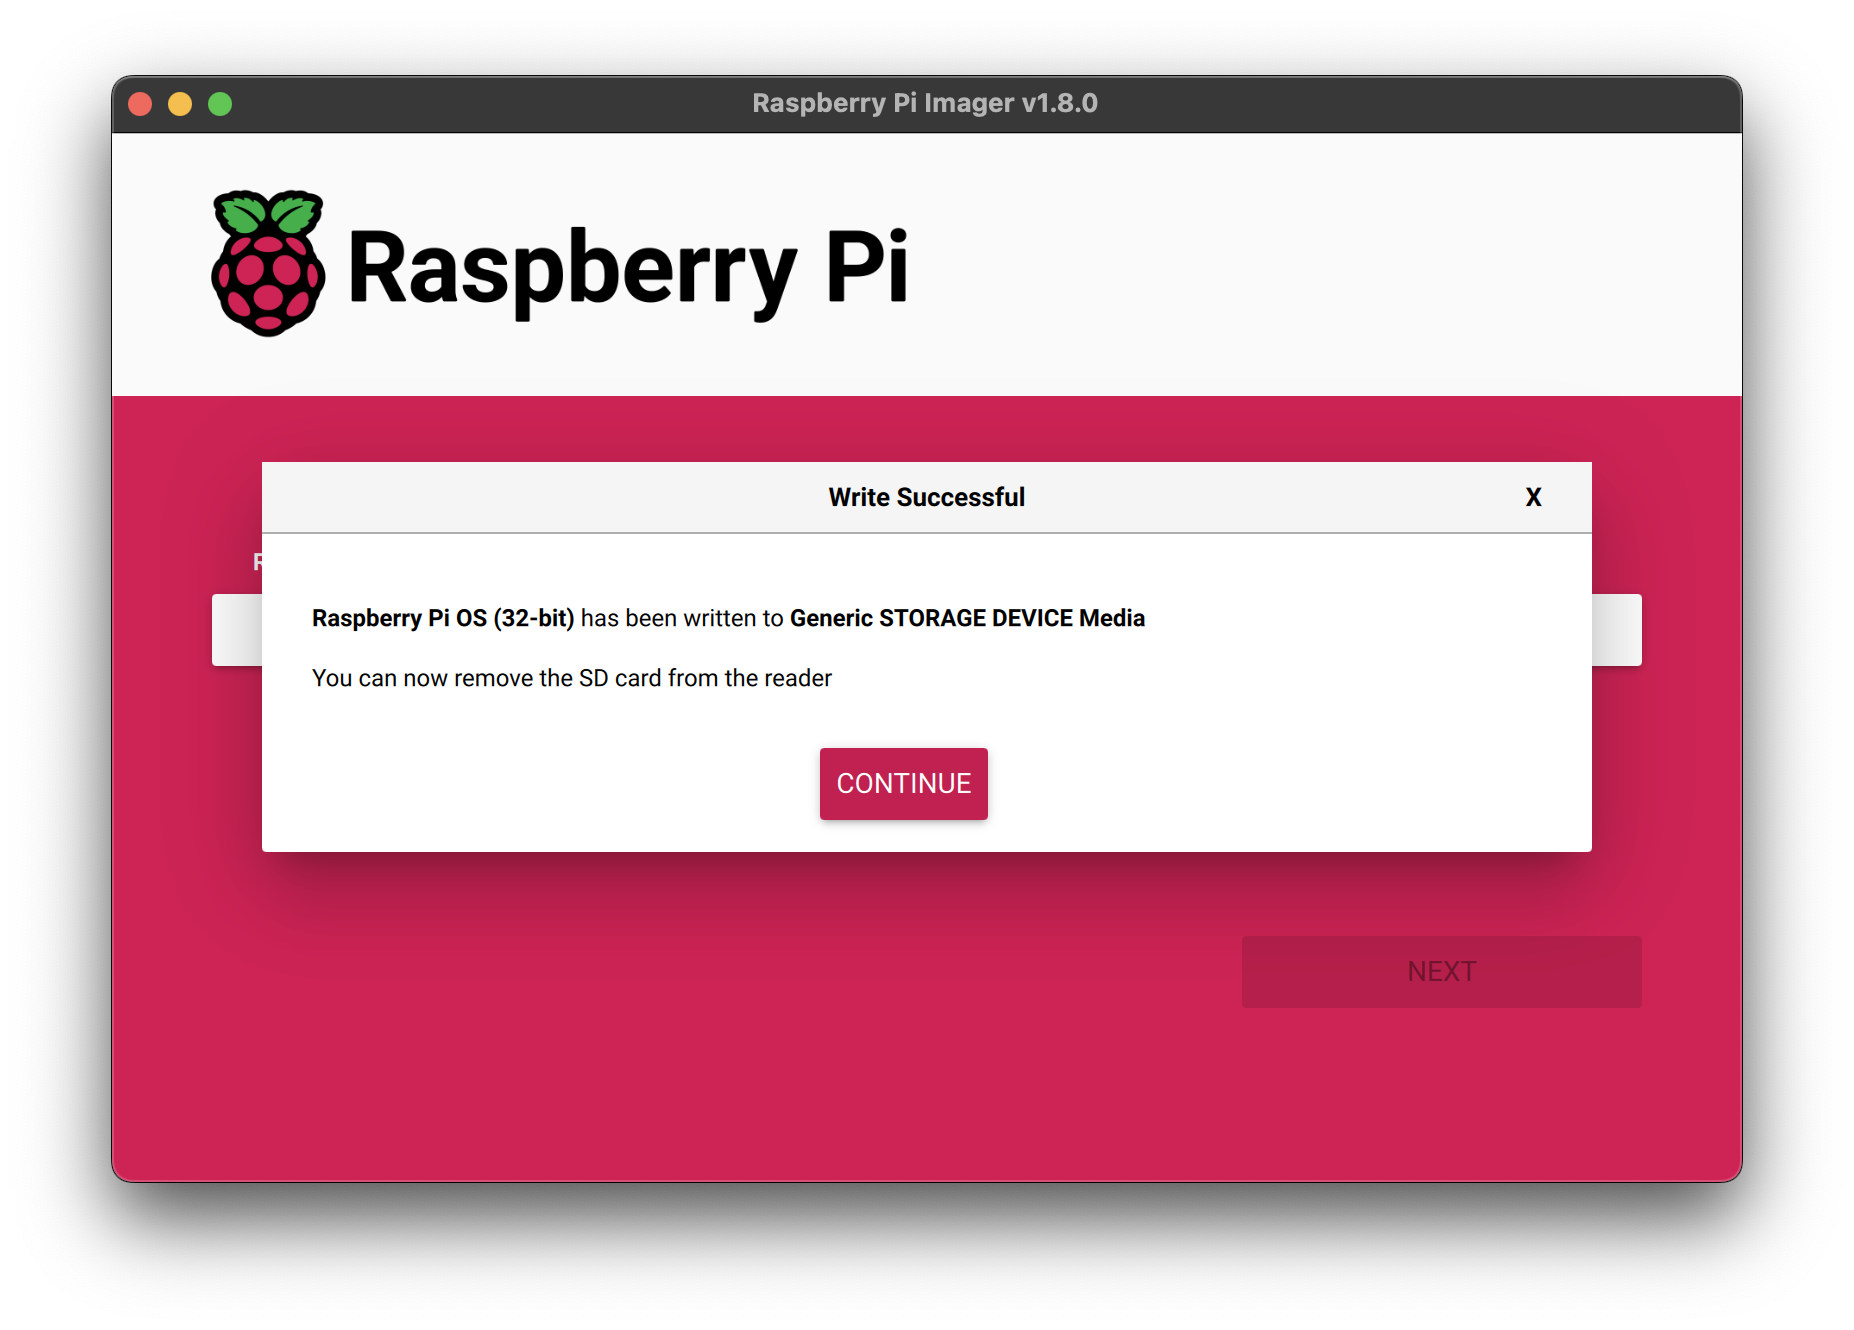
Next, proceed to the first boot configuration instructions to get your Raspberry Pi up and running.
Install over the network
Network Install enables a Raspberry Pi to install an operating system on a storage device using a version of Raspberry Pi Imager downloaded over the network. With Network Install, you can get an operating system installed on your Raspberry Pi with no separate SD card reader and no computer other than your Raspberry Pi. You can run Network Install on any compatible storage device, including SD cards and USB storage.
Network Install only runs on Raspberry Pi 4, 400, and 5. If your Raspberry Pi runs an older bootloader, you may need to update the bootloader to use Network Install.
Network Install requires the following:
-
a compatible Raspberry Pi model running firmware that supports Network Install
-
a monitor
-
a keyboard
-
a wired internet connection
To launch Network Install, power on your Raspberry Pi while pressing and holding the SHIFT key in the following configuration:
-
no bootable storage device
-
attached keyboard
-
attached compatible storage device, such as an SD card or USB storage

If you haven’t already connected your Raspberry Pi to the internet, connect it with an Ethernet cable.
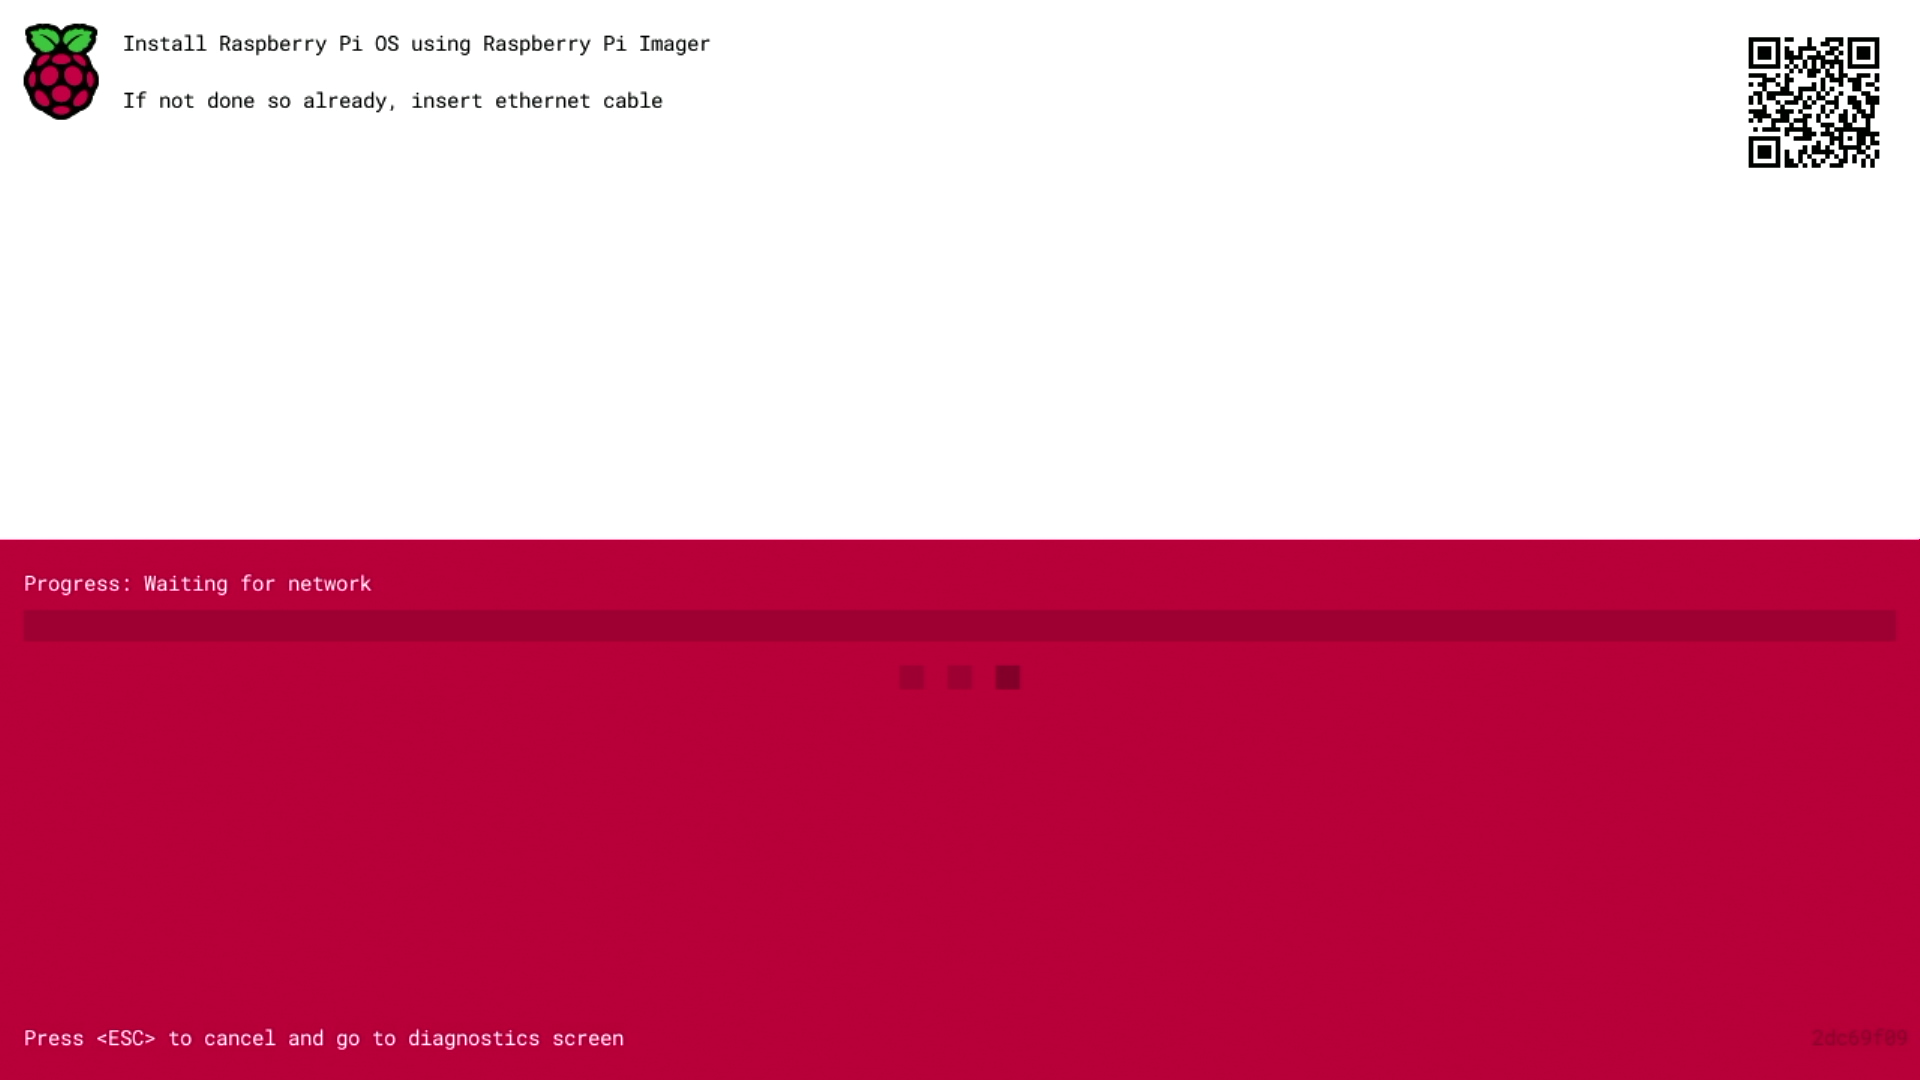
Once you’re connected to the internet, your Raspberry Pi will download Raspberry Pi installer. If the download fails, you can repeat the process to try again.
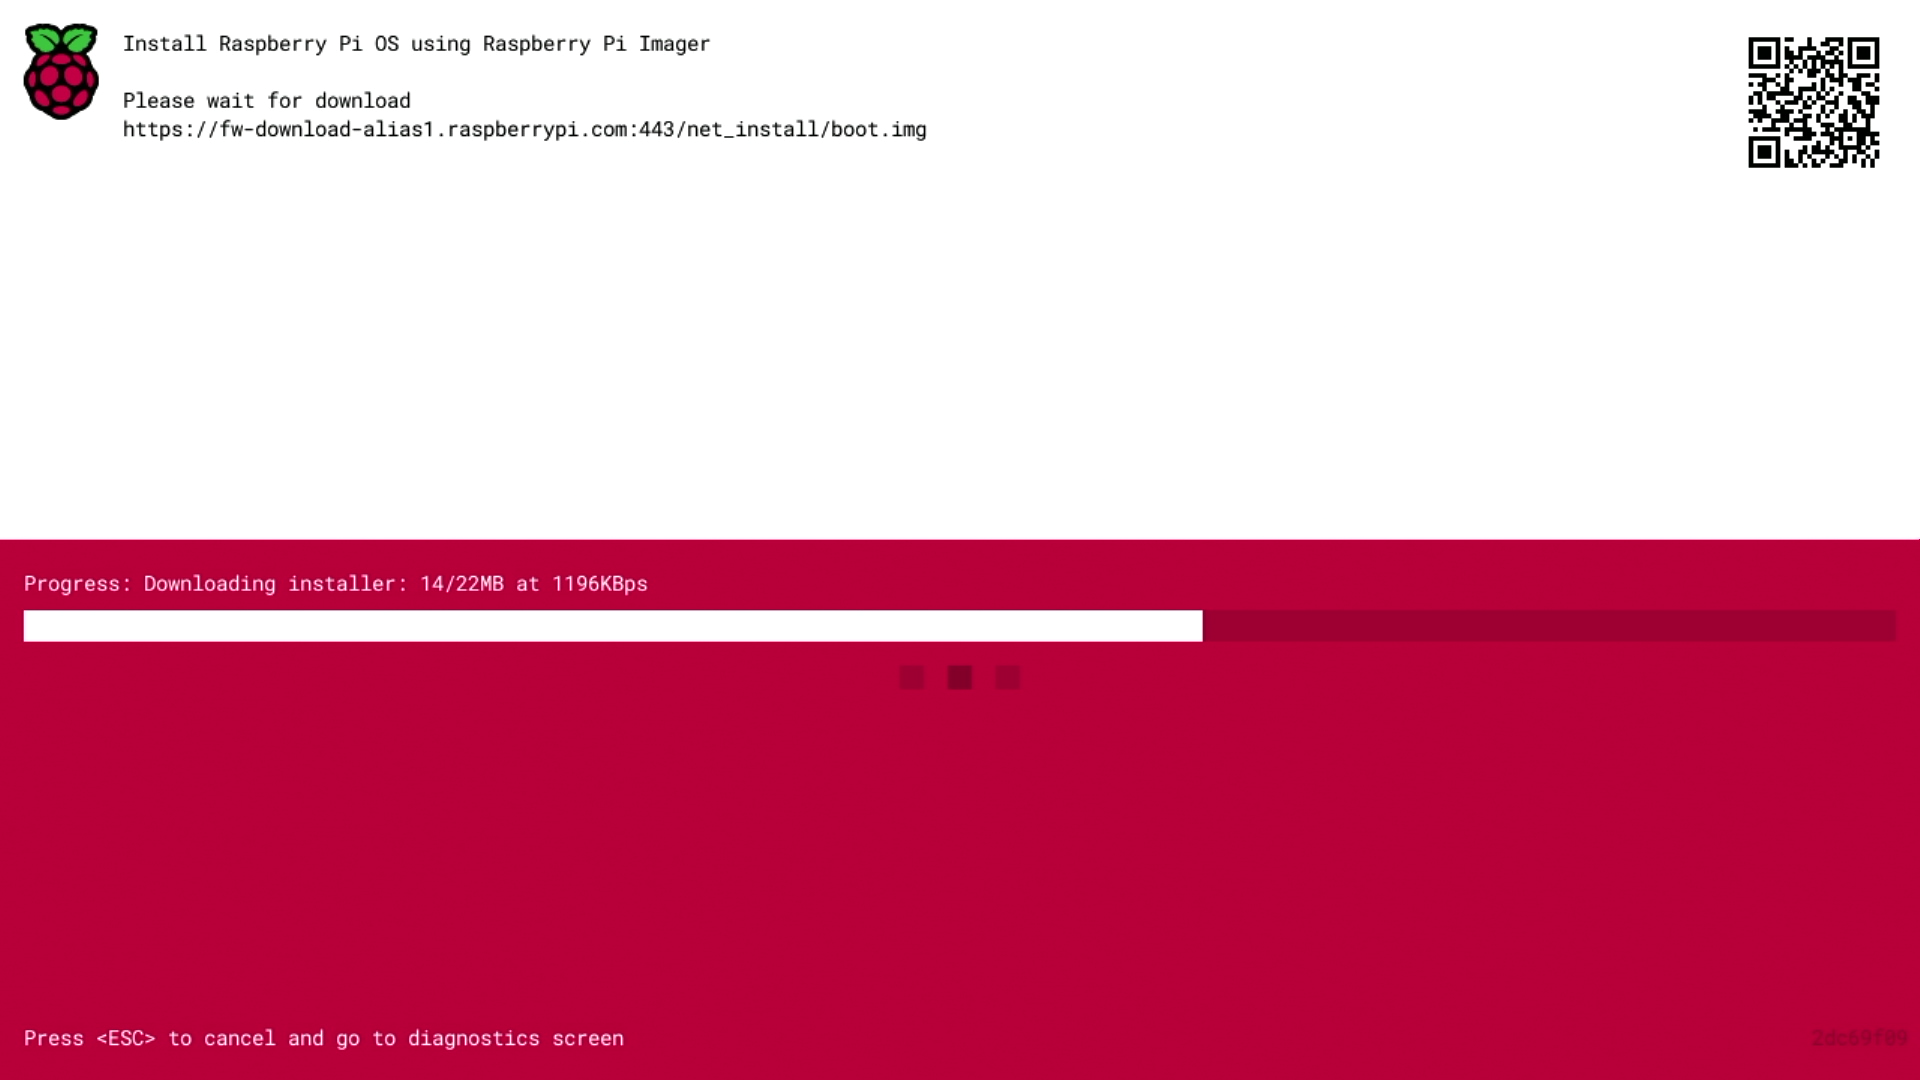
Once you finish downloading Raspberry Pi Installer, your Raspberry Pi will automatically start Raspberry Pi Imager. For more information about running Raspberry Pi Imager, see install an operating system.
For more information about Network Install configuration, see HTTP boot.
Set up your Raspberry Pi
After installing an operating system image, connect your storage device to your Raspberry Pi.
First, unplug your Raspberry Pi’s power supply to ensure that the Raspberry Pi is powered down while you connect peripherals. If you installed the operating system on a microSD card, you can plug it into your Raspberry Pi’s card slot now. If you installed the operating system on any other storage device, you can connect it to your Raspberry Pi now.
Then, plug in any other peripherals, such as your mouse, keyboard, and monitor.
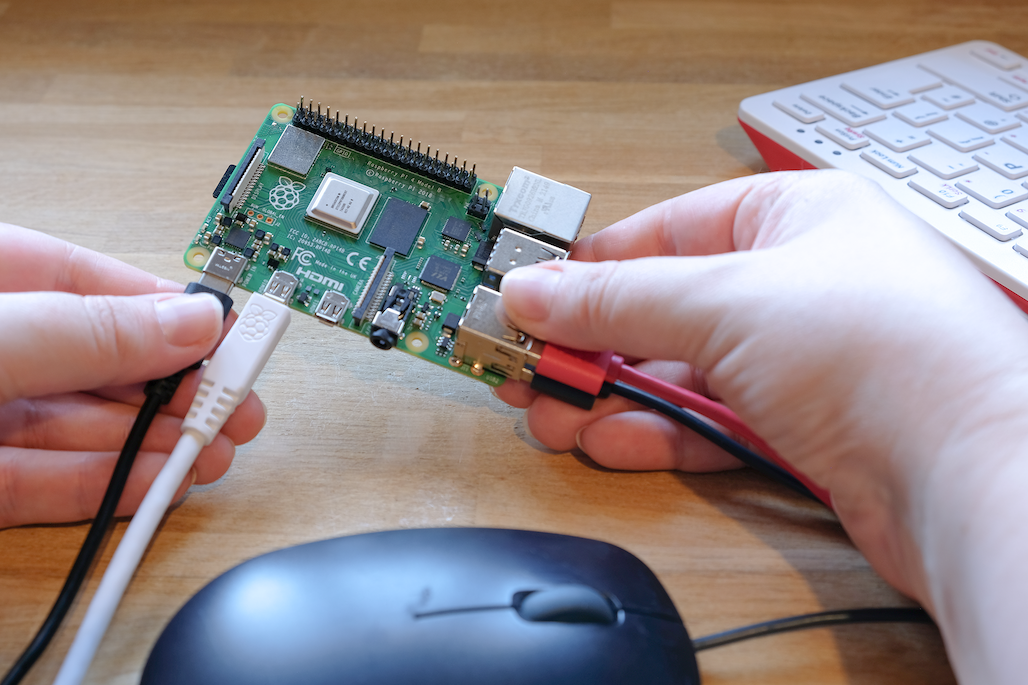
Finally, connect the power supply to your Raspberry Pi. You should see the status LED light up when your Pi powers on. If your Pi is connected to a display, you should see the boot screen within minutes.
Configuration on first boot
If you used OS customisation in Imager to preconfigure your Raspberry Pi, congratulations! Your device is ready to use. Proceed to next steps to learn how you can put your Raspberry Pi to good use.
If your Raspberry Pi does not boot within 5 minutes, check the status LED. If it’s flashing, see the LED warning flash codes for more information. If your Pi refuses to boot, try the following mitigation steps:
-
if you used a boot device other than an SD card, try booting from an SD card
-
re-image your SD card; be sure to complete the entire verify step in Imager
-
update the bootloader on your Raspberry Pi, then re-image your SD card
If you chose to skip OS customisation in Imager, your Raspberry Pi will run a configuration wizard on first boot. You need a monitor and keyboard to navigate through the wizard; a mouse is optional.
Bluetooth
If you’re using a Bluetooth keyboard or mouse, this step will walk you through device pairing. Your Raspberry Pi will scan for pairable devices and connect to the first device it finds for each item.
This process works with built-in or external USB Bluetooth adapters. If you use a USB adapter, plug it in before booting your Raspberry Pi.
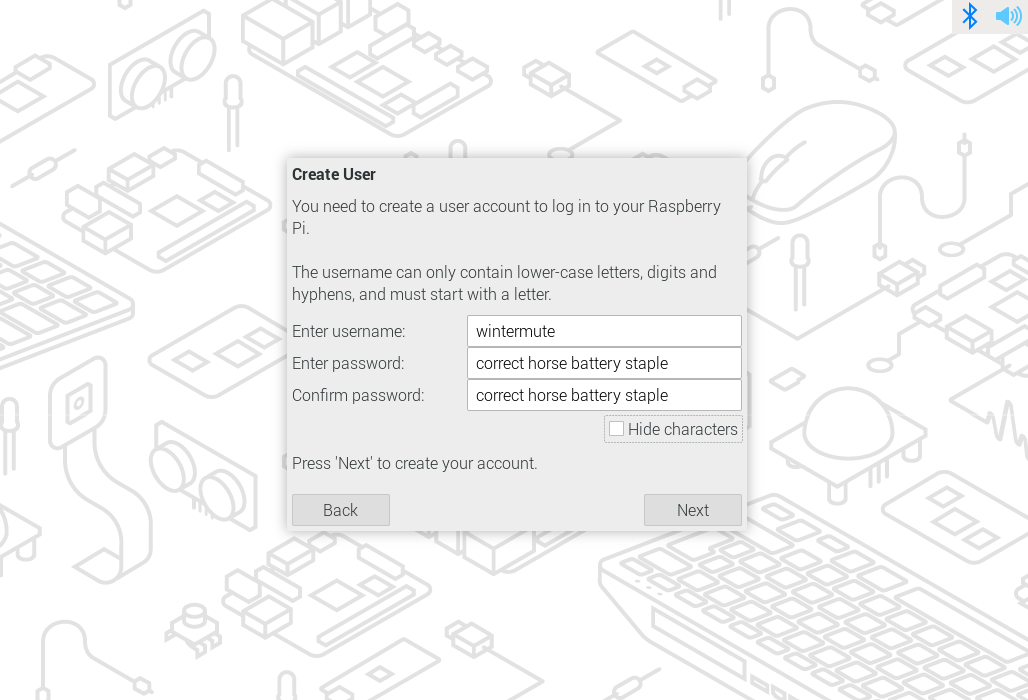
User
This page helps you configure the username and password for the default user account.
By default, older versions of Raspberry Pi OS set the username to "pi". If you use the username "pi", avoid the old default password of "raspberry" to keep your Raspberry Pi secure.
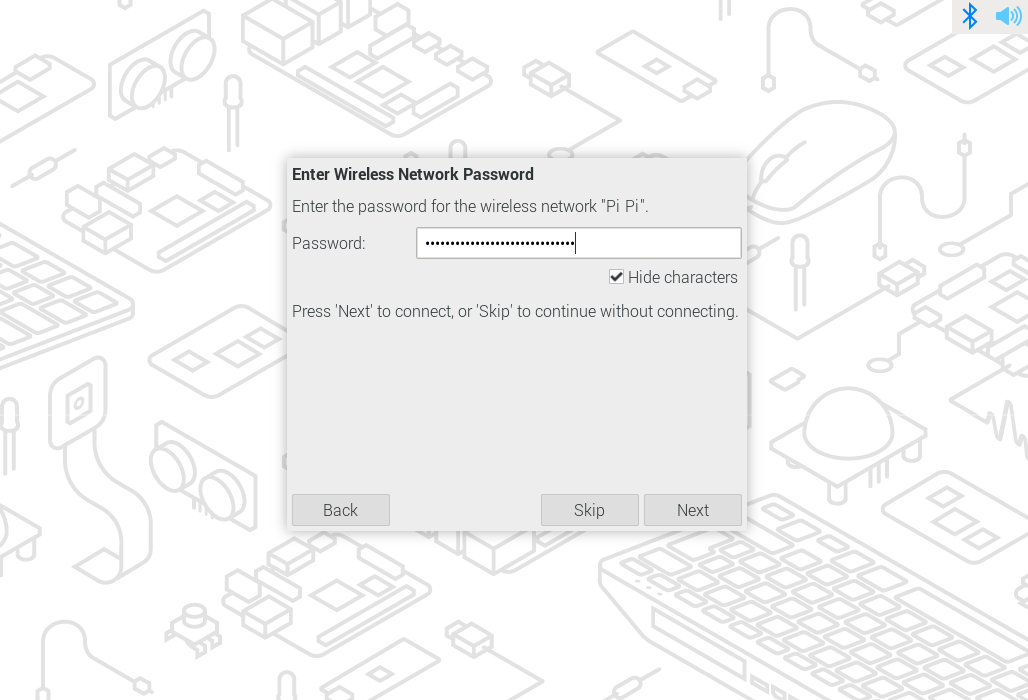
Wi-Fi
This page helps you connect to a Wi-Fi network. Choose your preferred network from the list.
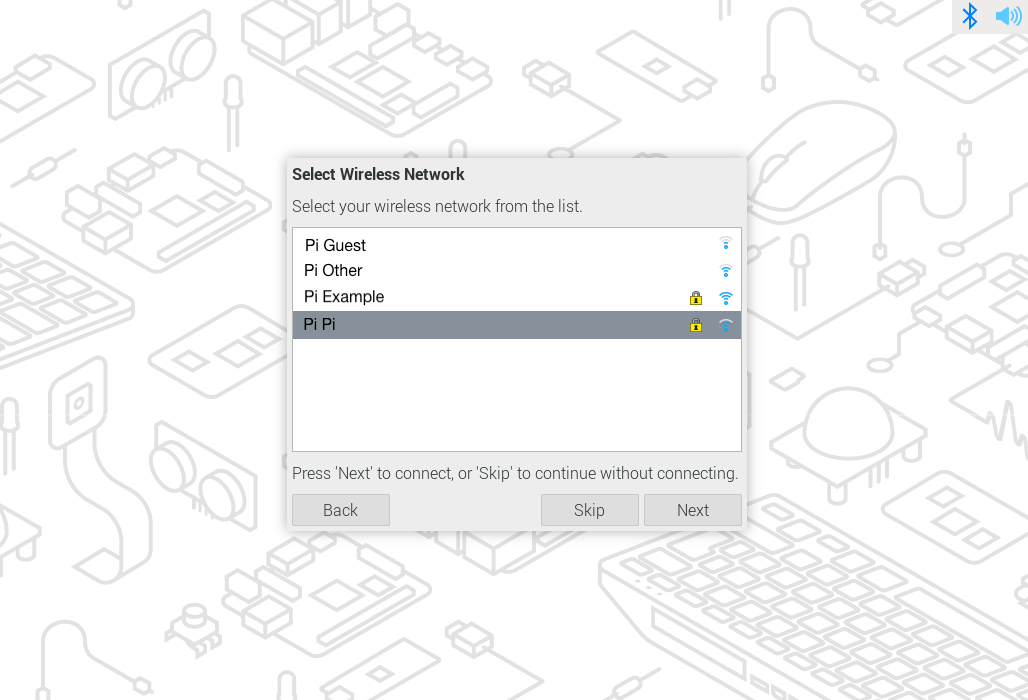
If your network requires a password, you can enter it here.
Browser
This page lets you select Firefox or Chromium as your default internet browser. You can optionally uninstall the browser you don’t set as default.

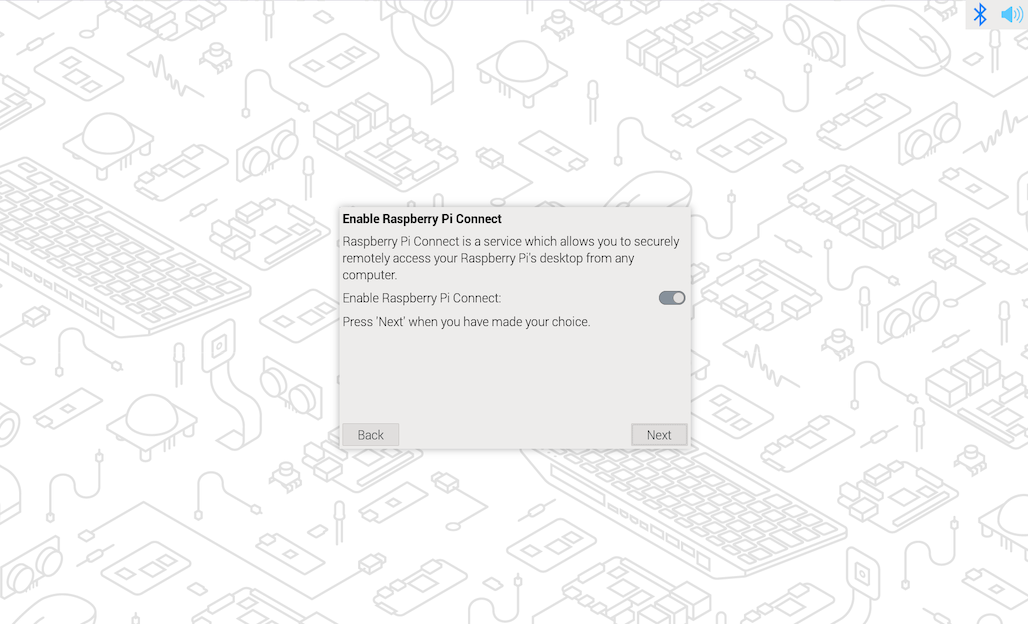
Raspberry Pi Connect
This page lets you enable Raspberry Pi Connect, which provides the ability to access your Raspberry Pi remotely with no manual network configuration.
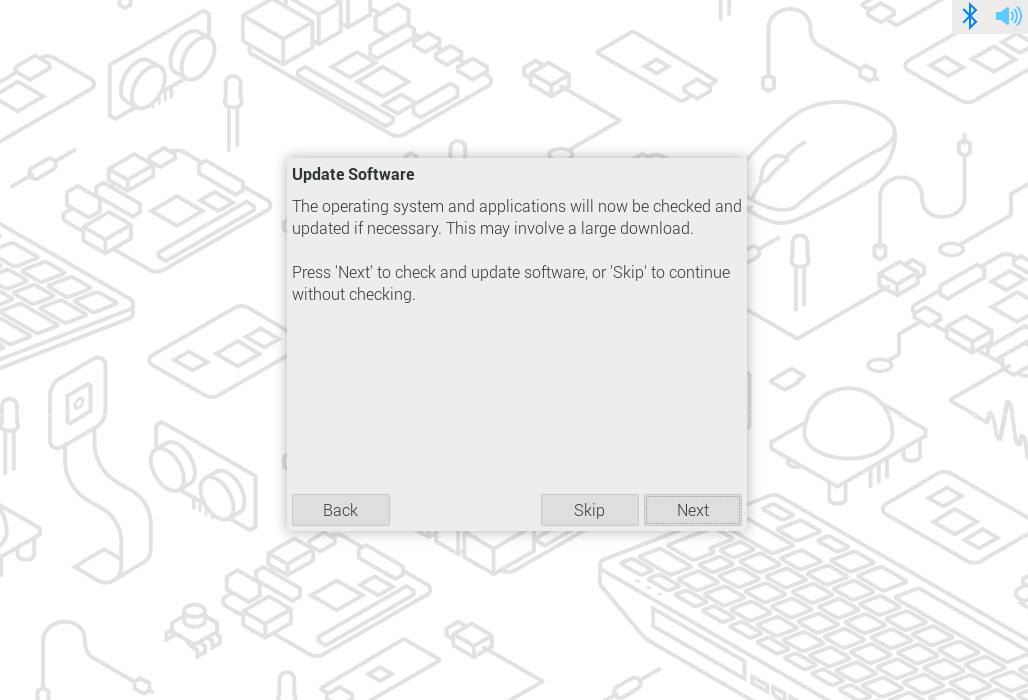
Software updates
Once your Raspberry Pi has internet access, this page helps you update your operating system and software to the latest versions. During the software update process, the wizard will remove the non-default browser if you opted to uninstall it in the browser selection step. Downloading updates may take several minutes.
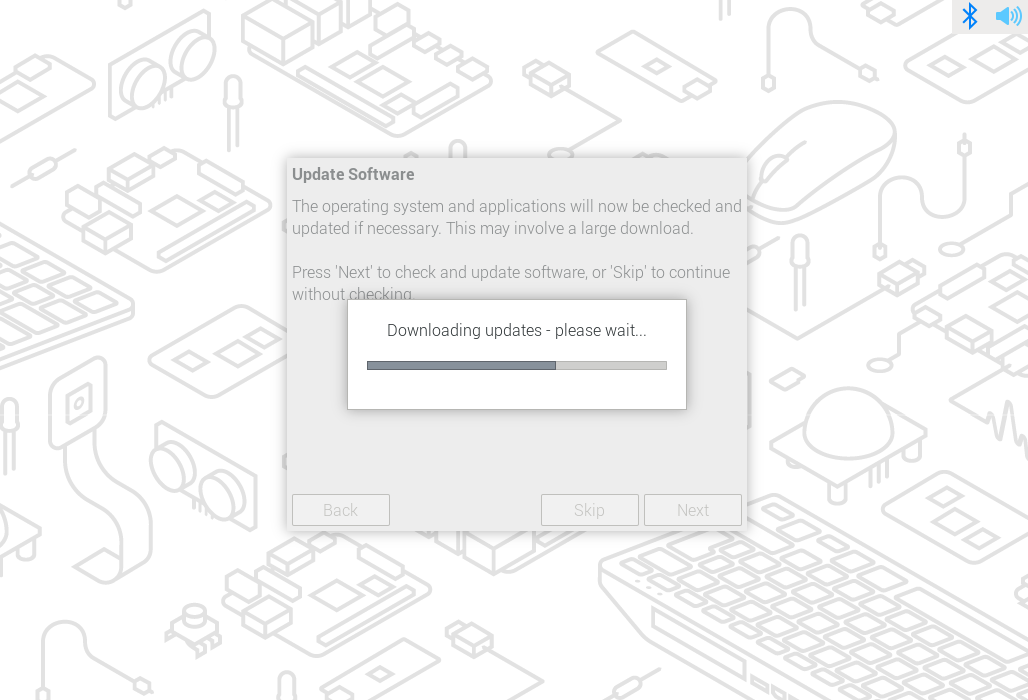
When you see a popup indicating that your system is up to date, click OK to proceed to the next step.

Next steps
Now that your Raspberry Pi is set up and ready to go, what’s next?
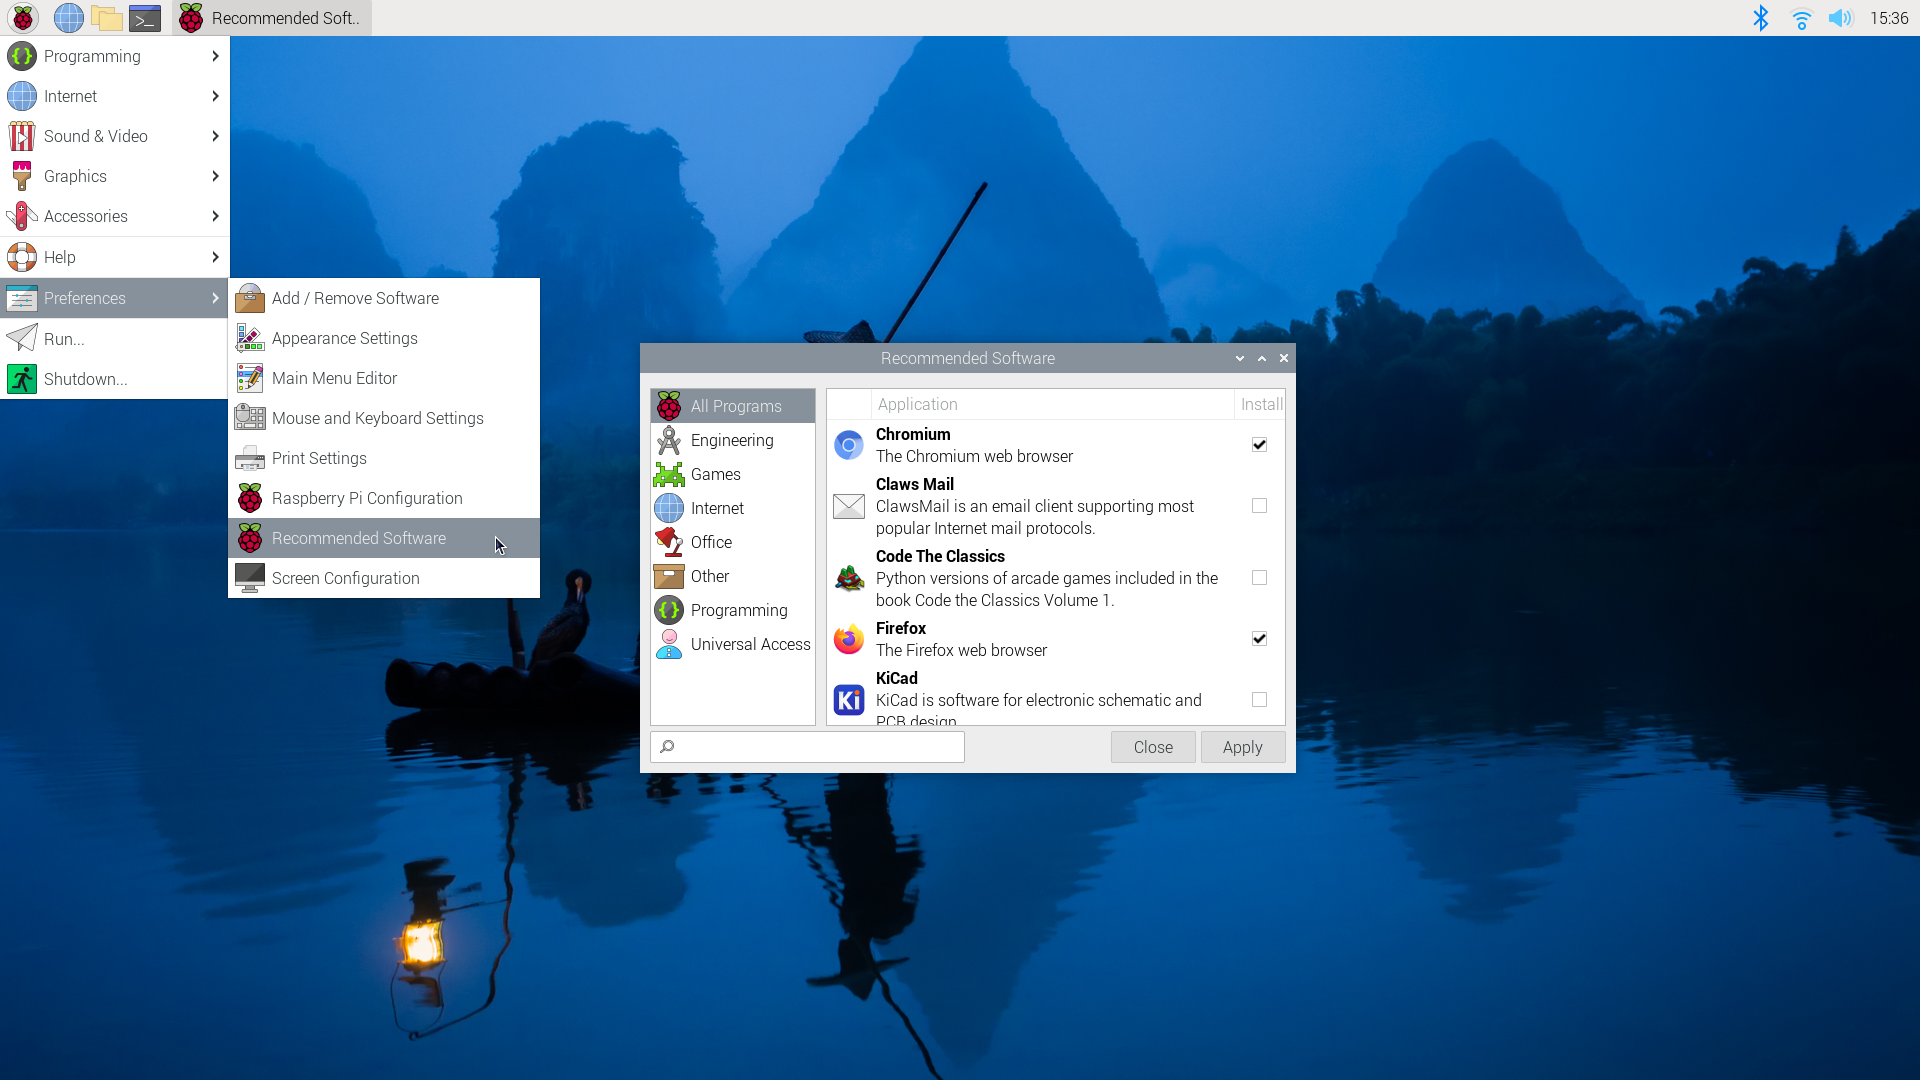
Recommended software
Raspberry Pi OS comes with many essential applications pre-installed so you can start using them straight away. If you’d like to take advantage of other applications we find useful, click the raspberry icon in the top left corner of the screen. Select Preferences > Recommended Software from the drop-down menu, and you’ll find the package manager. You can install a wide variety of recommended software here for free.
For example, if you plan to use your Raspberry Pi as a home computer, you might find LibreOffice useful for writing and editing documents and spreadsheets. You can also make your Raspberry Pi more accessible with apps like a screen magnifier and Orca screen reader, found under Universal Access.
Tutorials
Our tutorials demonstrate various ways you can use your new computer. You can learn to code, control external devices, and build exciting new projects by following tutorials that pique your interest.
Support
For support with official Raspberry Pi products, or to connect with other Raspberry Pi users, visit the Raspberry Pi forums.