Touch Display 2 触摸屏
About
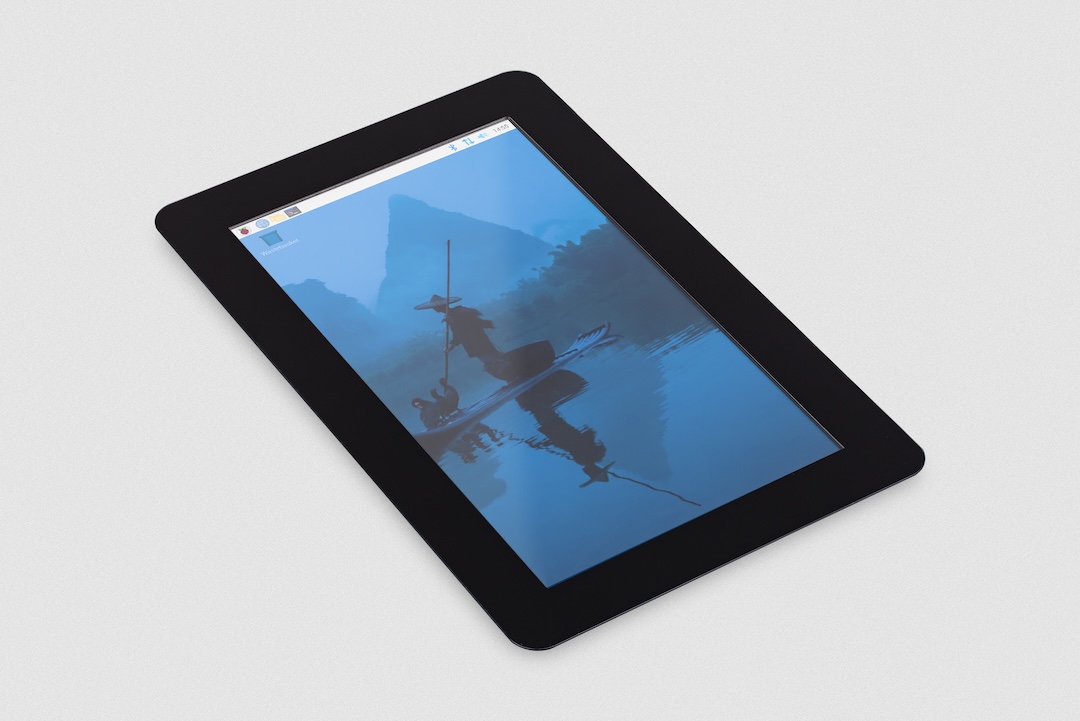
The Raspberry Pi Touch Display 2 is a portrait orientation touchscreen LCD display designed for interactive projects like tablets, entertainment systems, and information dashboards.
The Touch Display 2 connects to a Raspberry Pi using a DSI connector and GPIO connector. Raspberry Pi OS provides touchscreen drivers with support for five-finger multitouch and an on-screen keyboard, providing full functionality without the need to connect a keyboard or mouse.
Specifications
-
1280×720px resolution, 24-bit RGB display
-
155×88mm active area
-
7" diagonal
-
powered directly by the host Raspberry Pi, requiring no separate power supply
-
supports up to five points of simultaneous multi-touch
The Touch Display 2 is compatible with all models of Raspberry Pi from Raspberry Pi 1B+ onwards, except Raspberry Pi Zero and Zero 2 W, which lack a DSI connector.
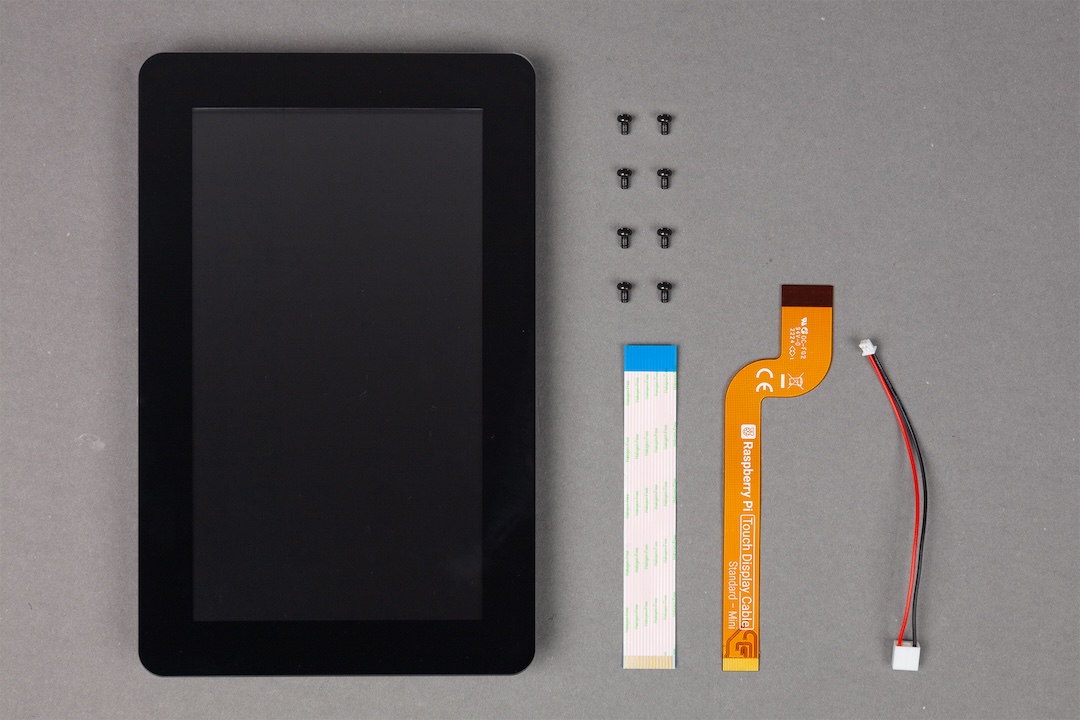
The Touch Display 2 box contains the following parts (in left to right, top to bottom order in the image below):
-
Touch Display 2
-
eight M2.5 screws
-
15-way to 15-way FFC
-
22-way to 15-way FFC for Raspberry Pi 5
-
GPIO connector cable
Install
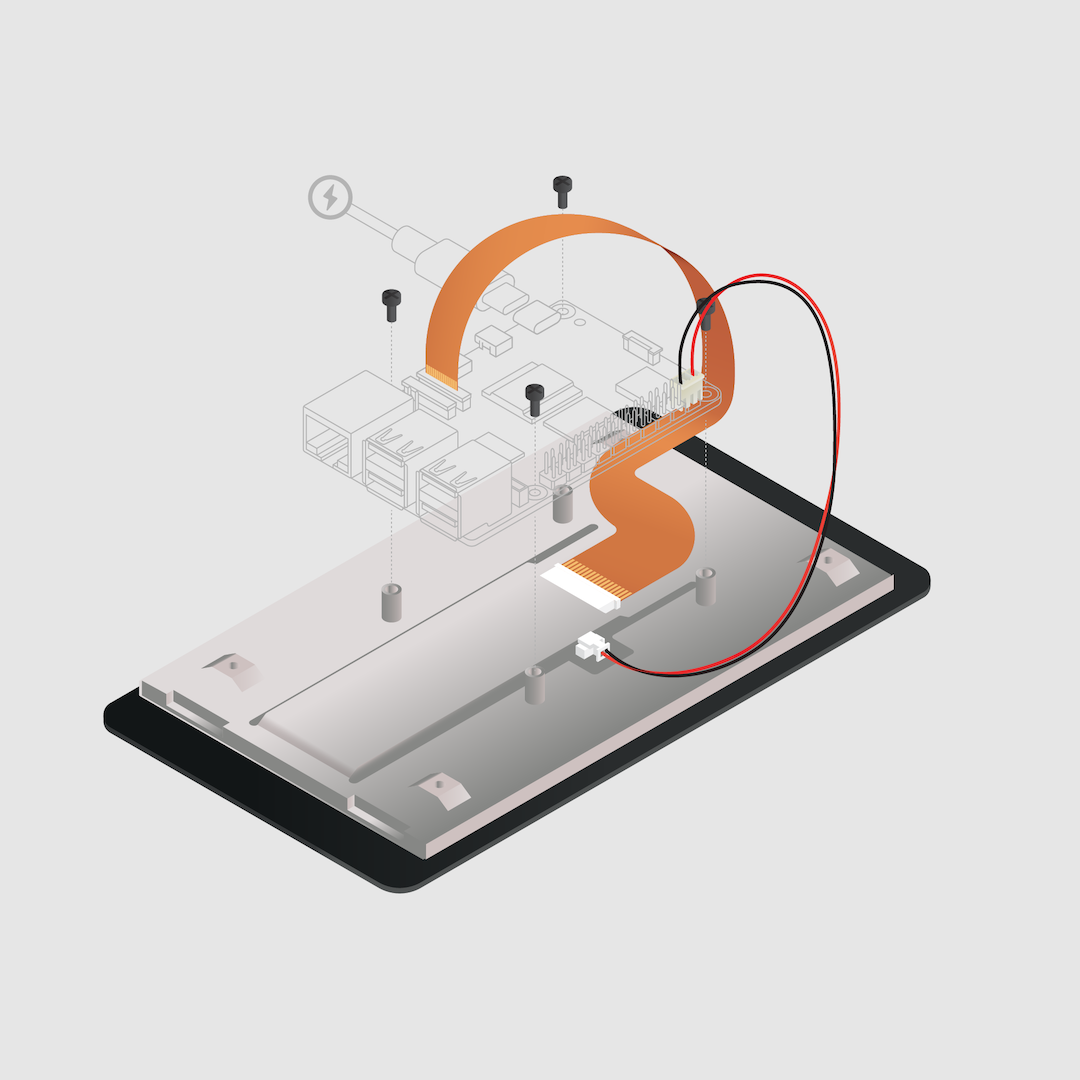
To connect a Touch Display 2 to a Raspberry Pi, use a Flat Flexible Cable (FFC) and a GPIO connector. The FFC you’ll use depends upon your Raspberry Pi model:
-
for Raspberry Pi 5, use the included 22-way to 15-way FFC
-
for any other Raspberry Pi model, use the included 15-way to 15-way FFC
Once you have determined the correct FFC for your Raspberry Pi model, complete the following steps to connect your Touch Display 2 to your Raspberry Pi:
-
Disconnect your Raspberry Pi from power.
-
Lift the retaining clips on either side of the FFC connector on the Touch Display 2.
-
Insert one 15-way end of your FFC into the Touch Display 2 FFC connector, with the metal contacts facing upwards, away from the Touch Display 2.
TipIf you use the 22-way to 15-way FFC, the 22-way end is the smaller end of the cable. Insert the larger end of the cable into the Touch Display 2. -
While holding the FFC firmly in place, simultaneously push both retaining clips down on the FFC connector of the Touch Display 2.
-
Lift the retaining clips on either side of the DSI connector of your Raspberry Pi. This port should be marked with some variation of the term
DISPLAYorDISP. If your Raspberry Pi has multiple DSI connectors, prefer the port labelled1. -
Insert the other end of your FFC into the Raspberry Pi DSI connector, with the metal contacts facing towards the Ethernet and USB-A ports.
-
While holding the FFC firmly in place, simultaneously push both retaining clips down on the DSI connector of the Raspberry Pi.
-
Plug the GPIO connector cable into the port marked
J1on the Touch Display 2. -
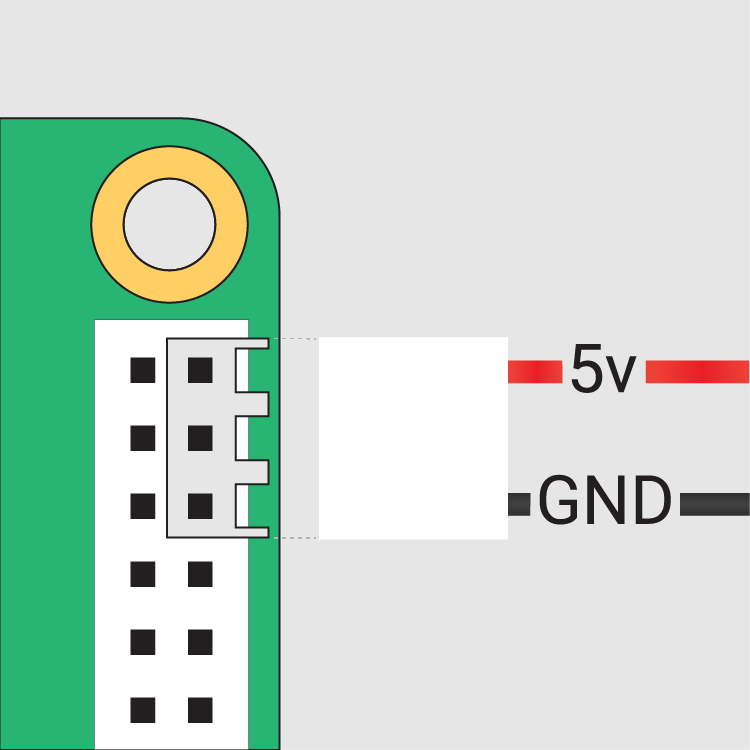
Connect the other (three-pin) end of the GPIO connector cable to pins 2, 4, and 6 of the Raspberry Pi’s GPIO. Connect the red cable (5V power) to pin 2, and the black cable (ground) to pin 6. Viewed from above, with the Ethernet and USB-A ports facing down, these pins are located at the top right of the board, with pin 2 in the top right-most position.
 The GPIO connection to the Touch Display 2Tip
If pin 6 isn’t available, you can use any other open GNDpin to connect the black wire. If pin 2 isn’t available, you can use any other 5V pin to connect the red wire, such as pin 4. -
Optionally, use the included M2.5 screws to mount your Raspberry Pi to the back of the Touch Display 2.
-
Align the four corner stand-offs of your Raspberry Pi with the four mount points that surround the FFC connector and
J1port on the back of the Touch Display 2, taking special care not to pinch the FFC. -
Insert the screws into the four corner stand-offs and tighten until your Raspberry Pi is secure.
-
-
Reconnect your Raspberry Pi to power. It may take up to one minute to initialise the Touch Display 2 connection and begin displaying to the screen.
Use an on-screen keyboard
Raspberry Pi OS Bookworm and later include the Squeekboard on-screen keyboard by default. When a touch display is attached, the on-screen keyboard should automatically show when it is possible to enter text and automatically hide when it is not possible to enter text.
For applications which do not support text entry detection, use the keyboard icon at the right end of the taskbar to manually show and hide the keyboard.
You can also permanently show or hide the on-screen keyboard in the Display tab of Raspberry Pi Configuration or the Display section of raspi-config.
|
Tip
|
In Raspberry Pi OS releases prior to Bookworm, use matchbox-keyboard instead. If you use the wayfire desktop compositor, use wvkbd instead.
|
Change screen orientation
If you want to physically rotate the display, or mount it in a specific position, select Screen Configuration from the Preferences menu. Right-click on the touch display rectangle (likely DSI-1) in the layout editor, select Orientation, then pick the best option to fit your needs.
Rotate screen without a desktop
To set the screen orientation on a device that lacks a desktop environment, edit the /boot/firmware/cmdline.txt configuration file to pass an orientation to the system. Add the following entry to the end of cmdline.txt:
video=DSI-1:720x1280@60,rotate=<rotation-value>Replace the <rotation-value> placeholder with one of the following values, which correspond to the degree of rotation relative to the default on your display:
-
0 -
90 -
180 -
270
For example, a rotation value of 90 rotates the display 90 degrees to the right. 180 rotates the display 180 degrees, or upside-down.
|
Note
|
It is not possible to rotate the DSI display separately from the HDMI display with cmdline.txt. When you use DSI and HDMI simultaneously, they share the same rotation value.
|
Touch Display 2 device tree option reference
The vc4-kms-dsi-ili9881-7inch overlay supports the following options:
| DT parameter | Action |
|---|---|
|
Sets X resolution (default 720) |
|
Sets Y resolution (default 1280) |
|
Invert X coordinates |
|
Invert Y coordinates |
|
Swap X and Y coordinates |
|
Disables the touch overlay totally |
To specify these options, add them, separated by commas, to your dtoverlay line in /boot/firmware/config.txt. Boolean values default to true when present, but you can set them to false using the suffix "=0". Integer values require a value, e.g. sizey=240. For instance, to set the X resolution to 400 pixels and invert both X and Y coordinates, use the following line:
dtoverlay=vc4-kms-dsi-ili9881-7inch,sizex=400,invx,invy